Back-To-School | Cherylann McCool | Silhouette UK Blog
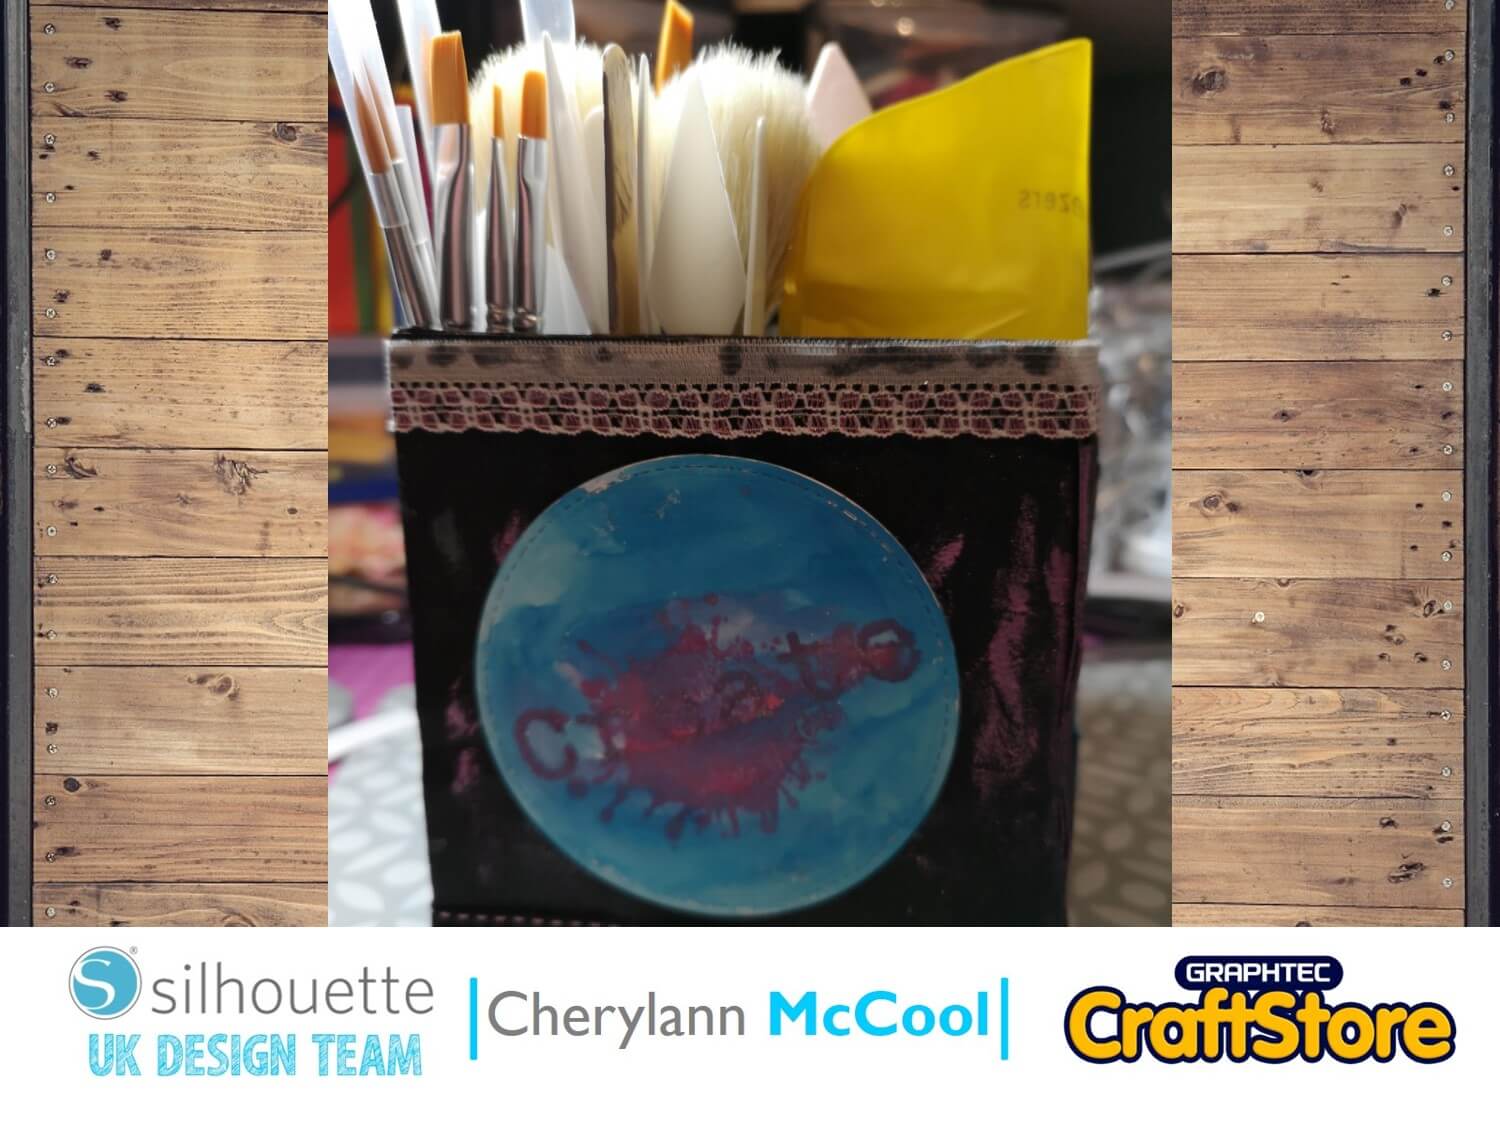
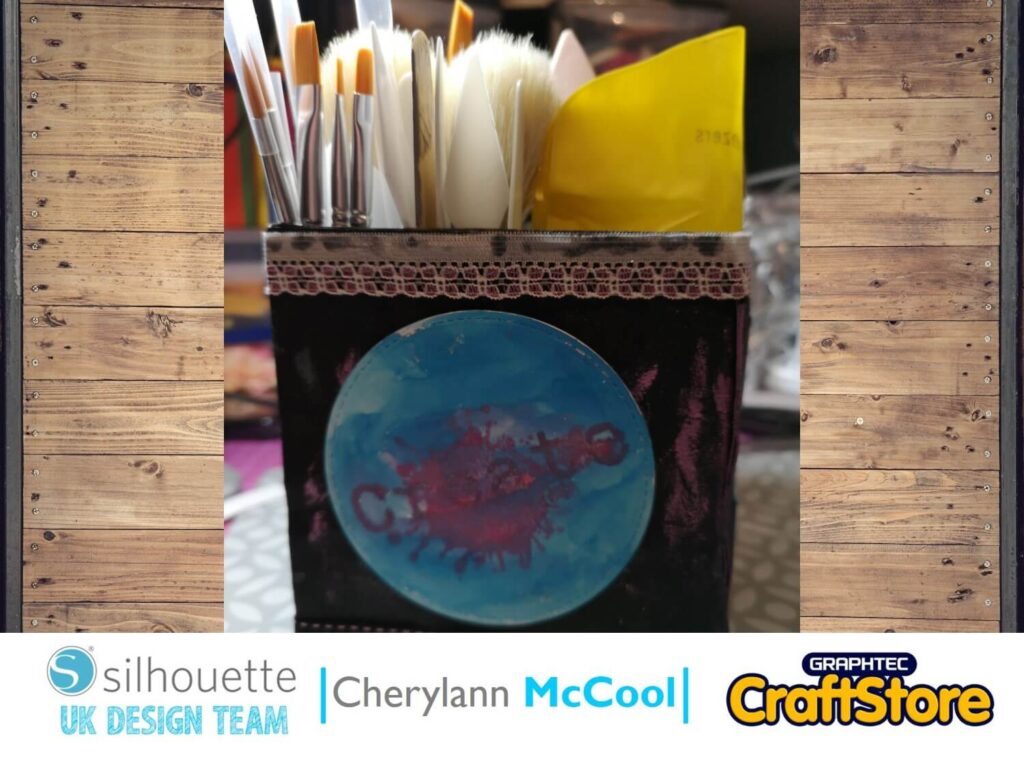
Back-To-School Desk Tidy | Silhouette Faux Leather Sheets
Hi Cheryl here again.
Boy oh boy how quick have the school holidays gone, in Scotland the children about to go back to school.
New school uniforms and shoes, bags and stationary will all be bought for starting back but what about for their desk to keep it clear and tidy?
Why not make a handmade desk tidy and personalized it to sit on their desk.
It’s been made with Faux Leather Paper so let’s see how this has been done.
Craft Materials Used
Silhouette Faux Leather Paper
Silhouette Chipboard
DST and Wet Glue
Inks
Ribbon or Lace
Embossing powder
Stamps
Open Your File
In your software open your file in the design space and workout what the different pieces are for and ungroup the pieces to make things easier.
Right click on the box and select ungroup and then hit enter, you will see the pieces move separately.
(Make Sure You Scroll To The Right For Both Images)
Cutting The Pieces
Check for the main outers of the box and cut your leather paper and chipboard.
For these pieces you will need to go between A4 mat and 12 x 12 mat so just make sure you change mat sizes in the page setup box on right hand side.
Once these have been cut you should, with your chipboard, cut the 2 internal dividers on 12 x12 mat and put aside.
(Make Sure You Scroll To The Right For Both Images)
Wash & Rinse
With all your Faux Leather pieces that have been cut you now need to wash and rinse them well and leave to dry.
(Make Sure You Scroll To The Right For Both Images)
Start The Build
Whilst waiting on your faux leather pieces to dry you can start to build up the chipboard pieces including central parts but only glue or tape these bits.
(Make Sure You Scroll To The Right For Both Images)
Coming Together
Now your Faux Leather pieces have dried it’s time to put these onto the chipboard pieces that match.
You should use a book binding glue but if not available sewing or stitching will work to ensure that all the pieces that fold can be folded once joined together.
Now for the fun part, connecting them all together,
(Make Sure You Scroll To The Right For Both Images)
Taking Shape
The very first piece that you are going to put together is going to be your base and either front or back of the box then add the piece with the front and side to make sure its going to line up.
At this point you want to put the 2 inside containers in and glue internal side between them and hold together with a paperclip.
Now you want to glue all the tabs to hold the box upright and do the same with the last piece, inside you should have 2 square holders and a rectangle holder then leave to dry.
(Make Sure You Scroll To The Right For Both Images)
Time To Decorate
Now the fun bit where you can decorate your box.
You could put ribbon or lace around the bottom like I have then to highlight the Faux Leather paper you can use gilding paste with your finger and highlight the raised bits.
You can then die cut shapes and then use stamps and embossing powder and then the best bit putting all your things into the box.
(Make Sure You Scroll To The Right For Both Images)
The Most Organised Desk In Town
I absolutely loved this project and plus it helped me tidy my desk area up.
It was easy to do but with washing the faux leather paper I was worried it would tear but I can honestly say not one single tear was found.
I would definitely buy this product as there are lots of things that you could use it for. I’m certainly going to be making more desk storage with it.
Well that’s me for this week and next time I will be going red and orange and a little brown and I’m not talking about a sun tan haha!
– Cherylann McCool xx –
Silhouette UK Blog Created By Cherylann McCool
Silhouette Products Used
Silhouette Designs Used
• Design Used: 3D Stationary & Book Holder Organizer Box
Design Store Artist: Jamie Lane Designs
Design ID: 46640 > Download
