Advent Calendar | Cherylann McCool | Silhouette UK Blog
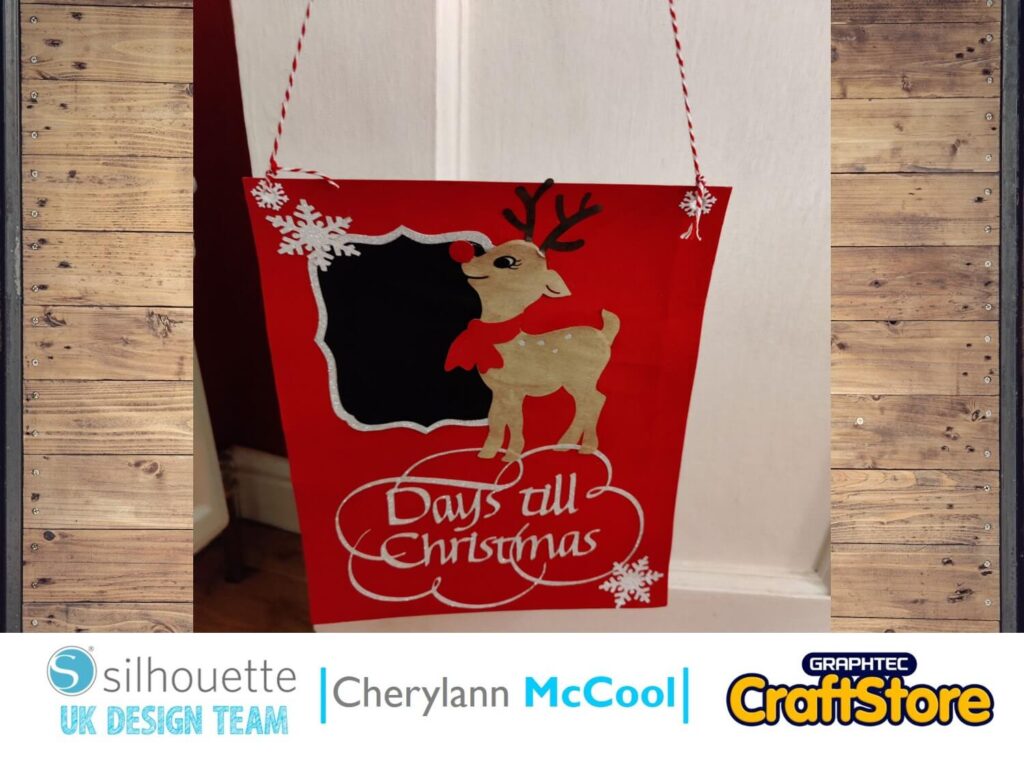
Rudolph’s Countdown
Hi it’s Cheryl here again.
It only feels like yesterday since my last blog and here we are again.
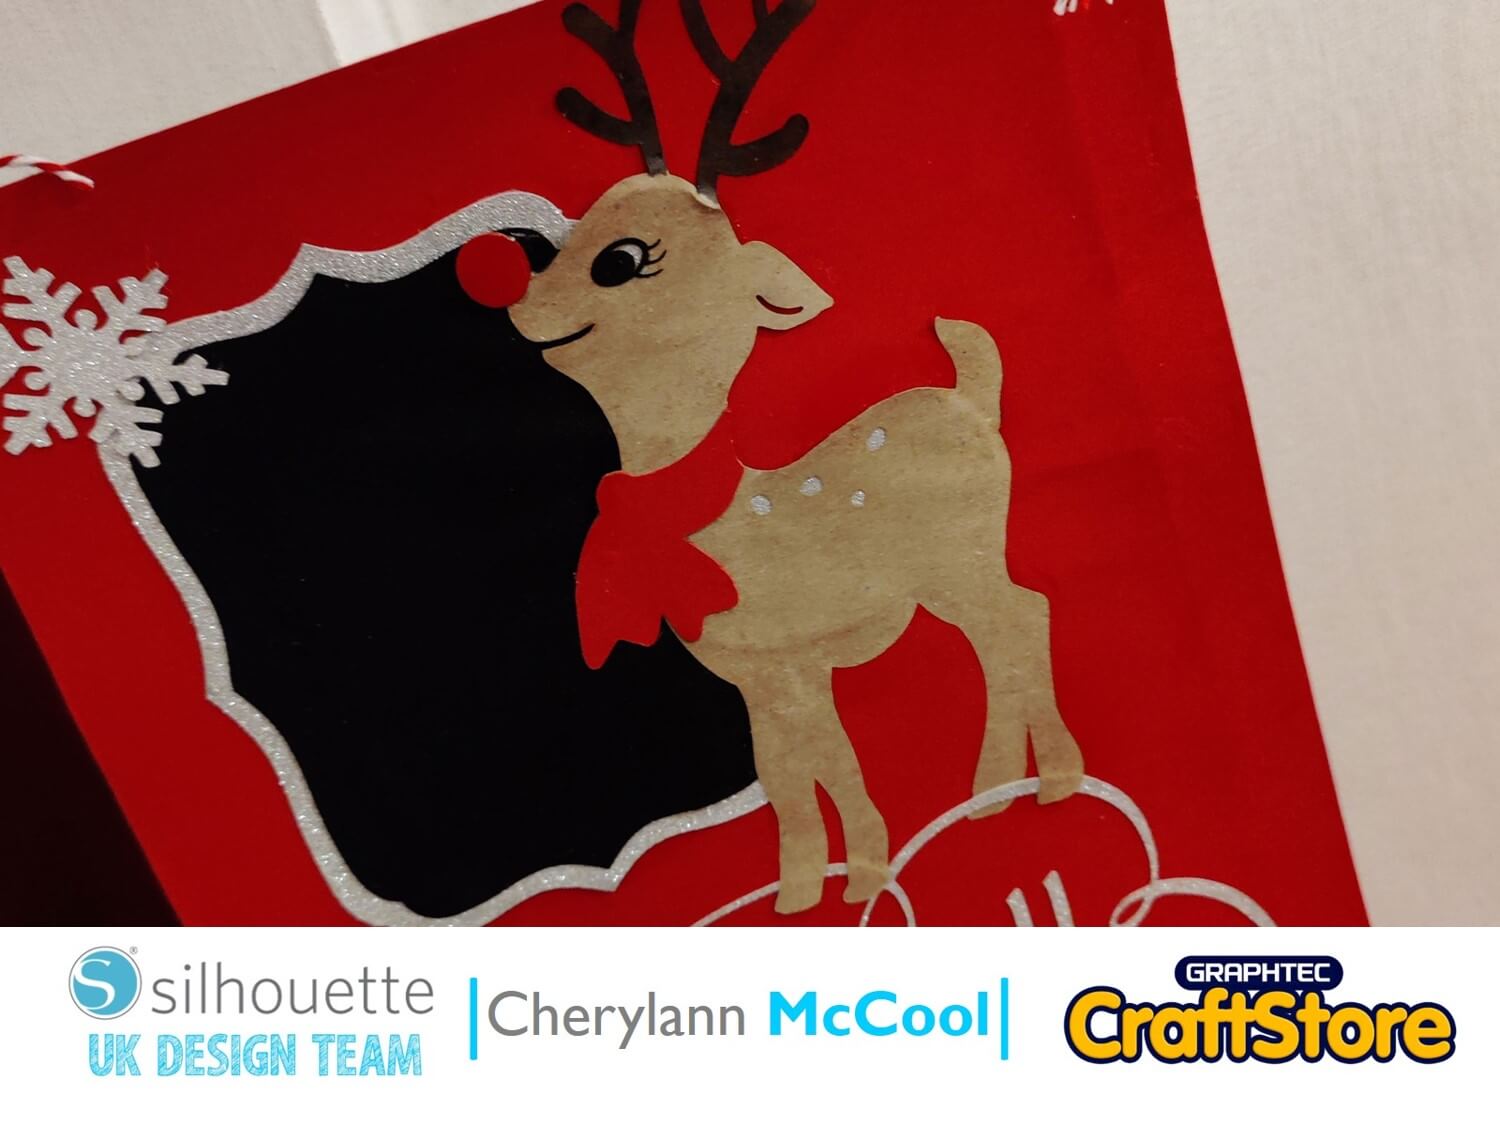
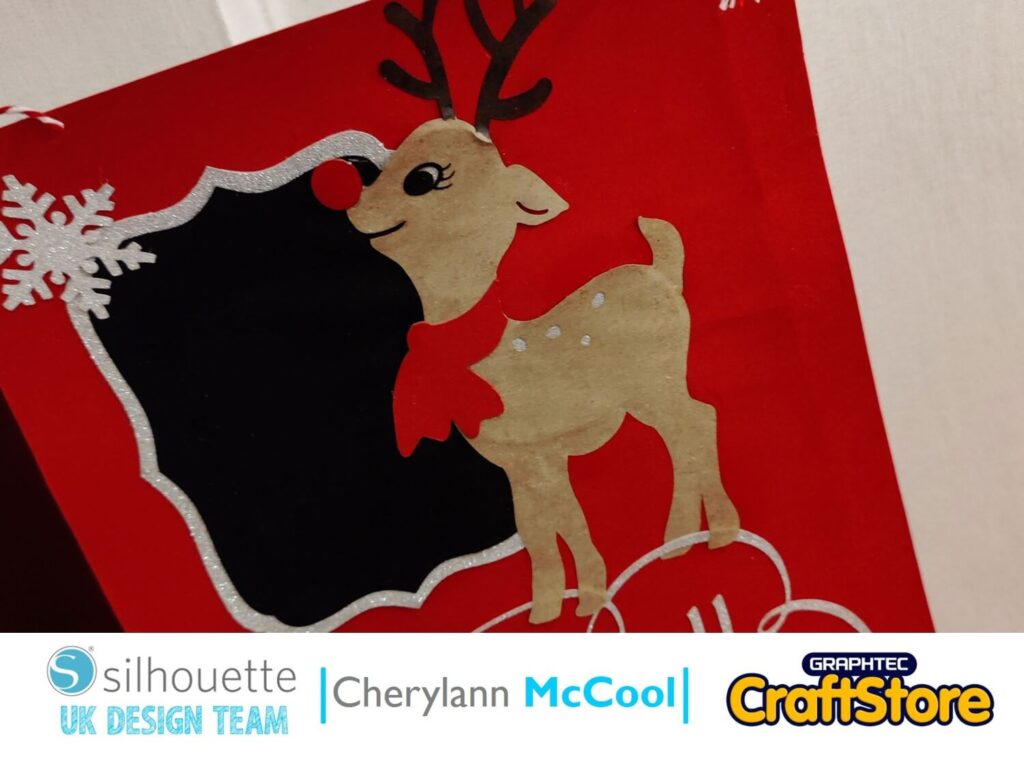
With the way things are just now with Covid I believe that we should all make an effort this year at Christmas and decorate for all to see to bring some cheer and the kids will definitely want this advent countdown that I made with Chalkboard Vinyl.
Craft Materials Used
• Silhouette Chalkboard Vinyl
• Silhouette Cardstock
• Glossy Accents & Eyelets
• Twine / Ribbon
• Glue / DST
Open Your File
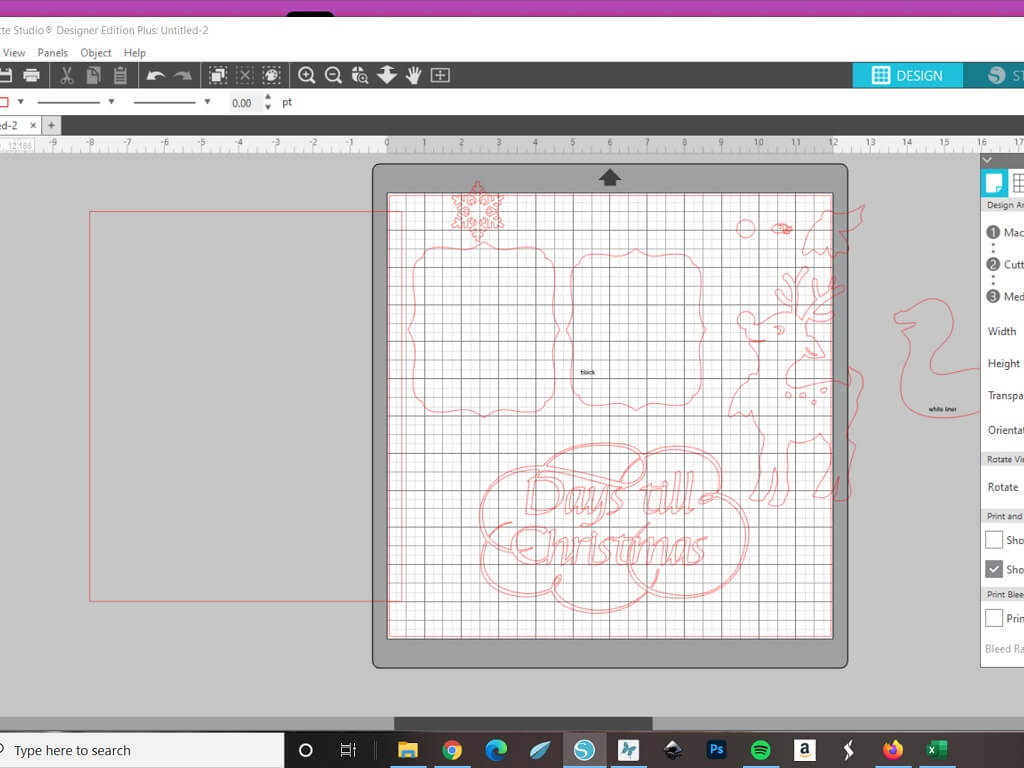
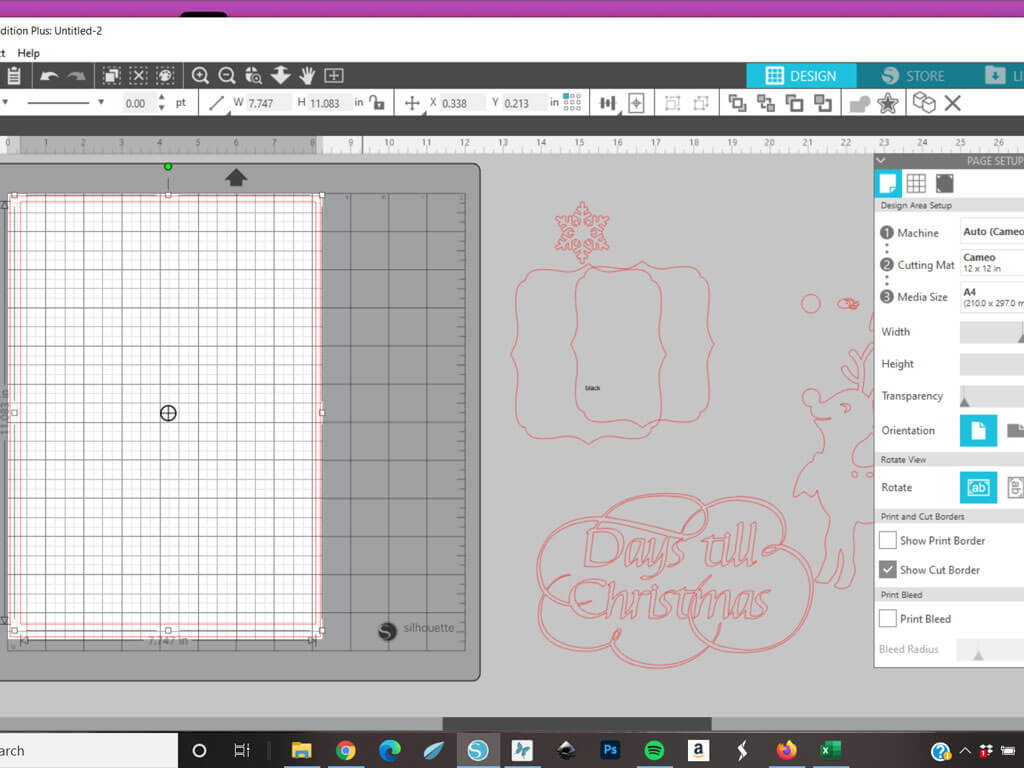
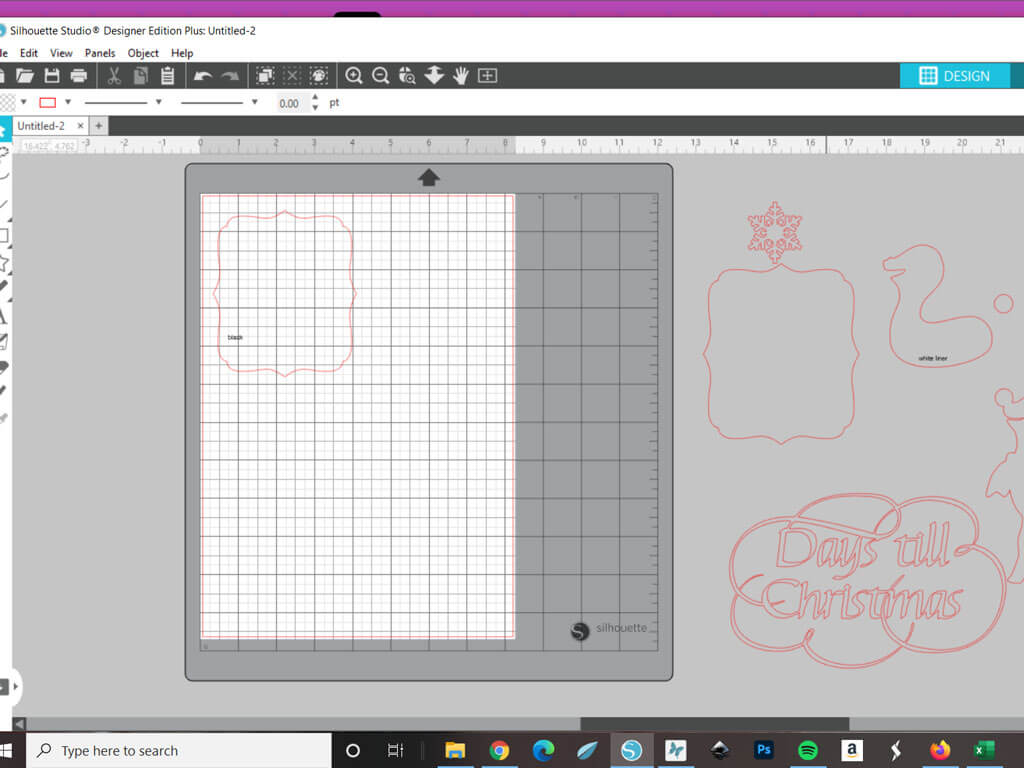
Once you load your file on your software you will see all the bits will appear on the 12 x12 screen but will be wanting to use different cardstock and blackboard vinyl.
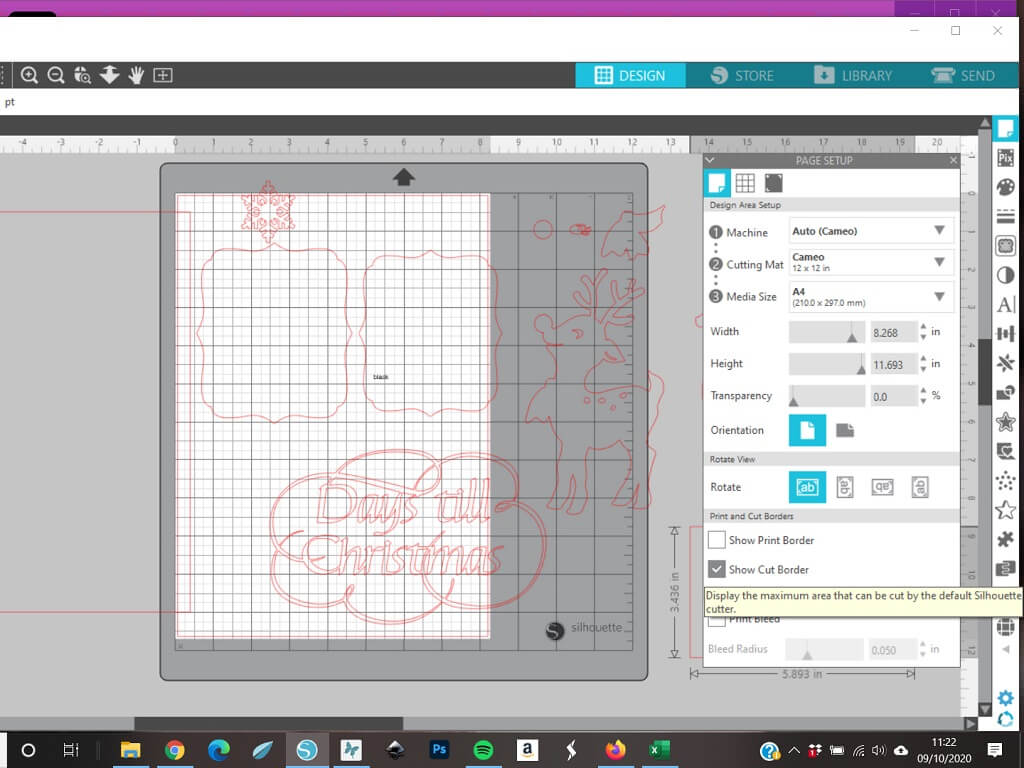
Before starting, if you know you will not be using the 12 x 12 page then over at the right hand side on page setup make sure it reads cameo mat 12 x 12 then Media size to A4 and that the box showing Cut Border is ticked.
Arrange The Pieces
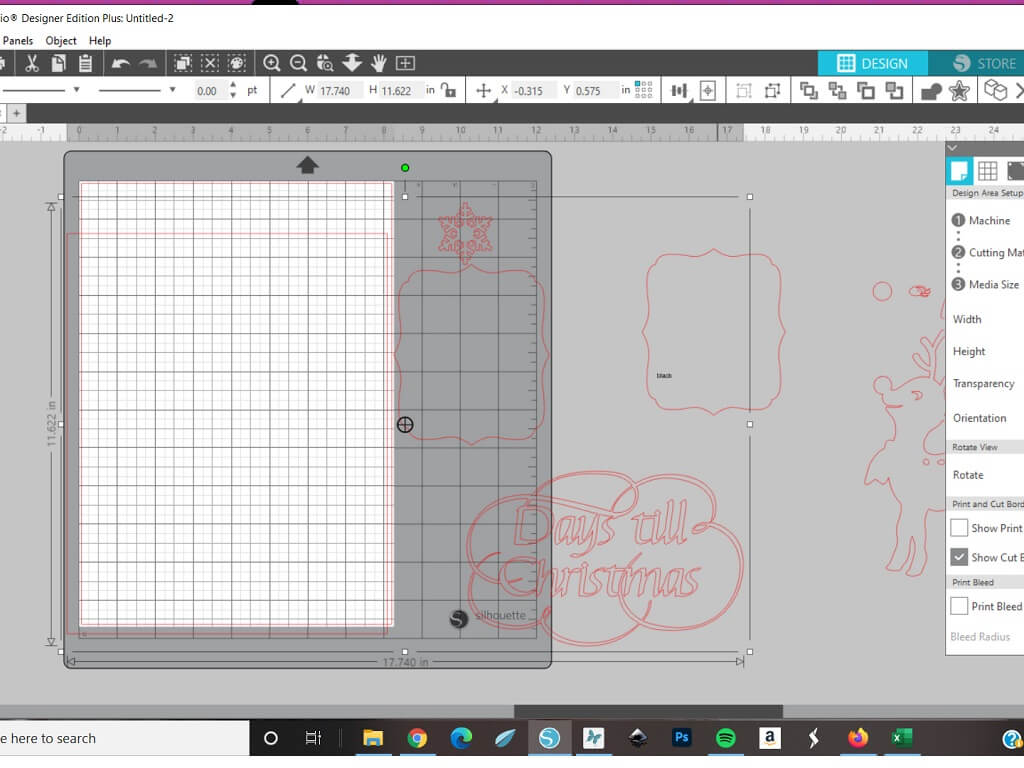
You will want to move all the pieces over to the right side of screen with the black box around it.
Before deciding what piece to cut first I would recommend separating all the pieces.
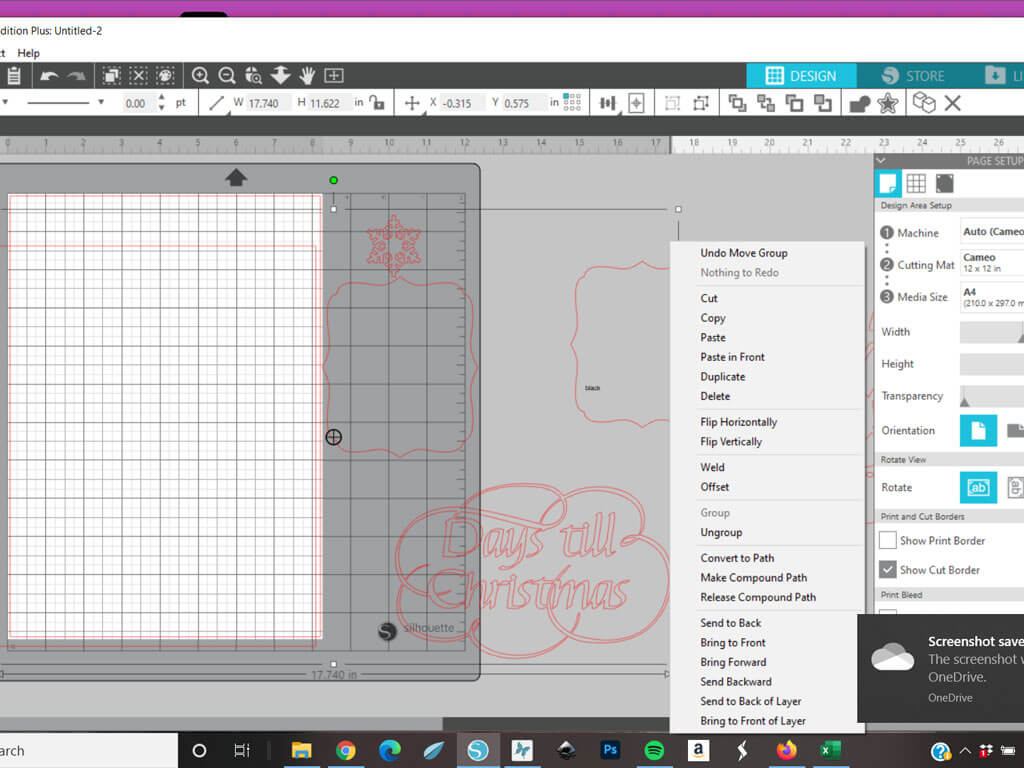
With your black box around all the pieces you want to right click and when the list shows click on ungroup and then hit enter.
If you try to move any part of the file you will see it now no longer moves all the file and if any pieces within the file still stick together you just repeat the above steps and once done move all the pieces to the right hand side and decide on the first bit to cut.
Cut The Cardstock
You should cut your card first for the background.
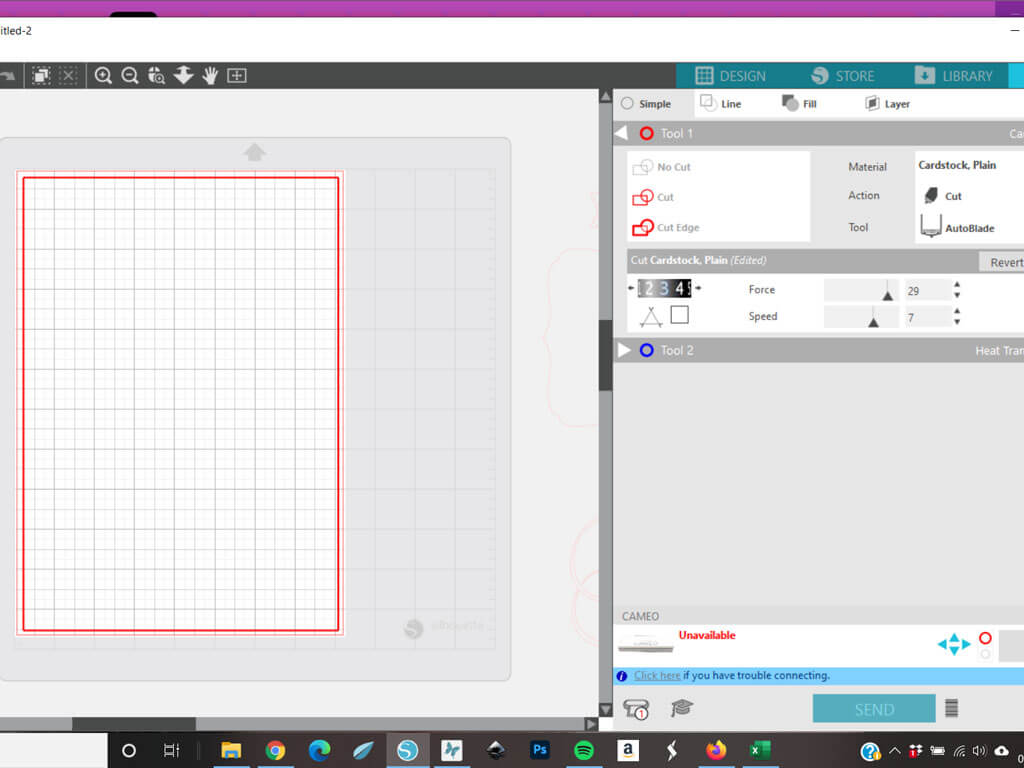
To do this move this back to the screen and once it is in place you then want to hit send, make sure your material is set to plain cardstock and if you are happy with the force and speed or once adjusted then make sure your card is loaded onto your mat and into place on your cameo then hit send.
Once cut move this part over to left side and for all the remaining cardstock pieces follow the same steps as for the background as above.
Cut The Chalkboard Vinyl
Now to cut your blackboard vinyl.
You should first cut a piece of the vinyl making sure it will be big enough and place on your mat and load into machine.
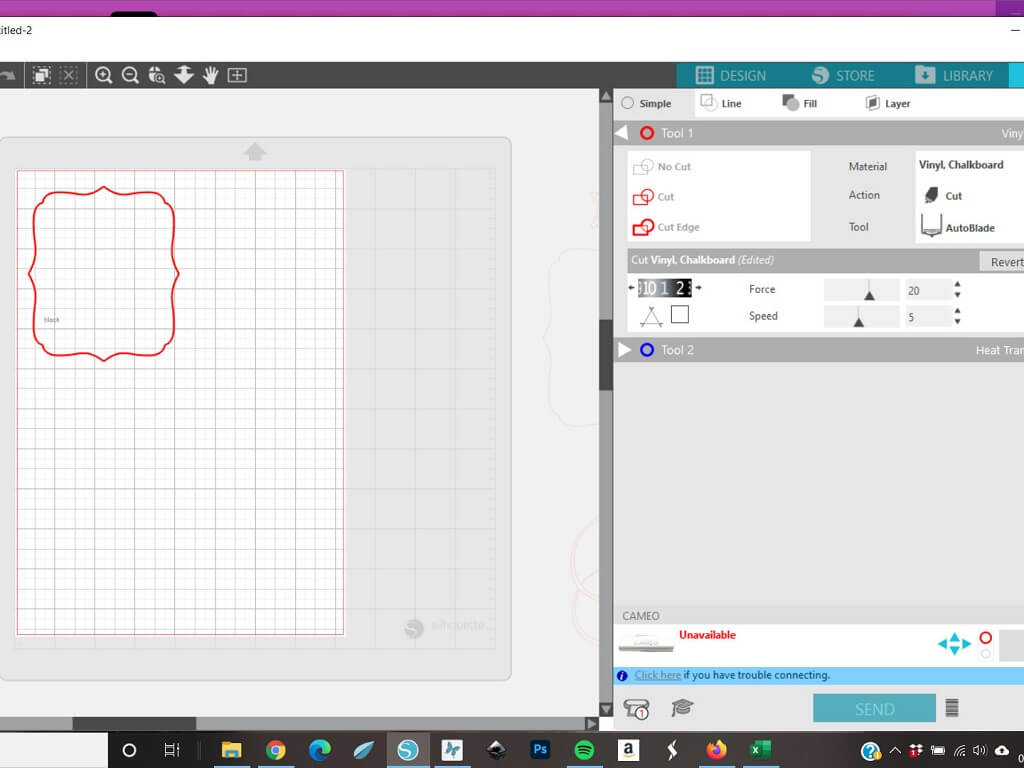
Now make sure you pick the right piece that should have black written small on screen, put this on the mat on the screen and if no adjustments are needed then hit send.
Now you want to change your material to vinyl, chalkboard and if your happy with force and speed then hit send and wait for vinyl to be cut.
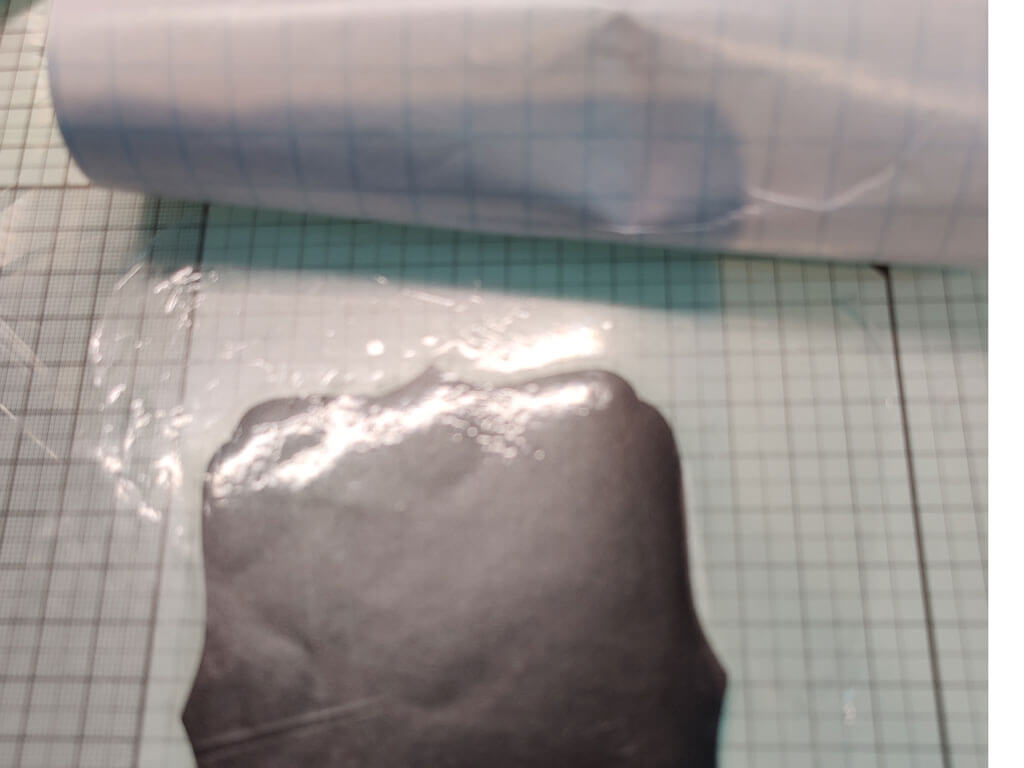
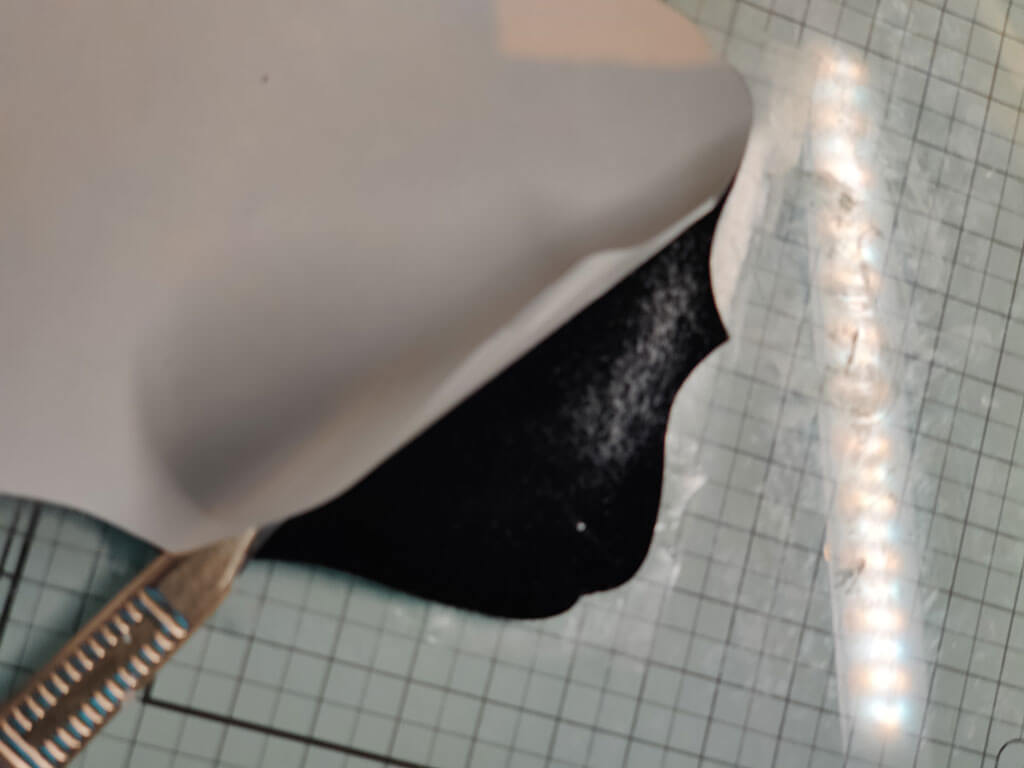
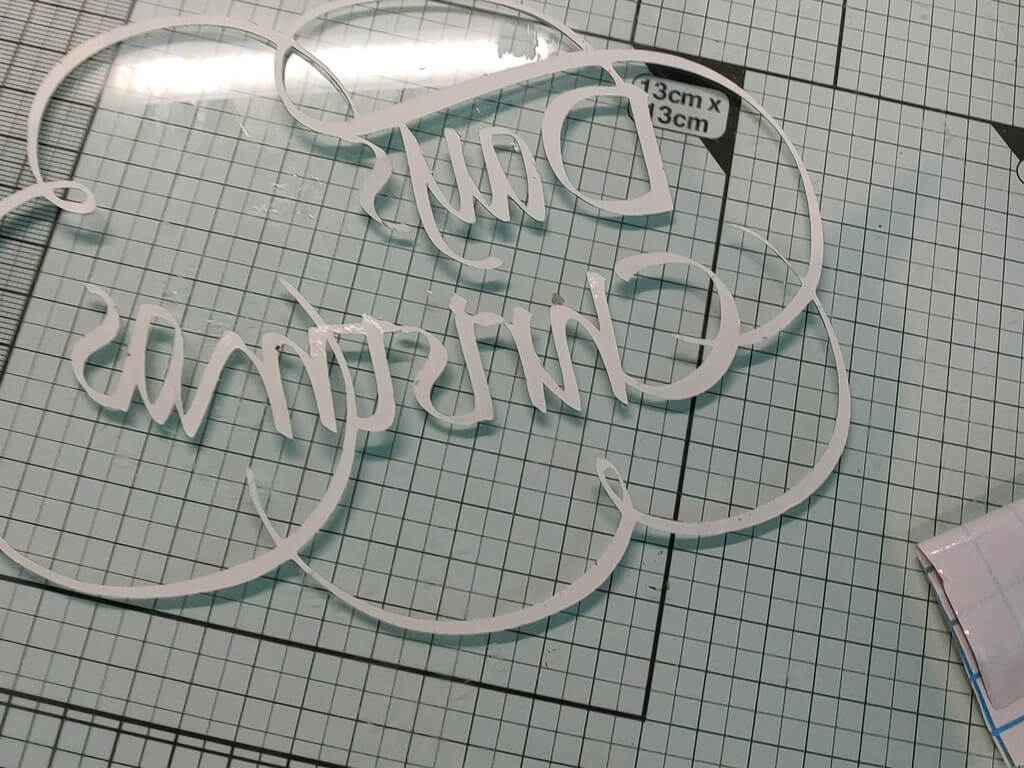
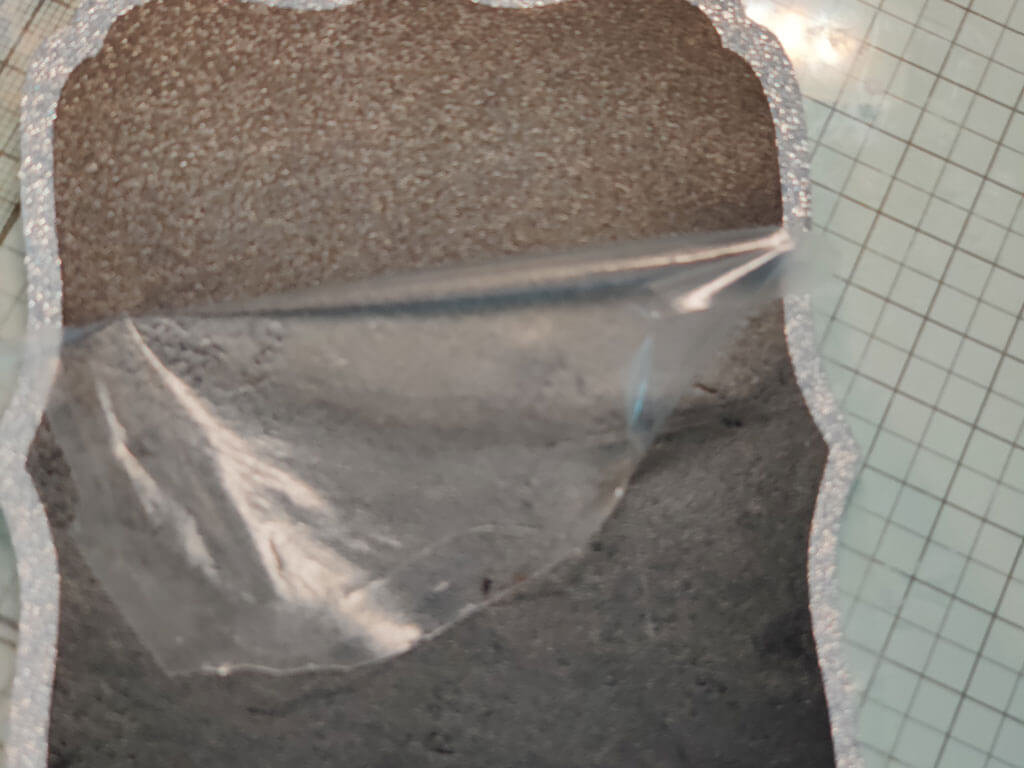
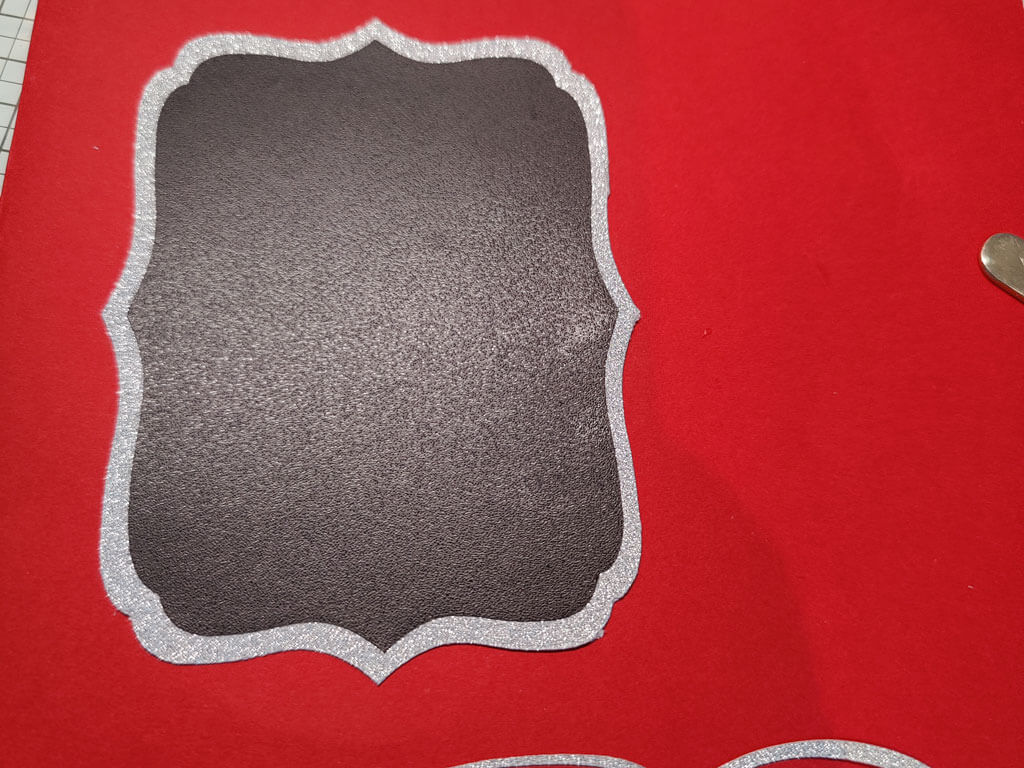
Once cut you want to get rid of the non used vinyl then weed out until you get your piece and on the front you should put transfer paper and take of the backing in prep to be used.
Putting It All Together
Now the fun bit, putting this all together (it’s great fun).
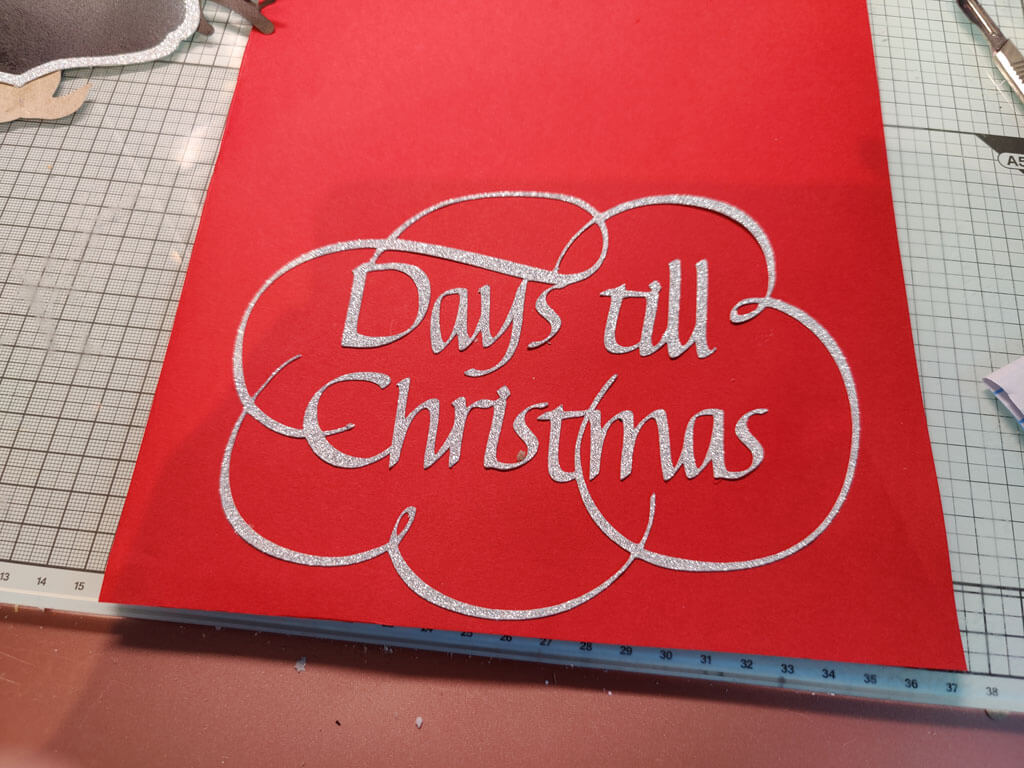
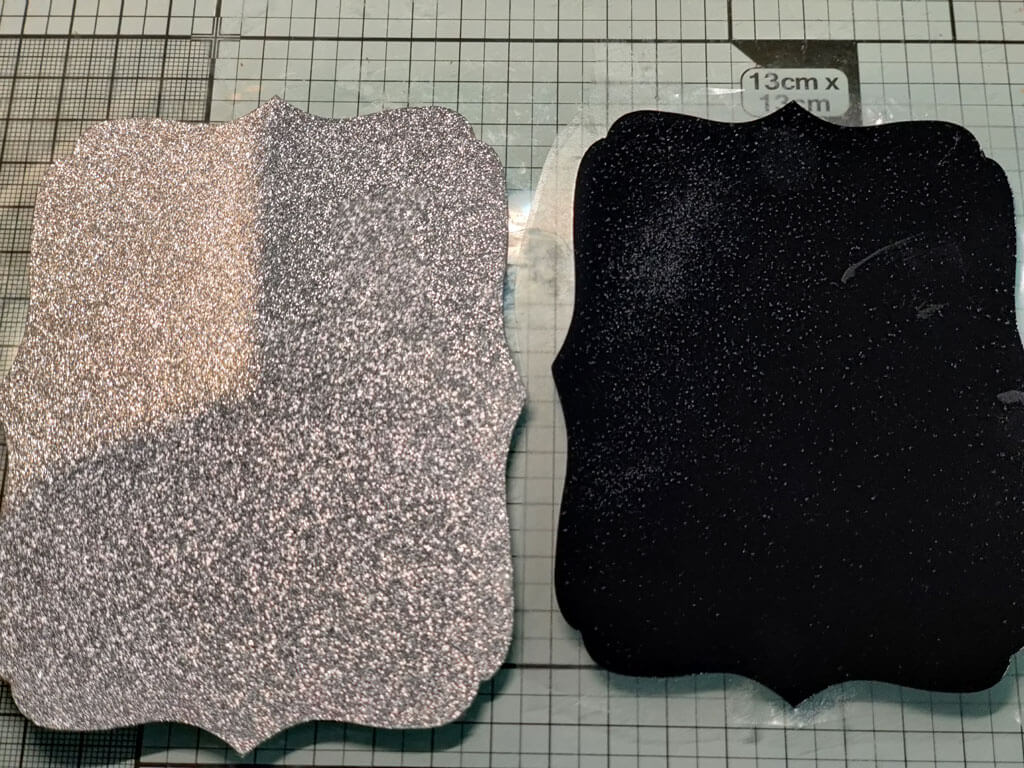
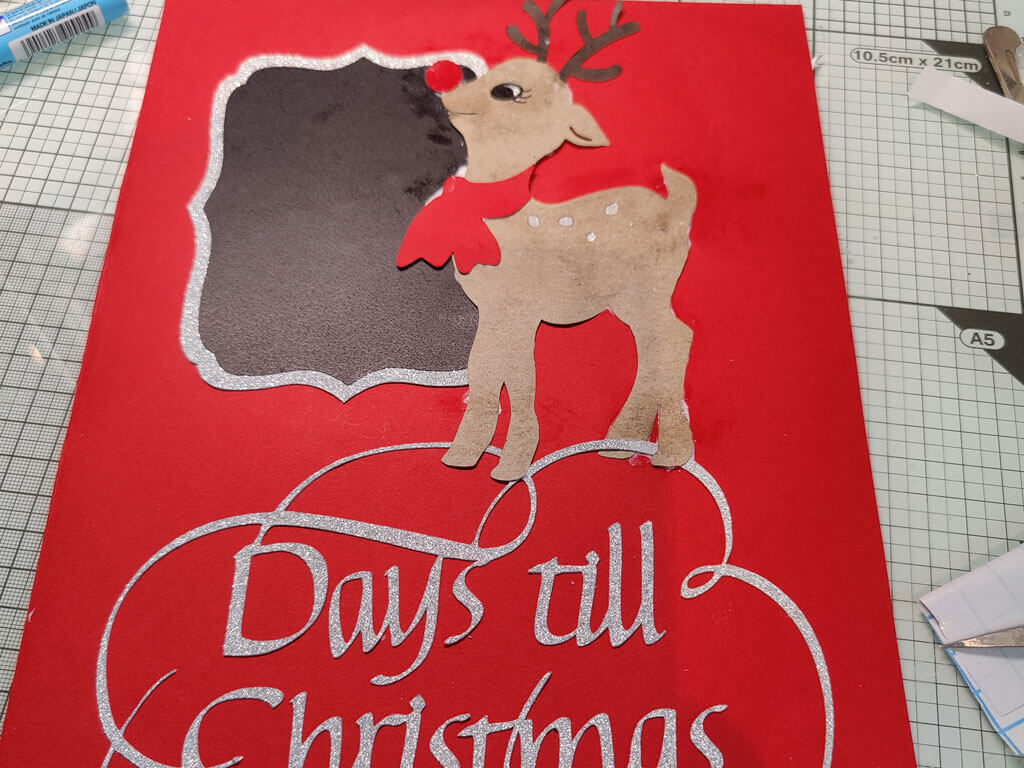
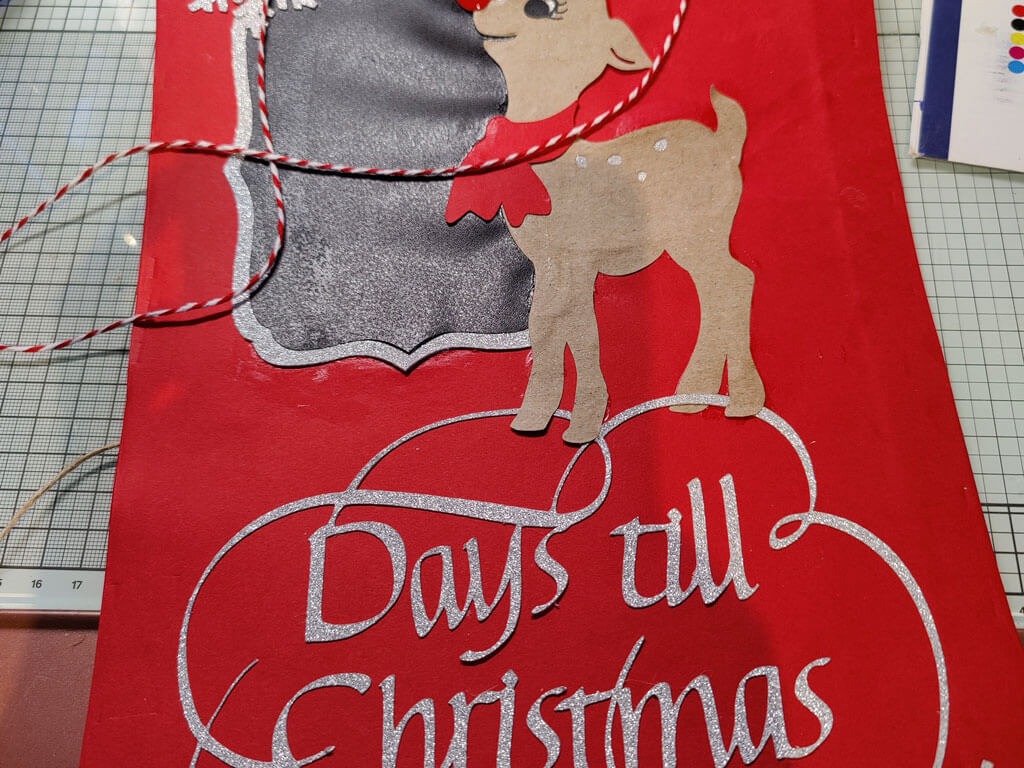
You should put the wording onto the base down at the bottom using glue, then you want to out DST on the glitter card and peel the blackboard vinyl and stick onto the glitter card then you want to out this to the top left hand side but not right at the top.
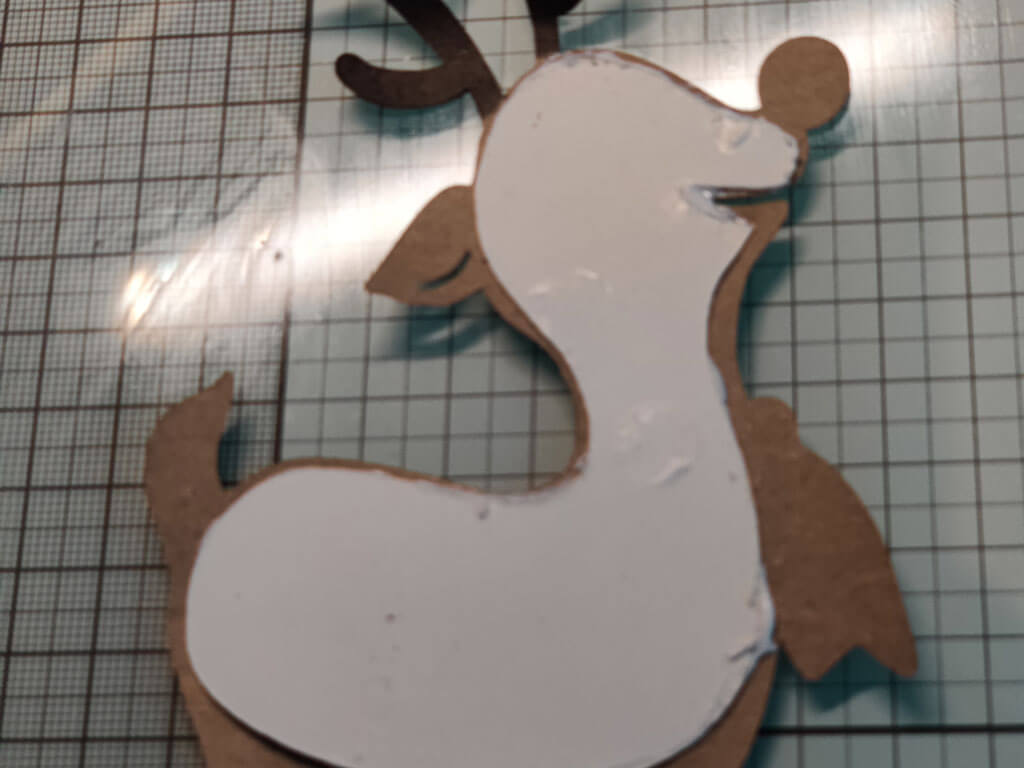
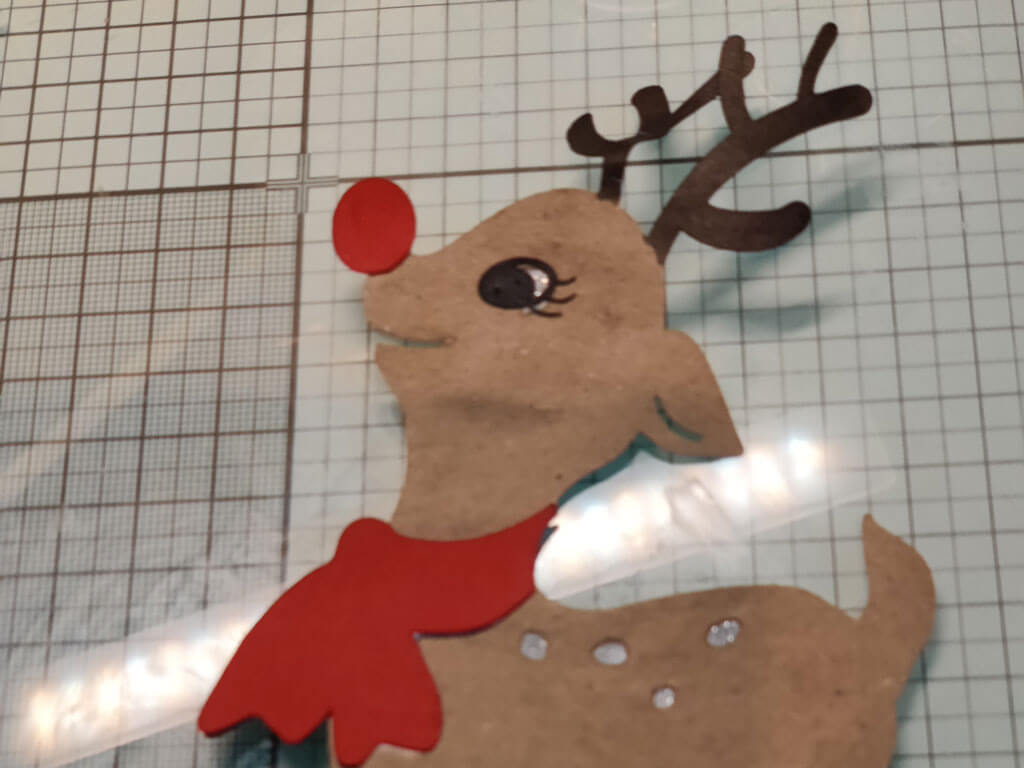
Now you want to build the reindeer and put it to the top right hand side corner but its feet should be touching the wording and body should be touching the left hand side. Finally you want to add the snow flakes with glue and leave to dry.
Finishing Touches
Once all the main sections have dried then you want to punch two small holes at each corner on the top and then set the eyelets into place and then tie Christmas twine ensuring you have enough to hang it up with and that’s it complete.
Well, wasn’t that so much fun to make and a perfect idea to make with your kids, then they could hang them up next to their bed or it could be put near tree.
I really had so much fun making this that I’m going to make more.
Well, that’s it for this week, next time why not come join me in making something for the Christmas dinner table and it could have a small gift to.
Go on, give it a go and then share your makes with us.
Bye for now!
– Cherylann McCool xx –
Silhouette UK Blog Created By Cherylann McCool
Silhouette Products Used
Silhouette Designs Used
• Design Used: Rudolph Days Till Christmas Chalkboard
Design Store Artist: Suzanne Cannon
Design ID: 281015 > Download
