Winter Personalised Tumbler Cups | Graphtec GB Craft Store
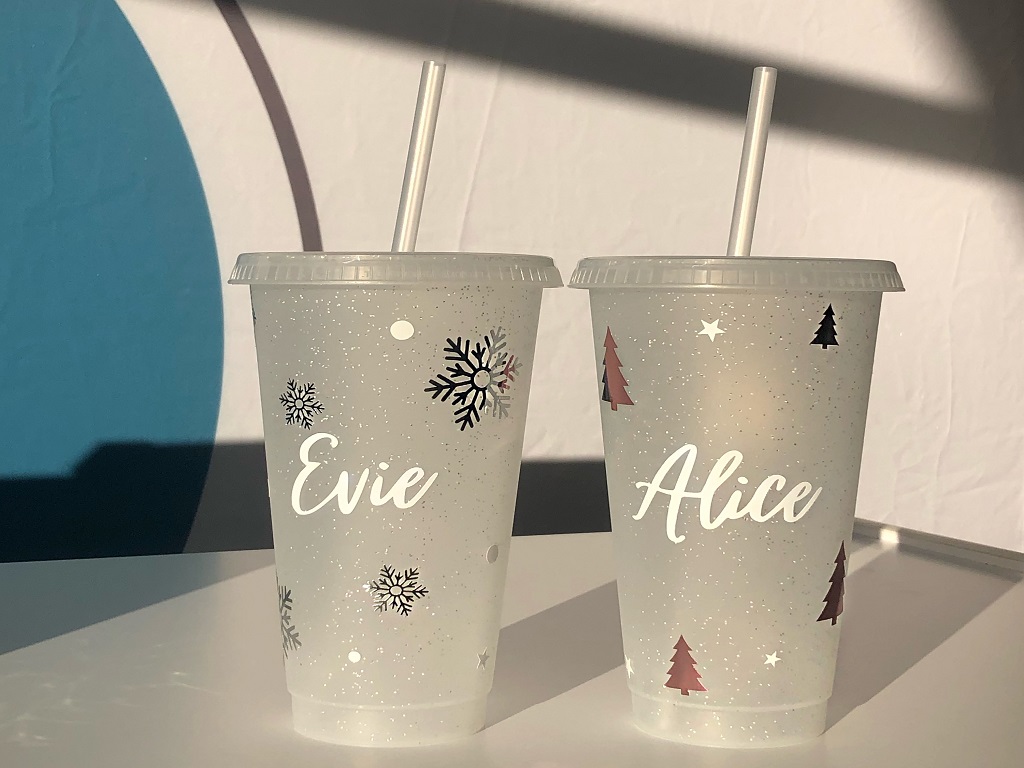
Winter Personalised Tumbler Cups | Graphtec GB Craft StoreWinter Tumbler Cups So for this blog, we will be making winter themed tumblers! The blog post will show you how to…
PLEASE NOTE THAT THE OFFICE WILL BE CLOSED FROM 12PM FRIDAY 20TH DECEMBER 2024 AND WILL RE-OPEN ON THURSDAY 2ND JANUARY 2025
ORDERS FOR DELIVERY PRIOR TO CHRISTMAS WILL NEED TO BE SUBMITTED BY 2.30PM ON THURSDAY 19THDECEMBER 2024.
ORDERS RECEIVED AFTER THIS TIME AND DATE WILL BE DESPATCHED ON THURSDAY 2ND JANUARY 2025.
Merry Christmas & A Happy New Year to all our customers. Thank you for your continued support.

Have you tried Silhouette adhesive card?
If you do you will love it – especially if you like to make projects back filled with patterned paper.
The sticky back to the card makes this technique an absolute doddle!
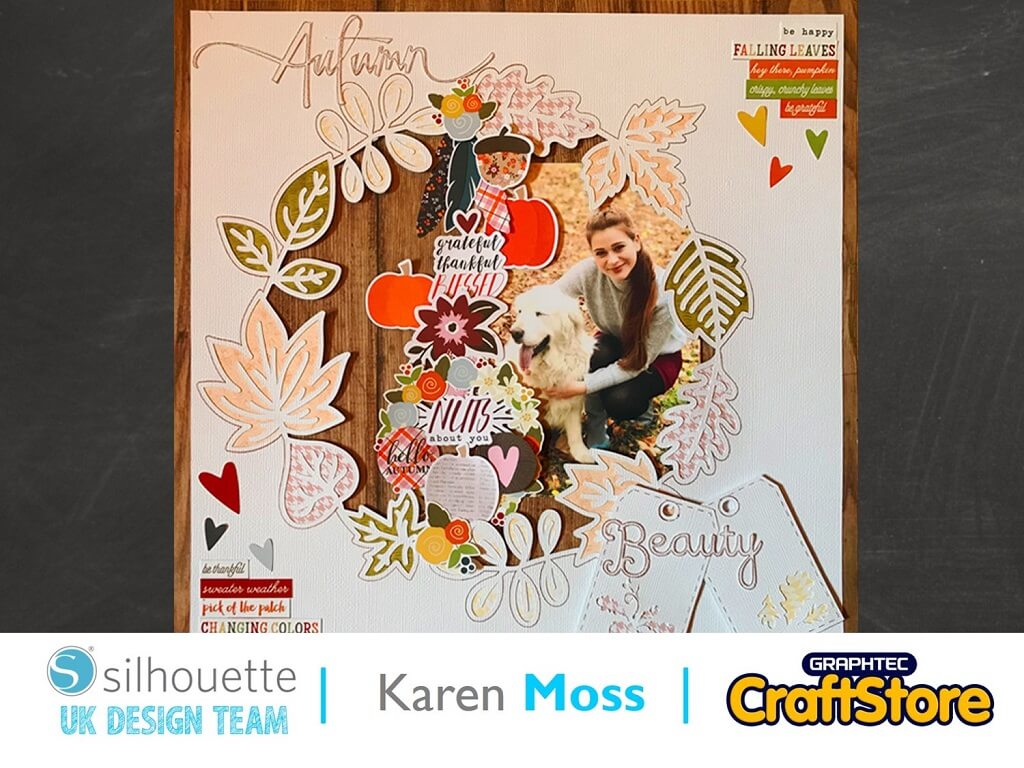
One way I love to use a cut file, that is intended to be backfilled, is to change the outside cut line to a sketch pen line – this means that the design remains attached to the surrounding cardstock.
To do this I use the Release the Compound Path function which can be found under the Object menu.
I then grouped everything but the outer line and changed the outer line colour to blue.
If you have a Silhouette 3 you can set the line colour to blue for sketch pen and red for cut.
If you have a 1 or 2 you will have to remove the blue line to cut and remove the red lines to sketch.
Now, I love this cardstock and try to make sure I don’t waste any.
With this in mind I decided to add all the other elements to my cut design on the area.
It’s so easy to get perfect cut patterned paper for your shapes.
To do this I deleted all but the outlines of the shape.
Then I added an internal offset of 0.05.
I then used the internal offset to cut the leaves for the wreath.
I placed four 5 in squares of different coloured papers onto my cutting mat and then arranged the leaves on my design space to correspond.
Now this is my favourite thing about adhesive cardstock – when backfilling the adhesive is already there – all you have to do is add the paper to the back – easy peasy lemon squeezy!
Because I had cut my title and tags from adhesive backed card it was easy to back the tags with a small piece of patterned paper and to add them and my title to my page.
I hope I have shown you how easy adhesive backed card is to use when you are making paper backed designs.
I love the ease with which it can be cut and used.
– Karen Moss –
• Design Used: Leaf Wreath
Design Store Artist: Paige Taylor Evans
Design Store ID: 276147 > Download
• Design Used: Tags – Autumn
Design Store Artist: Tanya Batrak
Design Store ID: 104875 > Download
• Design Used: Autumn
Design Store Artist: Loni Harris
Design Store ID: 21700 > Download