Valentines Stickers and Card | Denise Clark | CraftStore Direct Blog
Valentines Stickers and Card
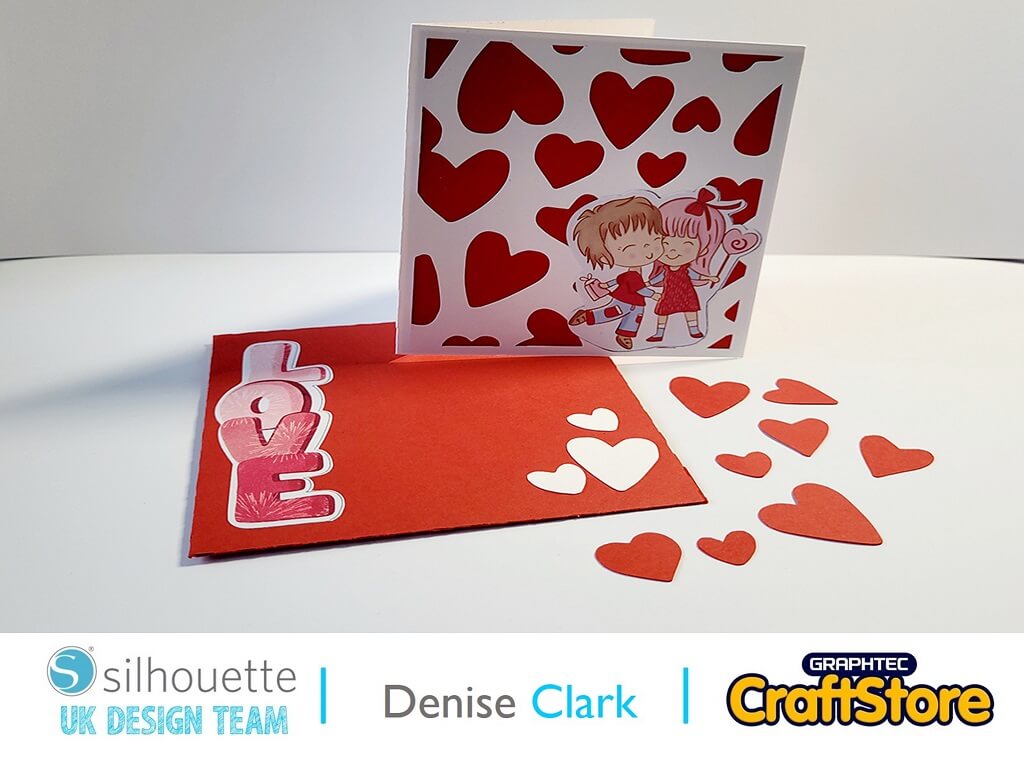
Hello Denise here, how you all doing. Today’s Blog is for Valentine’s day. Valentine can be for anyone I always give my grandsons a Valentine card and something small. Today we’ll be using sticker sheet and card so lets get onto it.
Materials used.
Silhouette sticker paper
Glue
Opening Your File
Open your silhouette programme and go to right hand side at the top where it says library click on it and look for your file.
First we are starting with the Valentine’s stickers.
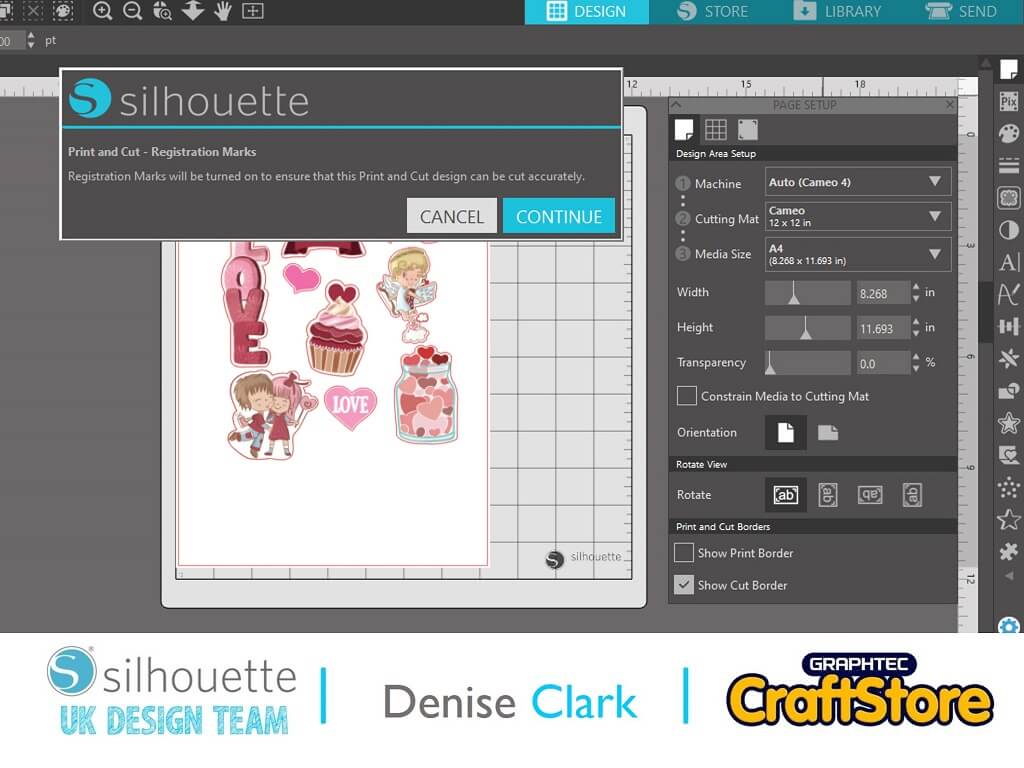
Once you load the file onto your design space you’ll see a box appear that is for your registration marks click on continue.
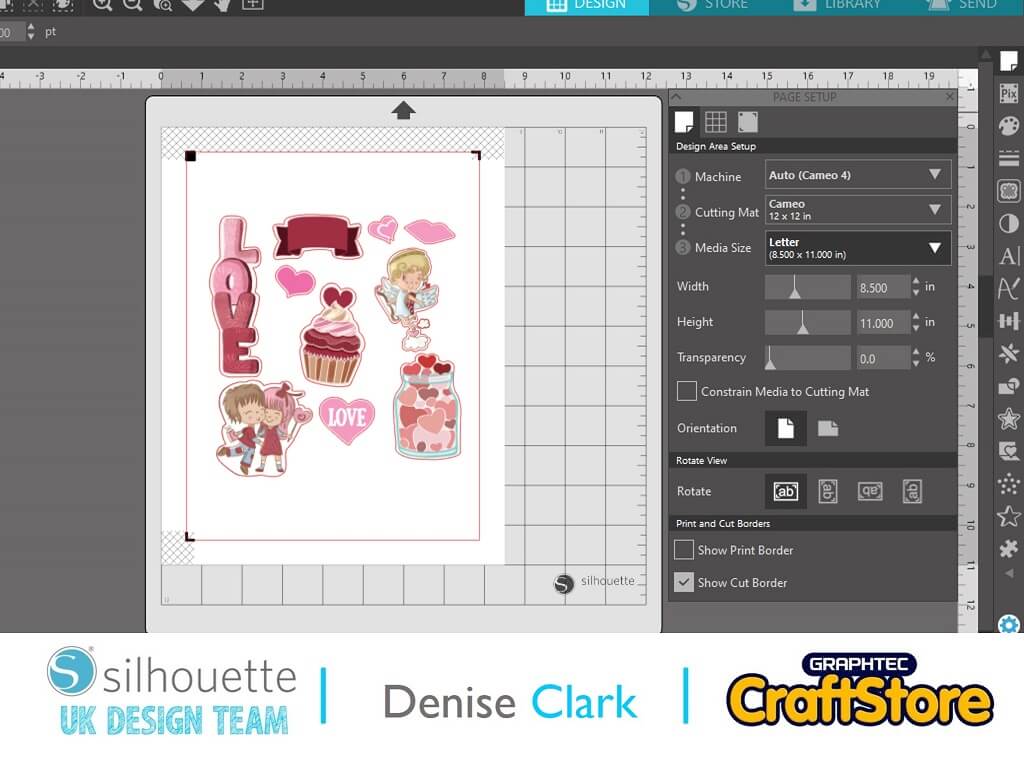
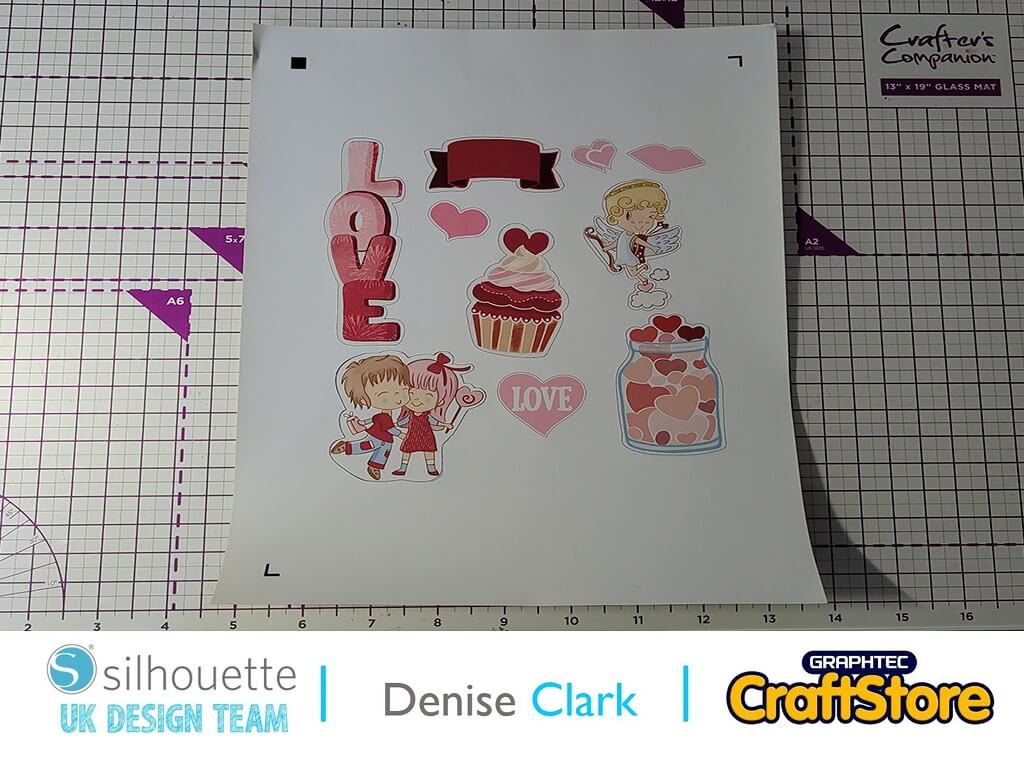
Now you’ll see your registration marks in black you need them on to print and cut. The sticker sheets are smaller than an A4 so you need to go to right hand side and click on page set up and click on media size and a drop down list will appear.
Your wanting the letter setting once down that your ready to print your stickers
Printing and Cutting
Go to top left hand side and click on the printer sign and it will bring up your printer settings print the stickers with recommended settings for them and print,.
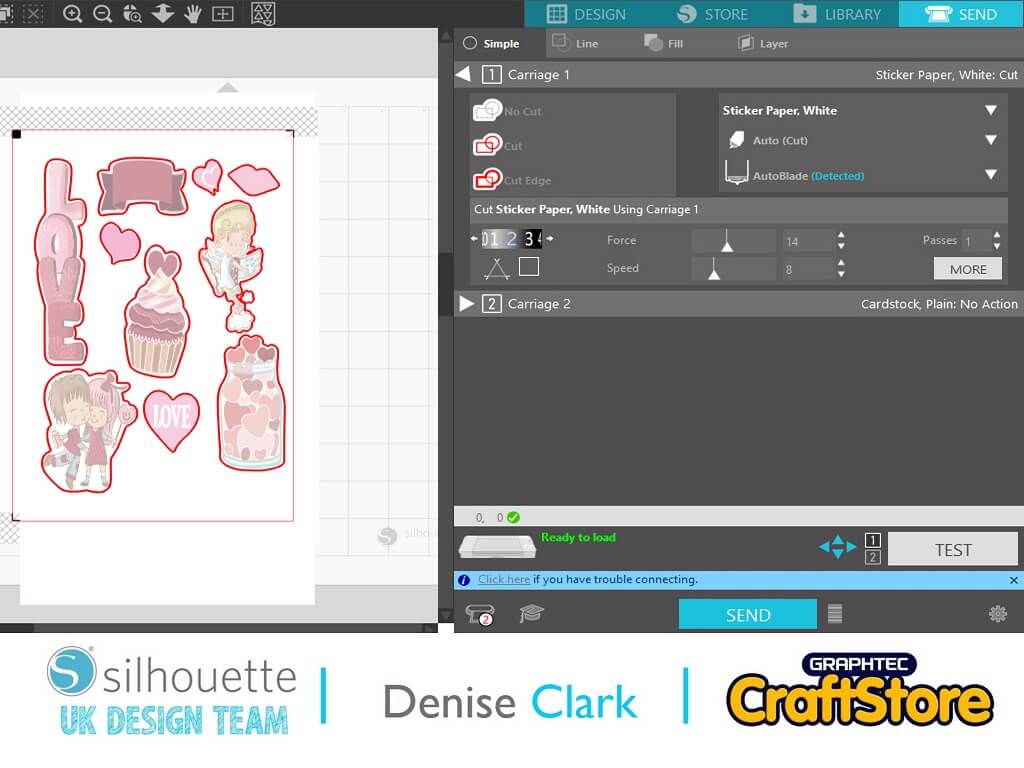
Once it has been printed put it on your cutting mat and load onto your cameo then go to top right hand corner to send click on it and this is where you’ll find everything for cutting your media.
You are wanting white sticker paper and the rest of the settings are done for you and now click on send which will look for your registration marks once found it will now to start cutting.
Now for the Valentines Card
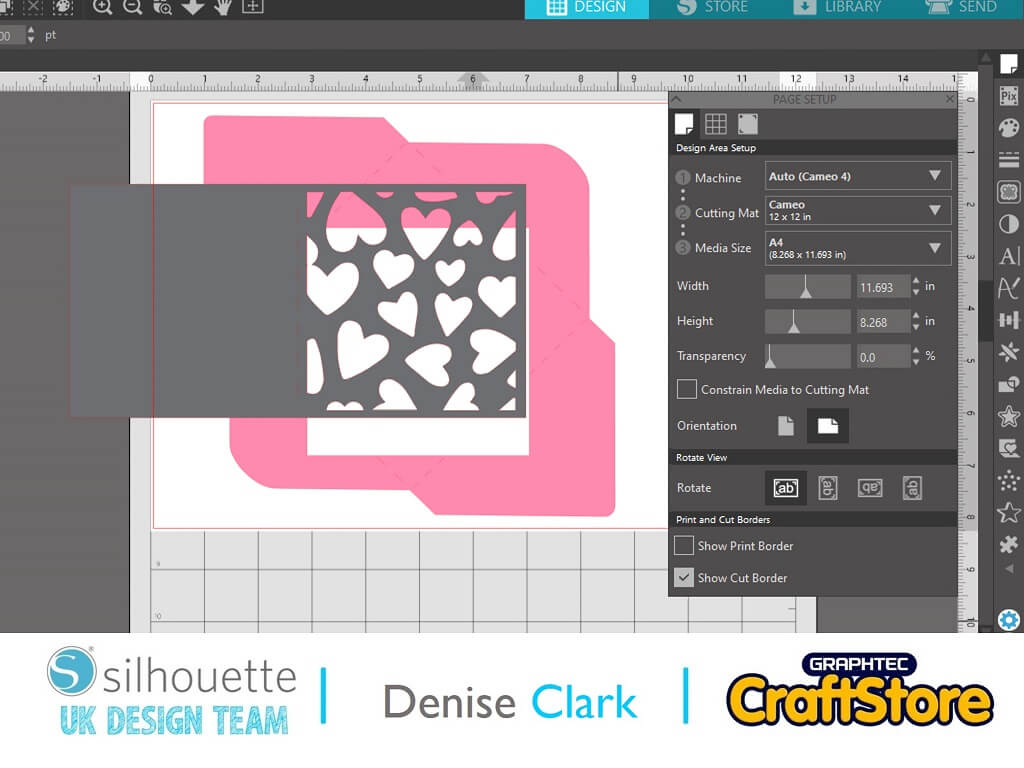
Do the same as you did for your media the sticker paper for doing your card find it in library and load it onto design space.
I resized the file a bit bigger by clicking onto the file and drag it by the corner and to the size I want.
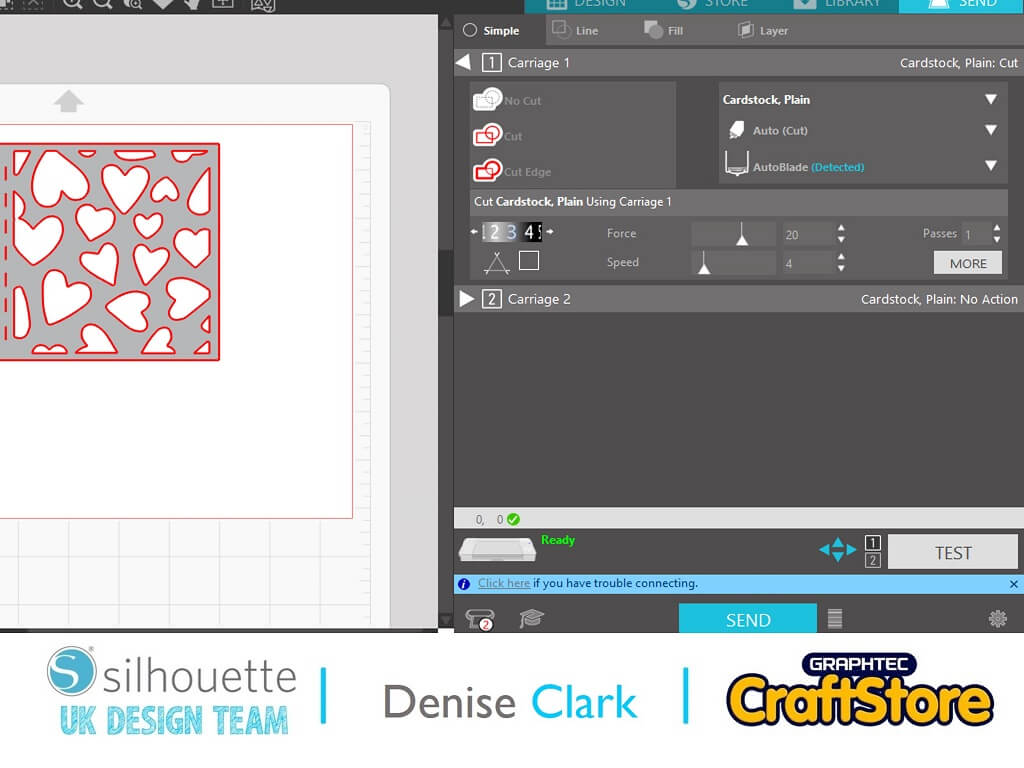
I cut each piece out by adding one part of the file at a time onto the design space and cut by going to top right hand corner click on send and then for your media your using your wanting card stock plain setting are all done for you. Now cut each part out.
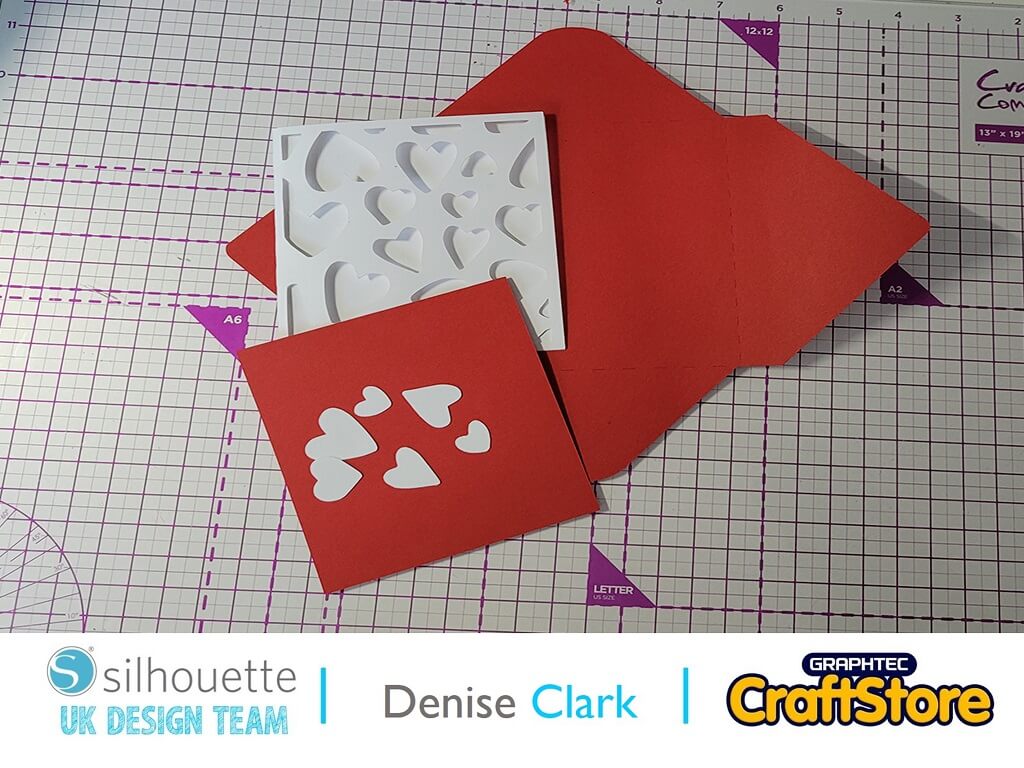
With using white card for main part of card I kept a couple of white hearts to put on the envelope
Assembling your card and envelope
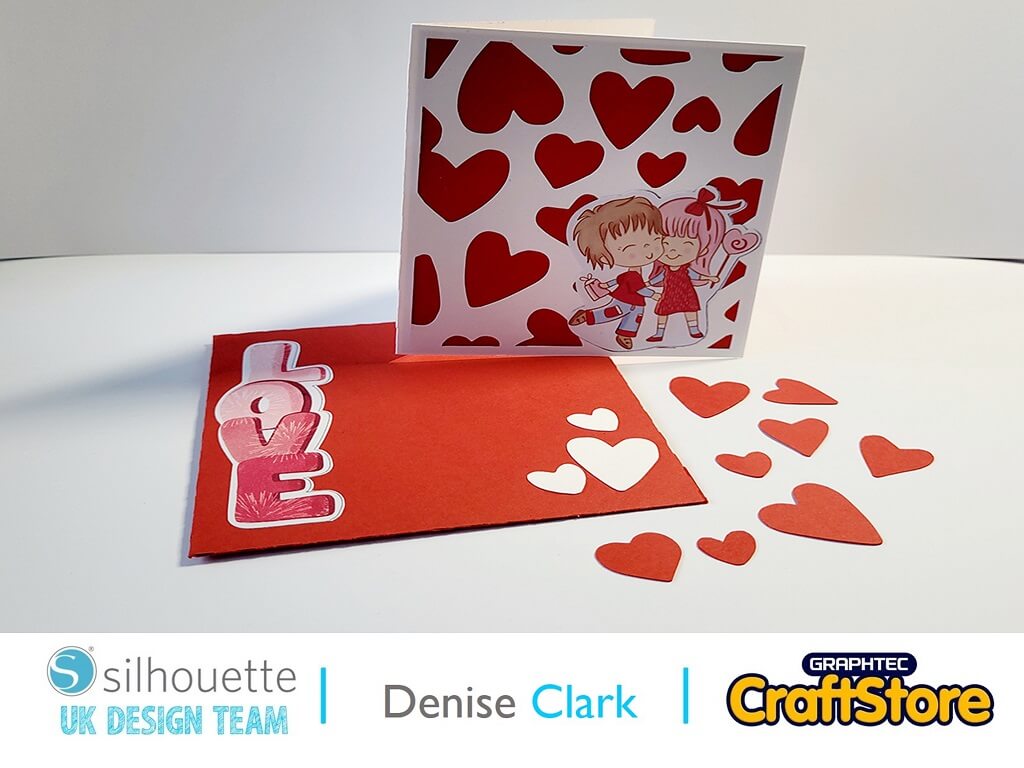
Now all your parts have been cut it’s now time to assemble it together in the inside of the card I used wet glue round the edge where the hearts have been cut out.
I used red card for the inner part of the card and adhere it to the main card. I folded the card along perforated line. Now your card is ready.
Now you have your envelope in front off you now fold where the perforated lines are.
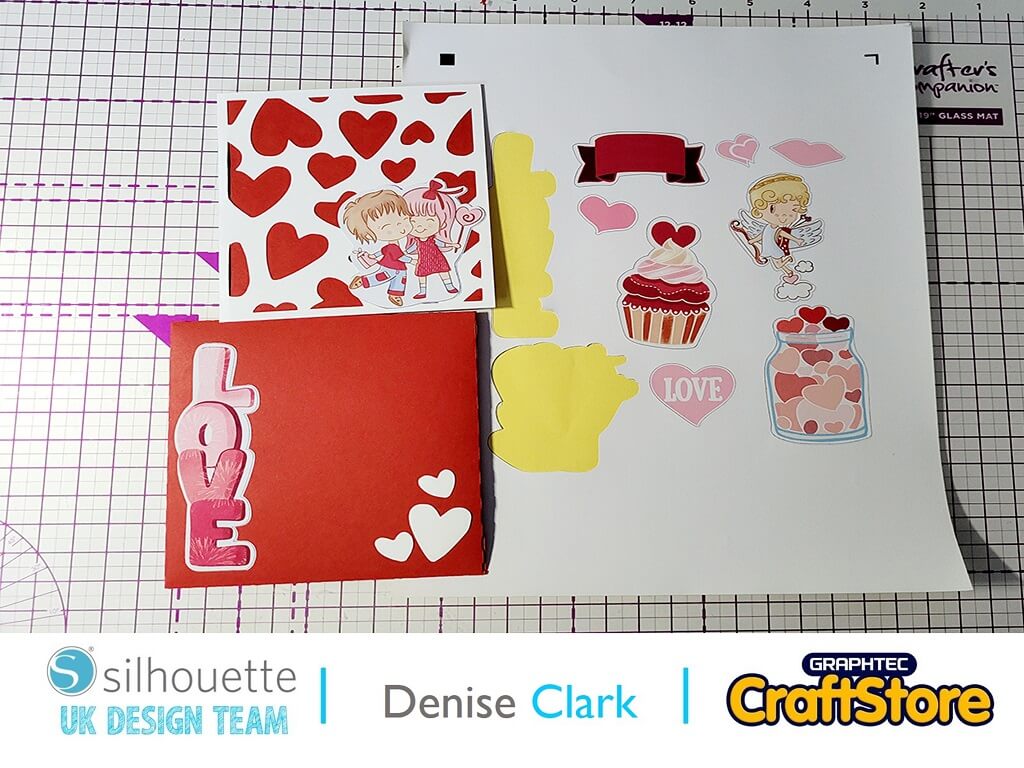
I added a little wet glue to adhere the envelope together. Once I did that I added a couple of the white love hearts to the front of the envelope. I used a couple of the stickers that we printed off and cut and add to the card.
Now your card and envelope is all done and you can now send it off to your Valentine
These stickers were easy to do. You can add them to almost anything just remember they are not waterproof.
Doing the card which you can use for anybody you want to give to for your Valentine or just want to give to your special person you can give it the way it is or add embellishments to it.
I added sticker and couple of stickers to the envelope. Hope you will pop back and see what we create for St David’s Day.
CraftStore Direct Blog Created By Denise Clark
Products Used
Silhouette Designs Used
Design Store Design Used :MINI HEART CARD AND ENVELOPE
Design Store Artist: Dresden Carrie
Design ID: 395529
Design Store Design Used :VALENTINES PRINT N CUT STICKERS
Design Store Artist: Graphic House Design
Design ID: 395425
