Thanksgiving Bib | Karen Moss | Silhouette UK Blog
Thanksgiving Bib | Silhouette Heat Transfer Material
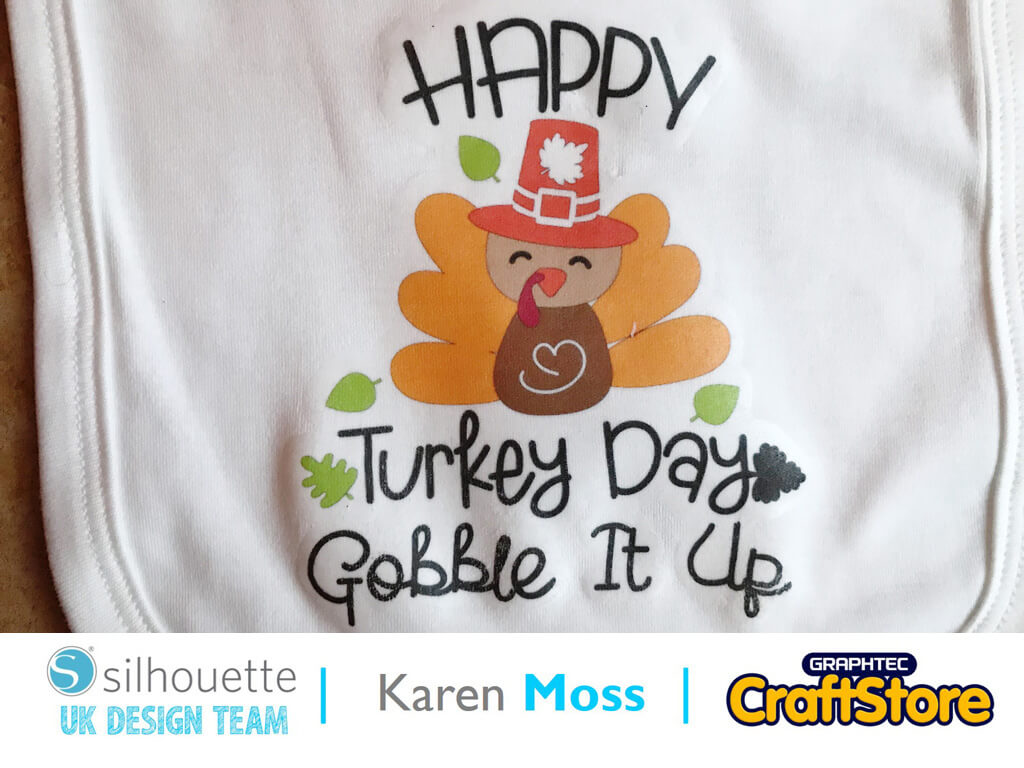
Hello, Karen here with a quick blog post on how I created my Thanksgiving Bib.
This week the DT are using printable HTV for our projects and as we were tasked to make something for Thanksgiving I decided to make a cute little bib.
Opening The Design
When I opened the design it had 15 different designs and I would normally ungroup them and remove the ones I didn’t want.
This design didn’t want to ungroup or release the compound path.
Editing The Design: Part 1
I decided the quickest way to get the section I wanted was to draw a square around it and then use the ‘Crop’ function.
Editing The Design: Part 2
This left me with the section of the design I wanted along with all the cut lines – I was able to ungroup these and remove the ones I didn’t want.
I also used the Eraser Tool to remove the remaining parts I didn’t want.
I resized my design to 5 ins tall.
Adding Additional Words To A Cut Line
Once I had erased all the parts I didn’t need I gave my design an external offset and used PN Juniebear Cursive to add ‘Gobble It Up’ below the turkey, remembering to turn of the cut lines and to fill the text with black and to change the line to black also.
I gave this an offset and positioned it below the turkey then merged the two offsets.
Preparing The Design For Printing
The only thing remaining was to add registration marks and mirror the design before printing and cutting.
Gobble It Up
This was a fairly quick project to make and I found the printable HTV really easy to apply – rather than heat my heat press up I simply followed the instructions on the pack and used my iron.
– Karen Moss –
Silhouette UK Blog Created By Karen Moss
Silhouette Products Used
Silhouette Designs Used
• Design Used: Kawaii Sweets Pattern
Design Store Artist: Jennifer Wambach
Design Store ID: 30501 > Download
• Design Used: PN Junibear Cursive
Design Store Artist: ScrapNfonts
Design Store ID: 237274 > Download
