
School’s Out For Summer | Cherylann McCool | Silhouette UK Blog
School’s Out For Summer | Cherylann McCool | Silhouette UK BlogIt’s Looking Greek To Me Hi it’s me Cheryl here again. Boy has the weather changed here in Scotland some…
PLEASE NOTE THAT THE OFFICE WILL BE CLOSED FROM 12PM FRIDAY 20TH DECEMBER 2024 AND WILL RE-OPEN ON THURSDAY 2ND JANUARY 2025
ORDERS FOR DELIVERY PRIOR TO CHRISTMAS WILL NEED TO BE SUBMITTED BY 2.30PM ON THURSDAY 19THDECEMBER 2024.
ORDERS RECEIVED AFTER THIS TIME AND DATE WILL BE DESPATCHED ON THURSDAY 2ND JANUARY 2025.
Merry Christmas & A Happy New Year to all our customers. Thank you for your continued support.
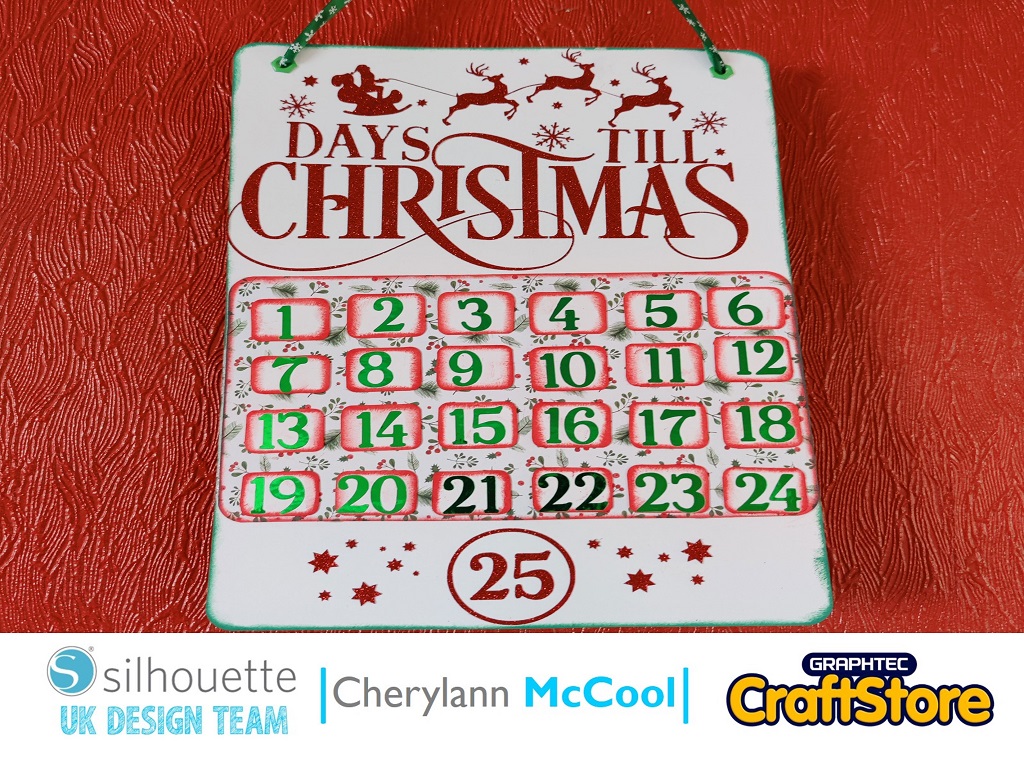
The 1st of December is almost here, so this year I have decided to make my own advent calendar using the Silhouette Shadow Box Countdown Calendar.
It can be decorated and customized in your own colours and also comes with a Download Card with Exclusive Designs for the Calendar.
I have decided to design a green, red and while theme calendar.
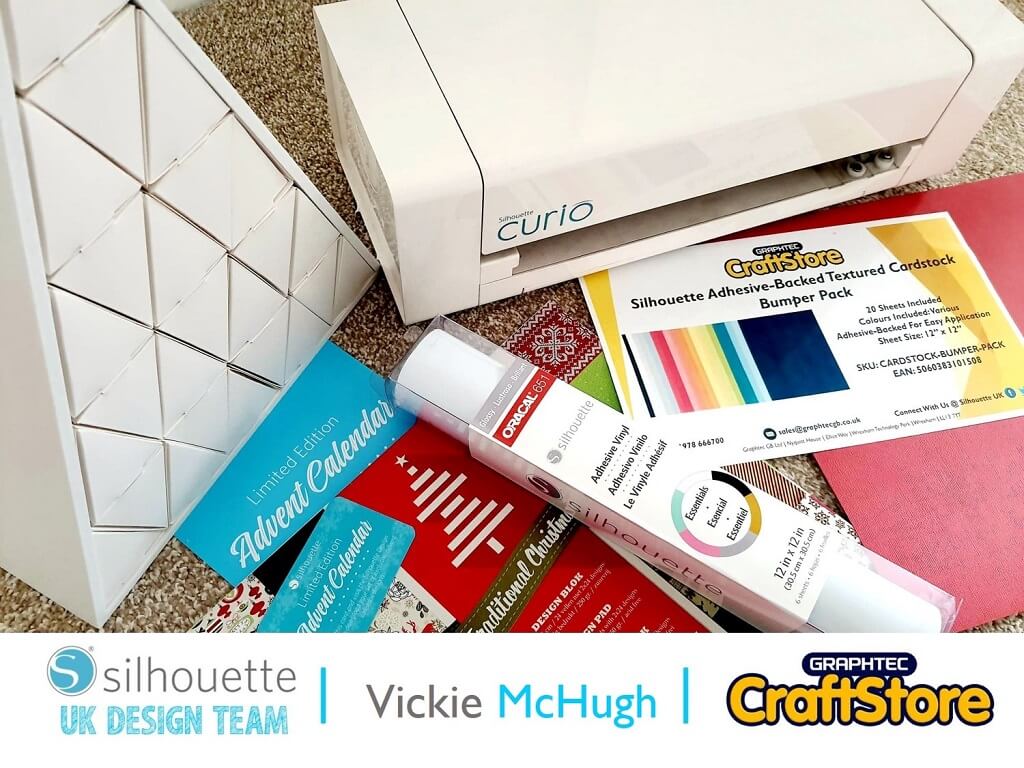
Required Items
• Silhouette Curio
• Silhouette Standard Ratchet Blade
• Silhouette Curio Cutting Mat (I Use The 8.5×6″ Mat)
• Silhouette Shadow Box Countdown Calendar
• Glue Gun
• Christmas Cardstock
• Silhouette Cardstock Bumper Pack
• Silhouette Oracal 651 Vinyl
• Extra Media For Decoration

Once you have opened your shadow box calender, take the download card and open up Silhouette Studio.
Click on the “Store” and click on your account name in the upper right-hand corner of the store.
Click “Redeem a promotional download code” ender the code on the back of the card and click “Apply card”.
The files will then be downloaded into your library.
Click on the “Library” tab and it will bring up all of the purchased files. 6 files would have downloaded when the card was redeemed using the name “Advent”.
For my advent calendar, I am going to use the original boxes and just create box fronts to stick on.
Double click on the file Advent Box Faces. If you wanted to create the whole box from scratch, you would need to select the file Advent Calendar Box.


Right click on the files and ungroup them.
Move all the files off the Silhouette base apart from the box fronts.
I have decided I want to use 5 different Christmas paper so I have created a new tab and placed 5 triangles on ready to cut.
Once you are happy with the layout, click on the Send tab.
Check the Material selection and change if necessary. I am using a thick card stock, so I have changed my settings. Once you have selected your material, check what blade setting you need. This shows me that I need to change mine to a 3. When all the settings changes have been made, click Send
The triangles will start to cut out. Make sure that you line the paper up correctly and it is stuck down. This will avoid miscuts and having to do them again.


Within the Advent Box Faces file, there are a selection of numbers and images that can also be used to decorate your calendars. These can be cut in the same way as detailed above. Why not try incorporating different medias such as vinyl? just don’t forget to change the cut settings.
Once you have all your pieces cut out, it’s now the fun part and putting your calendar together. I have used a glue gun to secure the triangles to the calendar and used the adhesive cardstock as I found this easier. I then decorated the fronts with gems and different holly.

I have really enjoyed putting this calendar together and cant wait to fill it with treats ready for 1st December.
It was so easy to put together, especially with the added templates within the download card and is totally customizable to your colour scheme and skill level.
Why not tune in to my next blog…..it’s another christmasy theme, so get thinking on what it might be…..
– Vickie McHugh –

• Designs Used: These come free with the Silhouette Shadow Countdown Calendar Box.