Upcycle A Spring Jug | CraftStore Direct
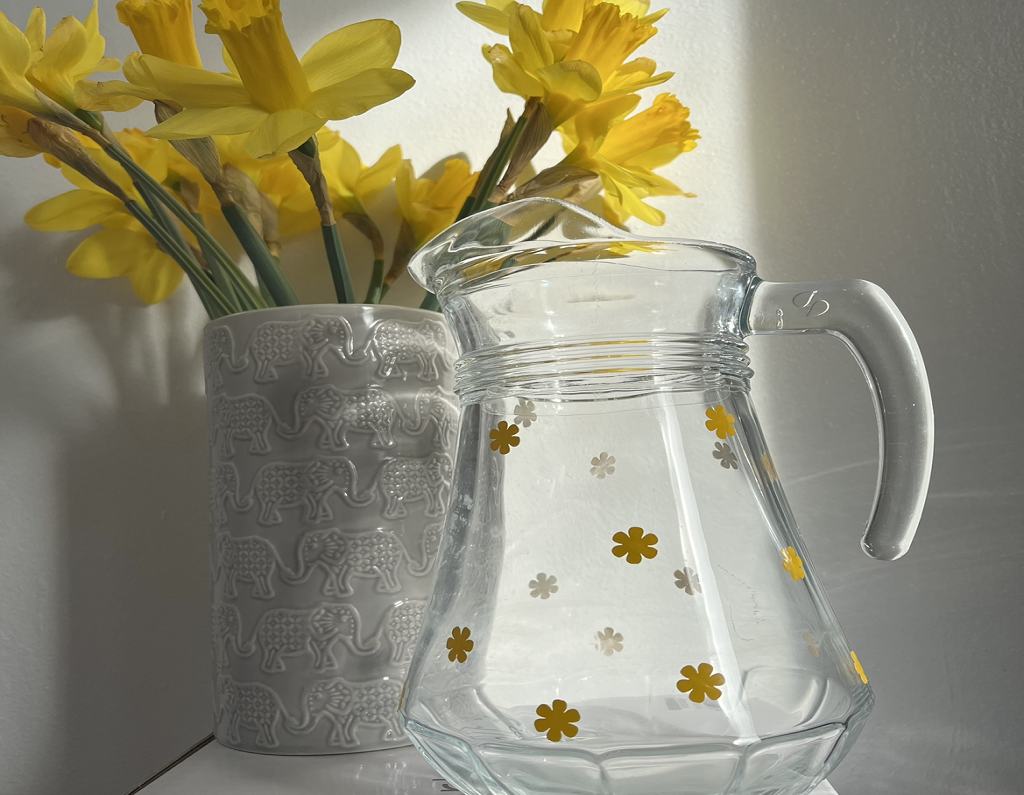
Spring Jug So for this blog, we will be upcycling an old jug! The blog post will show you how to use Colour&Shape vinyl to put any design onto your…
PLEASE NOTE THAT THE OFFICE WILL BE CLOSED FROM 12PM FRIDAY 20TH DECEMBER 2024 AND WILL RE-OPEN ON THURSDAY 2ND JANUARY 2025
ORDERS FOR DELIVERY PRIOR TO CHRISTMAS WILL NEED TO BE SUBMITTED BY 2.30PM ON THURSDAY 19THDECEMBER 2024.
ORDERS RECEIVED AFTER THIS TIME AND DATE WILL BE DESPATCHED ON THURSDAY 2ND JANUARY 2025.
Merry Christmas & A Happy New Year to all our customers. Thank you for your continued support.

Hello and welcome to all of the Silhouette UK blog readers out there!
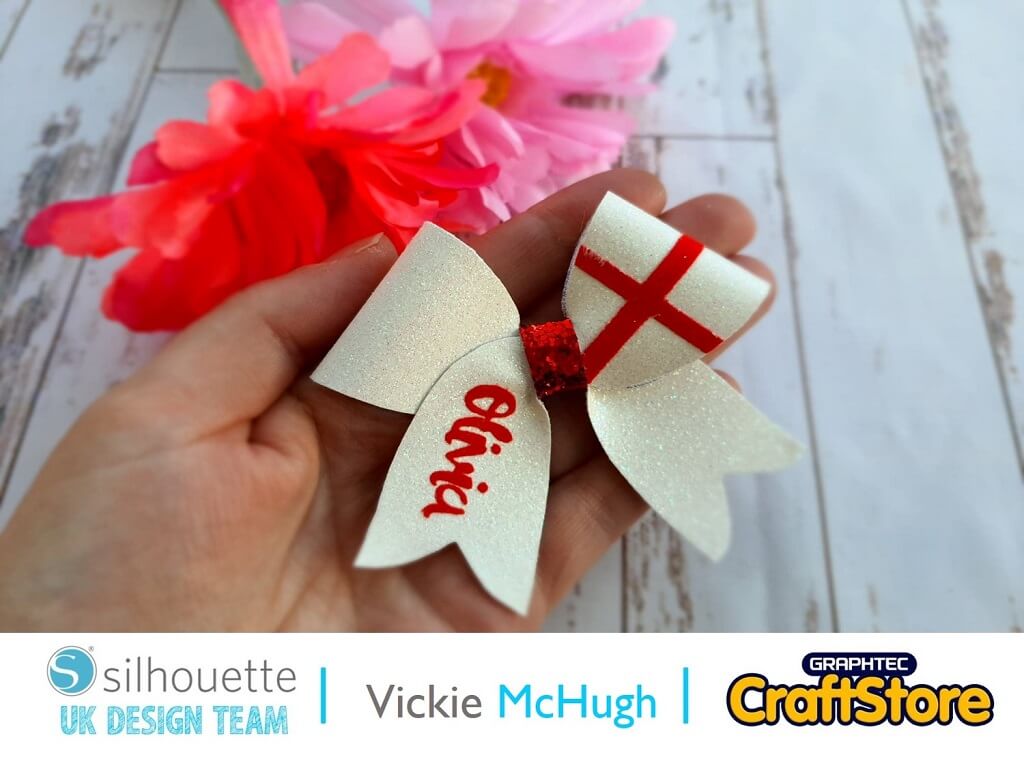
Today for my blog I will be celebrating St George’s Day by showing you how to make a beautiful personalised hair bow.
Items I Used
• White Glitter Fabric
• Silhouette Flocked HTV
• 45mm Alligator Clip
• Hot Glue Gun
• Cardstock
• Heat Press or Iron

Having looked in the Silhouette design store, I found the perfect bow template where I can also include a name, 3d criss cross bow.
I then pull it into Silhouette studio from my library by double clicking on the file.
Once you have the design set in Silhouette Studio, keep the files grouped and resize to your desired size.
There are 2 ways you can cut out the shape. 1) cut the glitter fabric on the mat (see section 3) and 2) cut out a cardboard template.(See section 4)


You now need to decide if you want either pieces white or one white one red.
If you want them difference colors, ungroup and move one tail to the other side of the mat.
You would then put 2 different colored glitters on the mat.
To cut glitter fabric, make sure your mat is sticky and the fabric sticks down nicely.
I have put masking tape around the edge also.
When you click on send use these settings:
Material: Fabric, Thick Canvas
Blade Length: 5
Force: 22
Speed: 5
Passes: 2
This is the selection I chose for my bow.
I used the same design and layout but used these settings when I click send: Material: Cardstock, Plain
Blade Length: 3
Force: 20
Speed: 4
Passes: 1
Once the templates have been cut, place them on the glitter fabric and cut out.


Ungroup the tails and delete one. I then use this as a template to make sure the cross and name are the correct size.
Use the text function on the left hand side and write the name you want to put on your bow. I am doing this for Olivia. I then move over to the Text Style on the right hand side to select my font. I am using milk and dumplings script. Once I have changed the font I right click and weld, this will join them together so it cuts out as one piece.
Move the name over to the bow template and resize. Once its been resized, move it to one side.
Place the printed shrink paper on your mat (I have had to cut mine down as I am using the smaller mat)
Click on the Send tab. Change the material to show Shrink Plastic.
Check that the areas you want to cut are highlighted in red. If they aren’t click on them and under the Tool 1, select CUT.
If the lettering is highlighted in red, this will need to be deselected by clicking and changing the Tool 1 option to NO CUT.
Once you are happy, click on SEND. The machine will then read the registration marks and with cut out the shapes.


Place your HTV on your mat. I am using the Silhouette Flocked Red, and I place the matte side facing up.
Change the cut settings to:
Material: Heat transfer, Flocked
Blade Length: 3
Force: 33
Speed: 5
Passes: 1
Finally, Click Send!
Remove the cut HTV from the mat.
Slowly peel back the red flocked HTV to leave the plastic front and the design.
This is called weeding.


This is where you are going to heat press the words and cross onto your bow.
Place the name and cross on top of the glitter fabric bows.
With the plastic still on top of the HTV, place the heat press on top.
Remove when the HTV has stuck and remove the plastic front.
Turn the bows over and place hot glue in the centre and fold to tops over (as per image).
Place them on top of each other and glue the centres.
Turn the bow over and glue the clip to the back. Once this is dry place the centre piece, which I have done in red over the centre.
And there you have your St Georges Bow!


I hope you enjoy celebrating St George’s day on 23rd April with your family. You can now dress up the occasion with a themed bow.
A little hint for my next blog……..Love is in the air this wedding season.
– Vickie McHugh –

• Design Used: 3D Criss Cross Bow
Design Store Artist: Jamie Lane Designs
Design Store ID: 288158 > Download
• Design Used: ZP Milk & Dumplings Script
Design Store Artist: Illustration Ink
Design Store ID: 204160 > Download