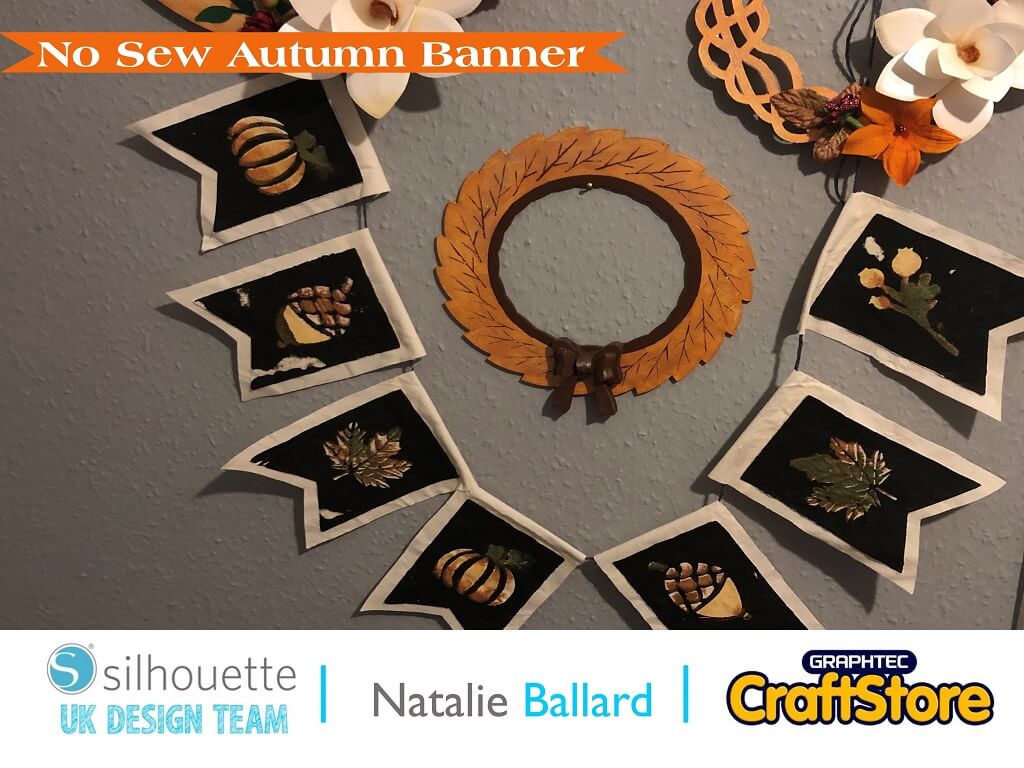
No Sew Autumn Banner | Natalie Ballard | Silhouette UK Blog
No Sew Autumn Banner – Silkscreen Project
Hello! Natalie here today with a fun autumnal project.
This project is perfect for a rainy weekend arty time with the teens.
Import Design
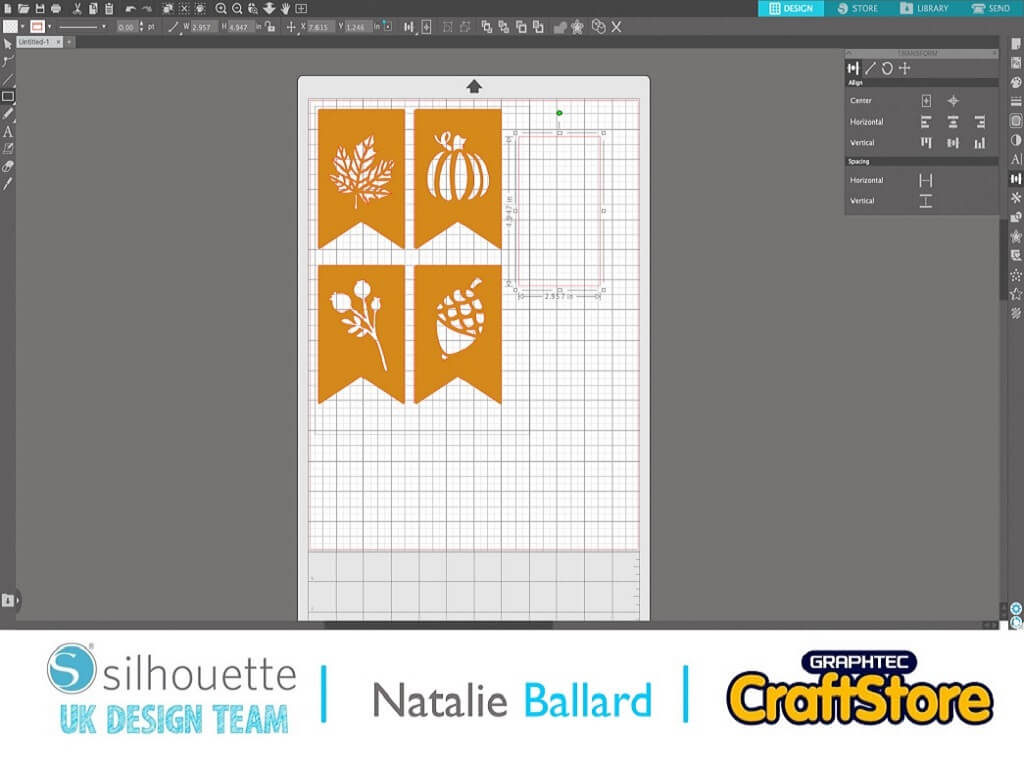
Start by purchasing, downloading and importing the designs into Silhouette Studio.
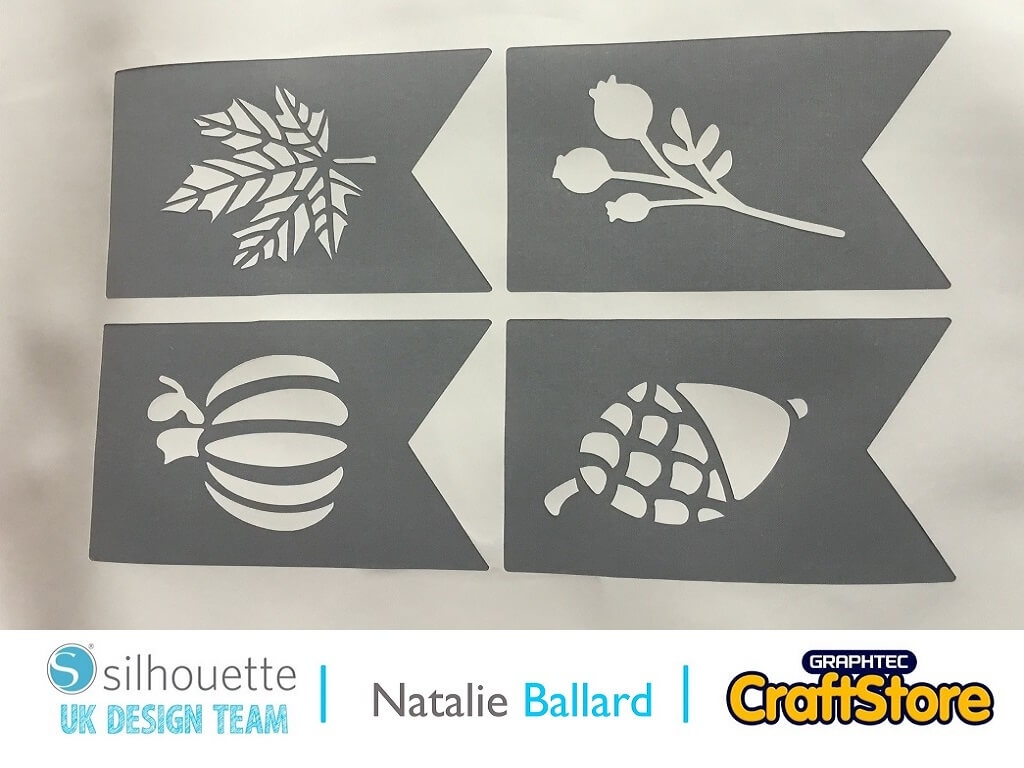
I used designs 301461 and 301460 as they are both bold and easy to weed.
Sizing
The screen printing sheets measure roughly 18×12”.
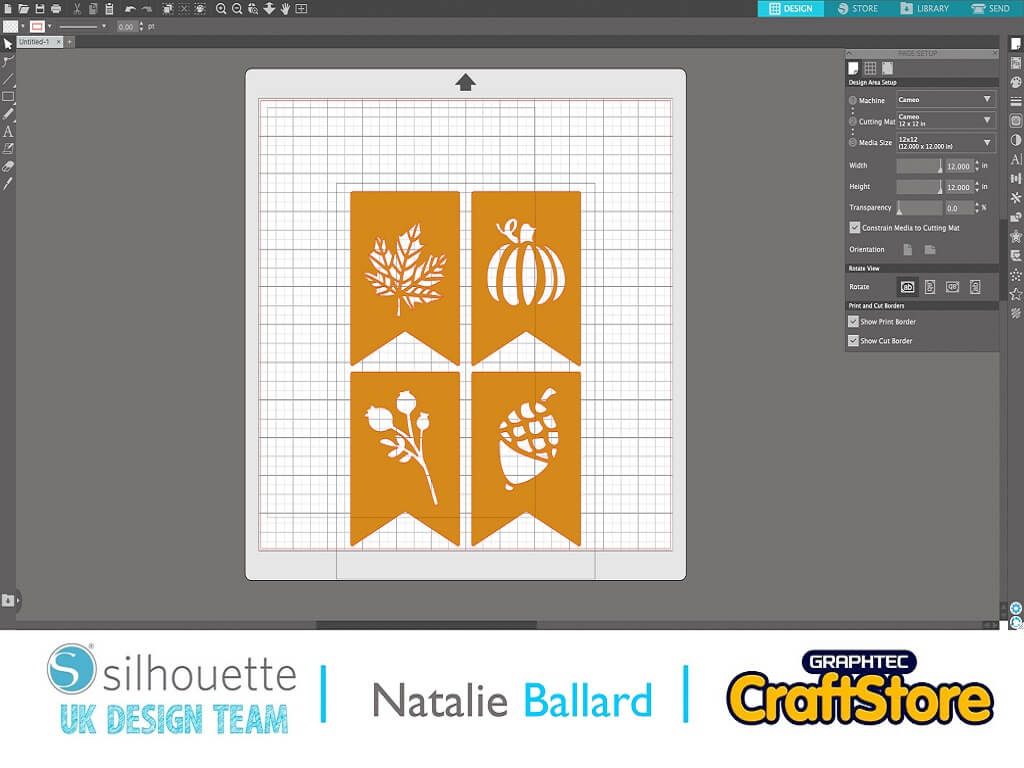
You want to size and place your designs into the centre of the sheet.
Use the inner dimensions of the deckle (28cm x 20.5cm/ 11” x 8” approximately) as a maximum area for your design.
Sending Design To Cut
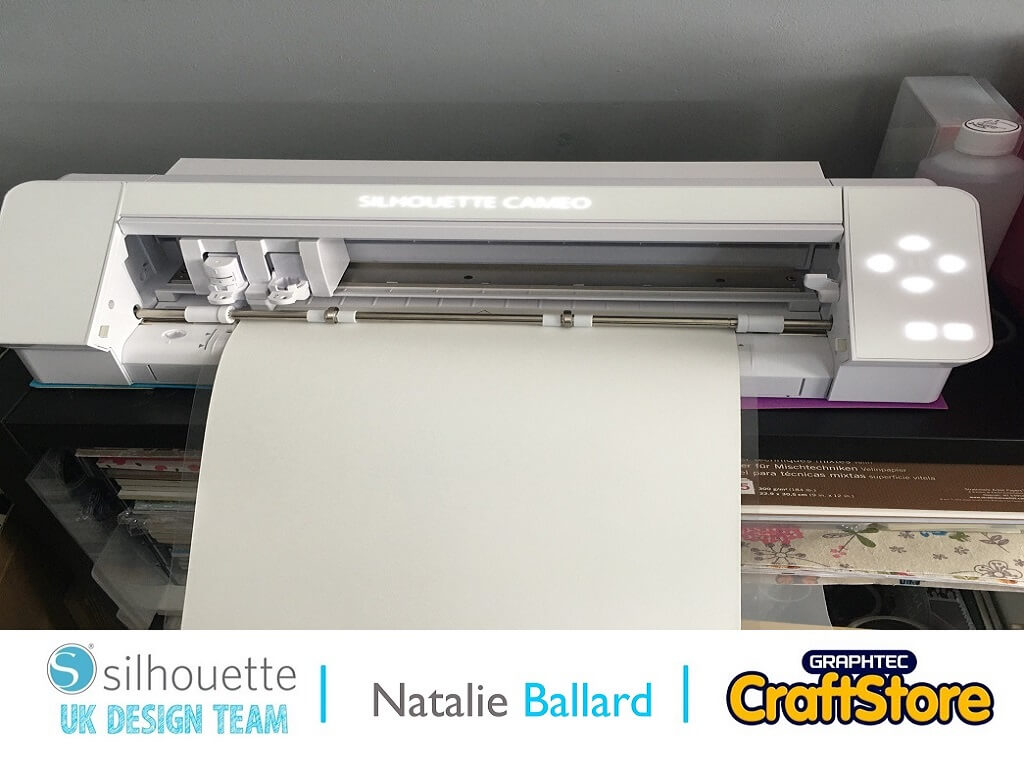
Cutting the HTV is a little thicker than regular HTV, so push the blade setting up one notch from the preset.
You can cut the HTV on a 12×12” mat, allowing the extra to fall off the bottom edge of your mat.
Weeding The Vinyl
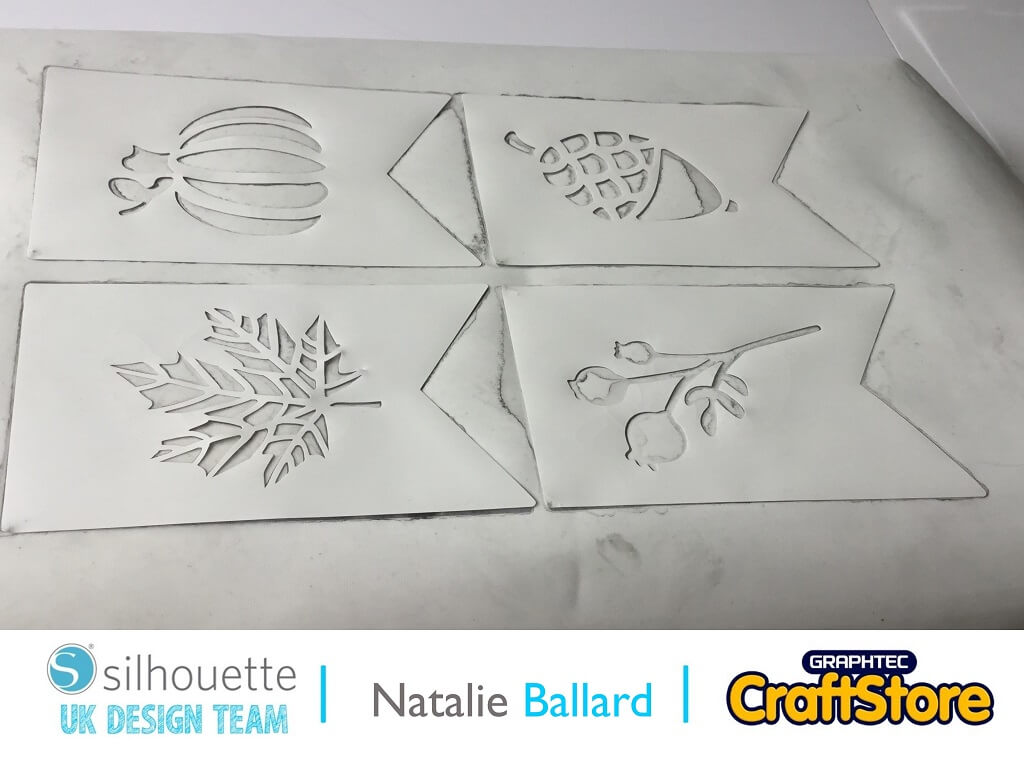
You need to weed your design.
For this design, that means removing the larger banner pieces leaving the outside area intact along with the inner details.
IMPORTANT: keep the piece you remove ready for colouring your banner.
Preparing The Screen
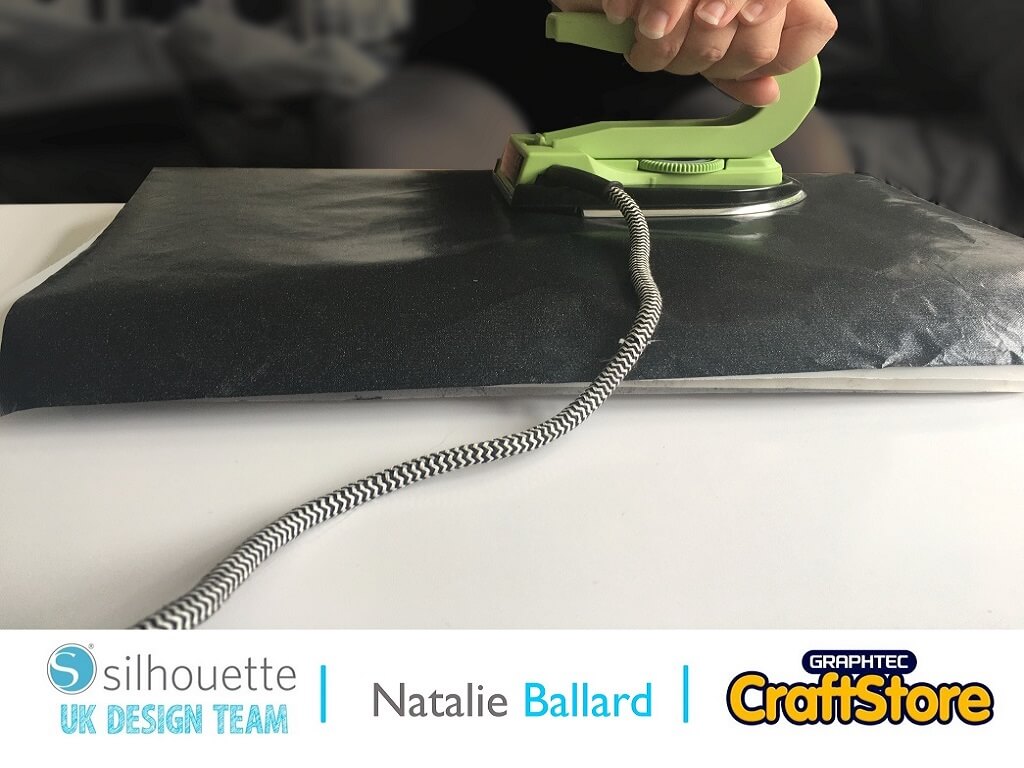
Press the HTV onto the screen following the instructions included in the kit.
I would advise working onto a solid heatproof surface and cover the silkscreen with a Teflon sheet to prevent your iron becoming tacky.
Assembling The Screen Onto The Frame
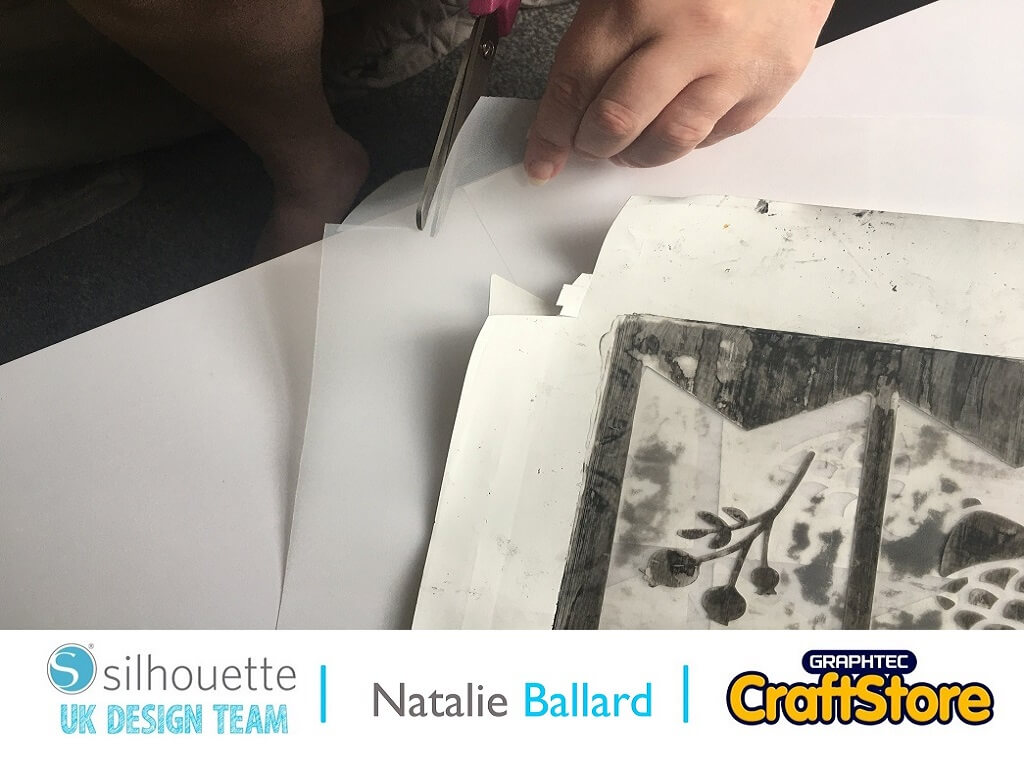
Lie the frame over your prepared screen.
Trim a square at each corner inline with the grooves on the side of the frame.
Fold up each edge and clip in the frame sides.
Tighten the nuts of your frame frequently.
Preparing The Screen
Cover your work surface with scrap paper.
Place the frame onto your fabric with the screen side face down.
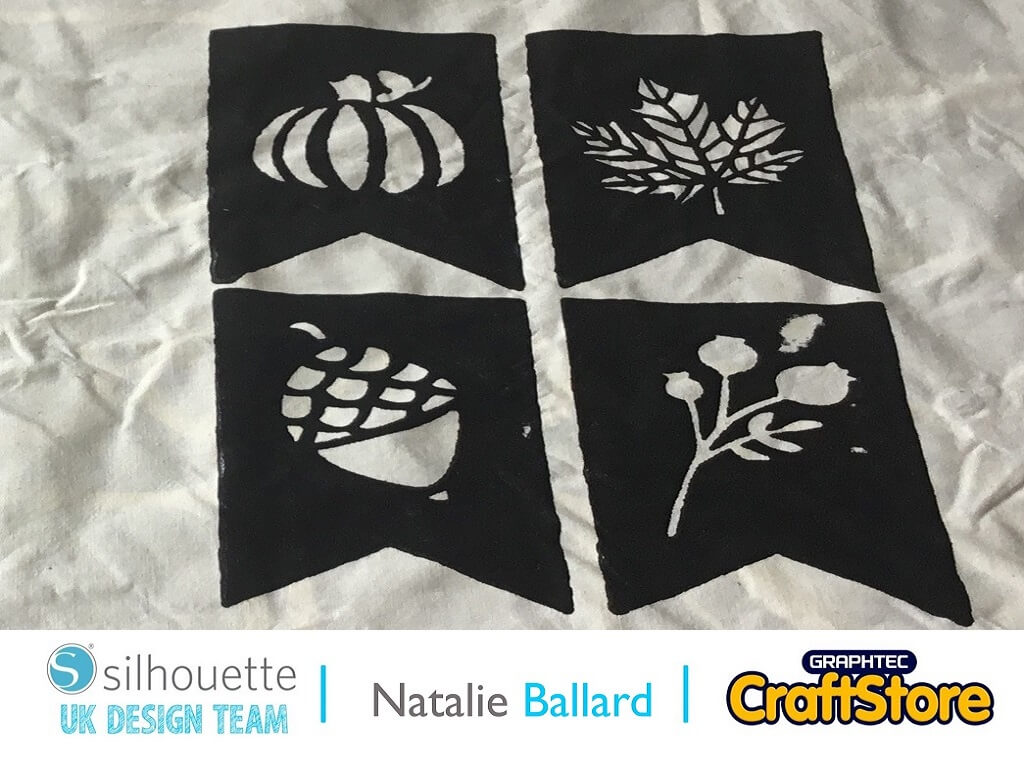
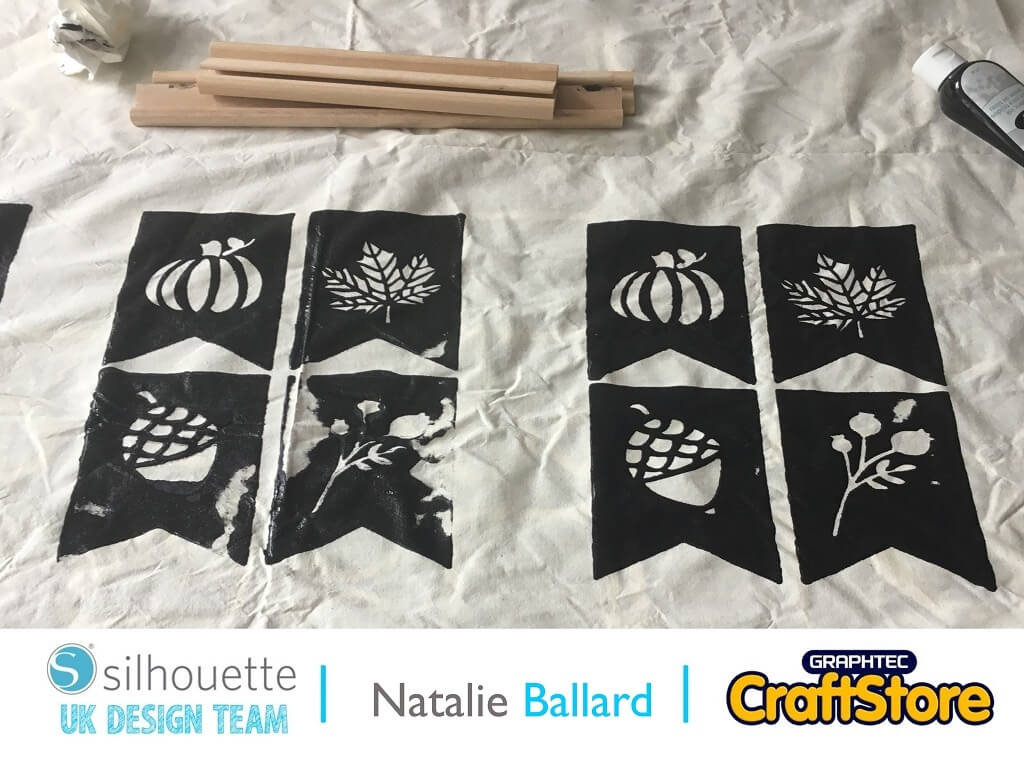
Squeegee the black fabric paint included in the starter kit through the screen.
Let The Layer Dry
Carefully peel away the frame while holding onto the fabric.
You can print multiple tiles.
Once all tiles are printed, allow to dry fully for 24 hours.
The Colouring Screen
Press the banner pieces you removed onto another screen piece using the original screen as a guide.
Lightly press to partially bond the pieces, then lift gently to slide out the original screen.
Application Technique
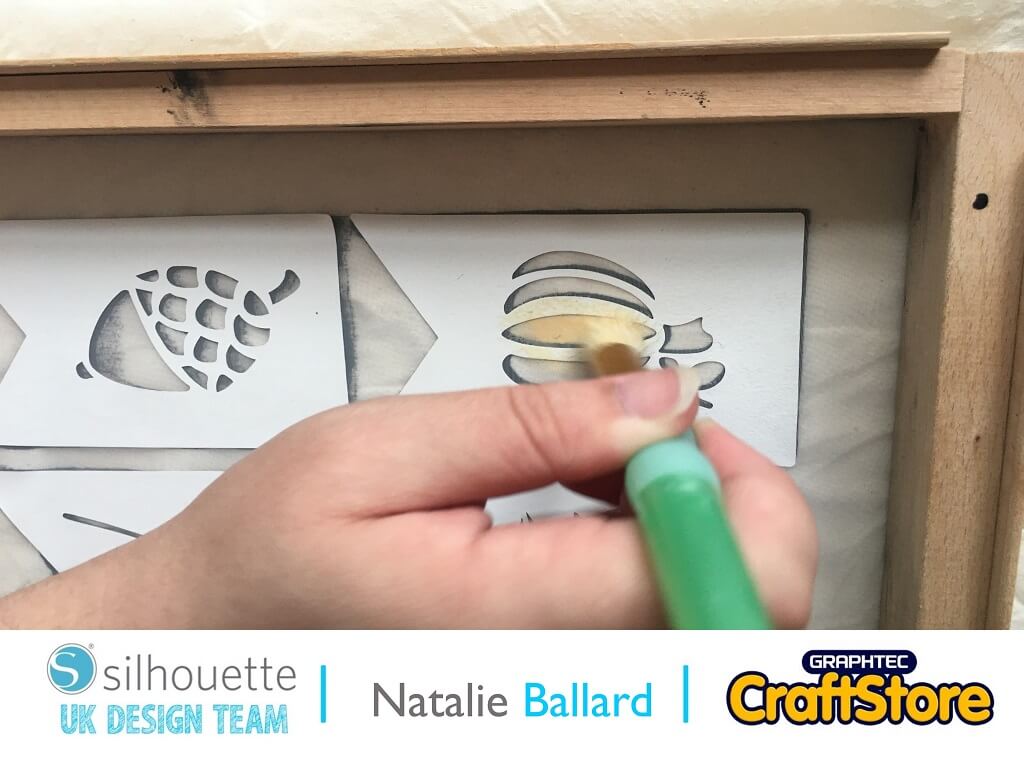
Place the frame carefully over your design and align it with the existing print.
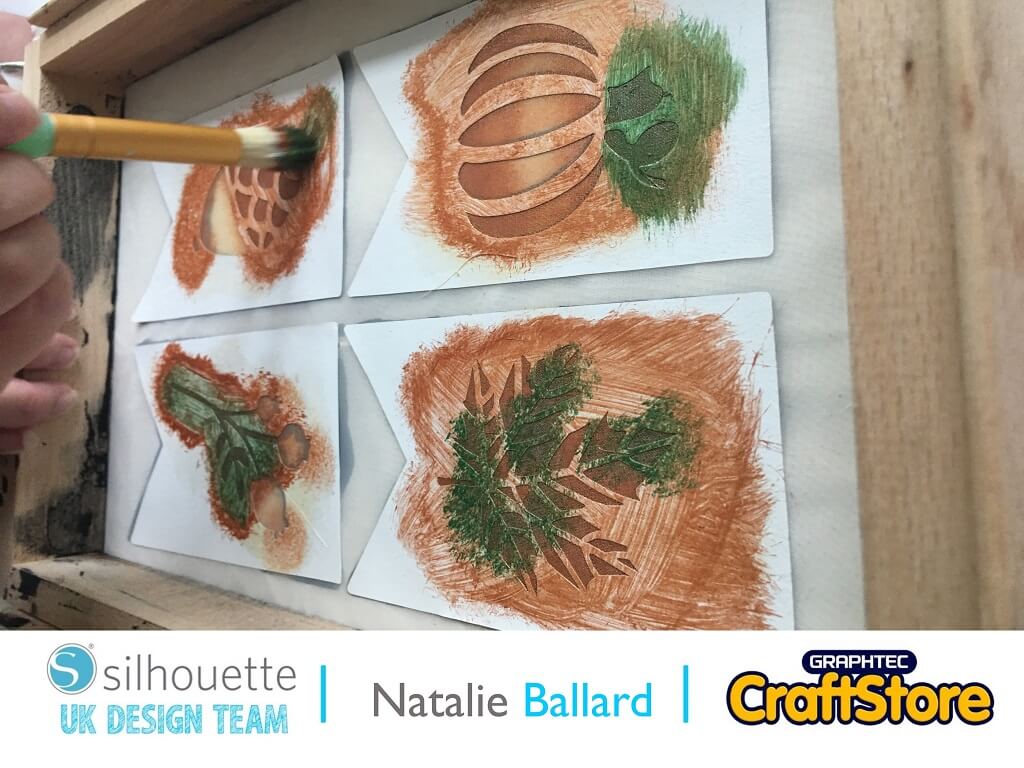
Brush the colours through the screen onto the fabric.
The Colours
Use the lightest colour for that object all over.
You can then lightly stipple any shading you wish to add.
Allow to dry completely overnight.
Cut Out
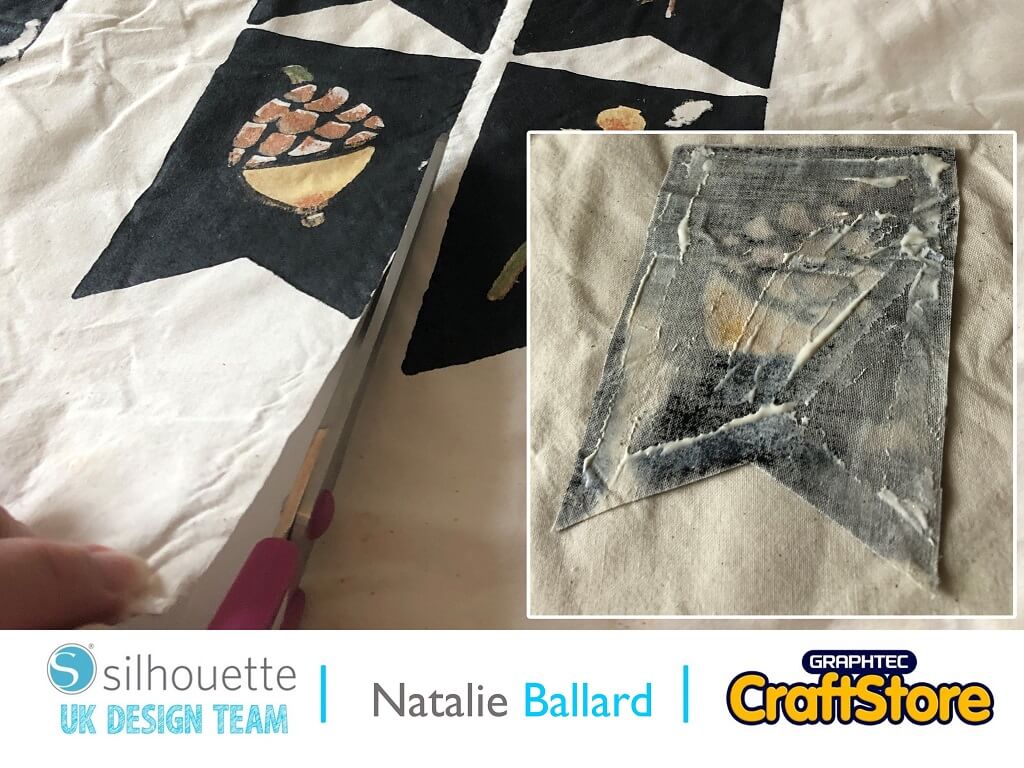
Cut out your panels around the painted area.
Use fabric glue around the edges and adhere back to the calico.
Allow an inch between designs horizontally and 2 inches vertically.
Assembly
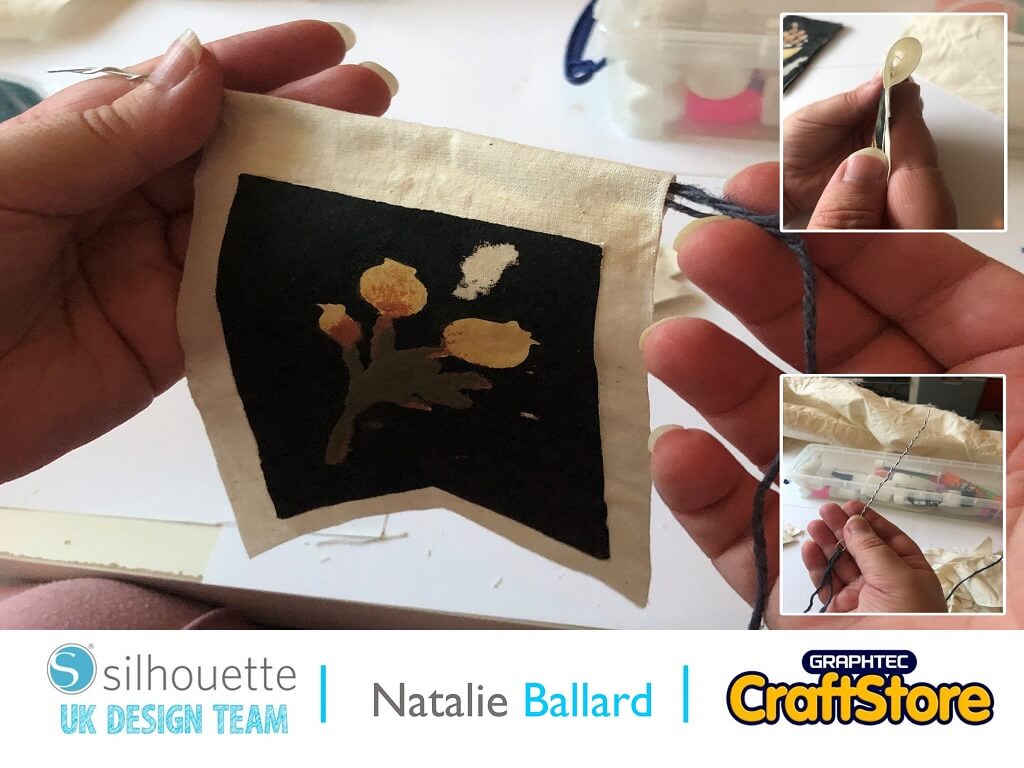
Cut with a ½” border around the sides and bottom and allow 1.5” to the top.
Glue just the top edge and roll over to form a channel for your cord.
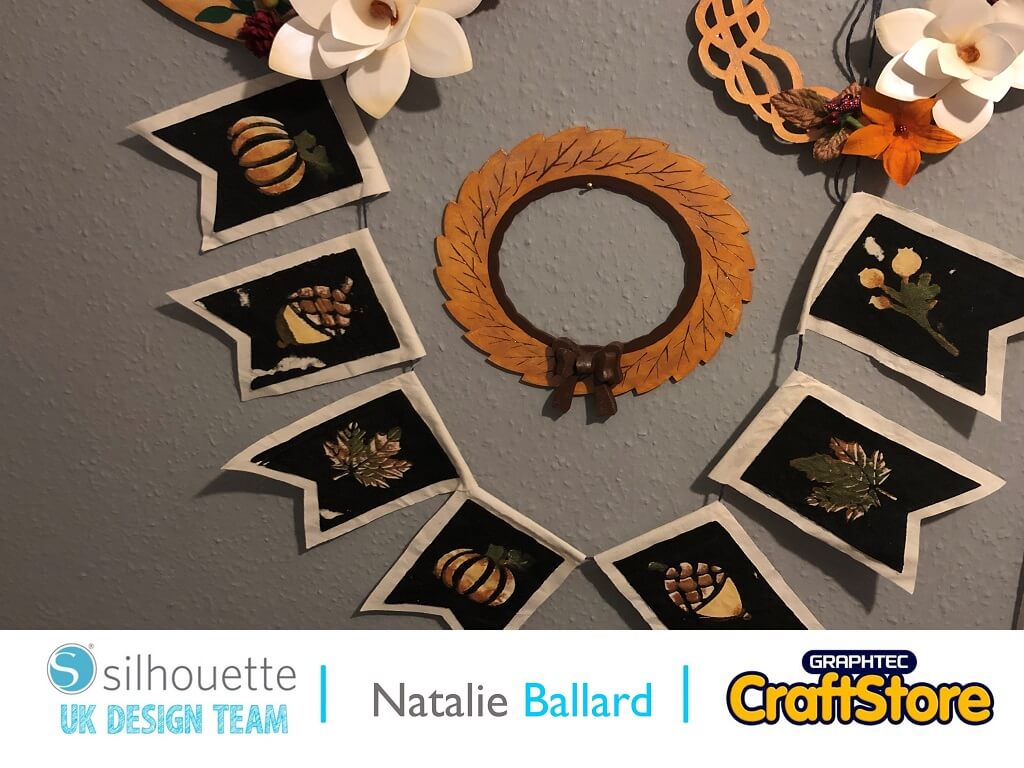
Feed your cord through to complete your banner and decorate with flowers and more if you wish.
I can honestly say I’m now hooked on resin.
The process was far easier than I had anticipated and there was little smell.
I look forward to showing you more resin based projects in the future.
– Natalie Ballard –
Silhouette UK Blog Created By Natalie Ballard
Silhouette Products Used
Silhouette Designs Used
• Design Used: Autumn Banners
Design Store Artist: Tanya Batrak
Design Store ID: 301460 > Download
• Design Used: Autumn Banners
Design Store Artist: Tanya Batrak
Design Store ID: 301461 > Download
