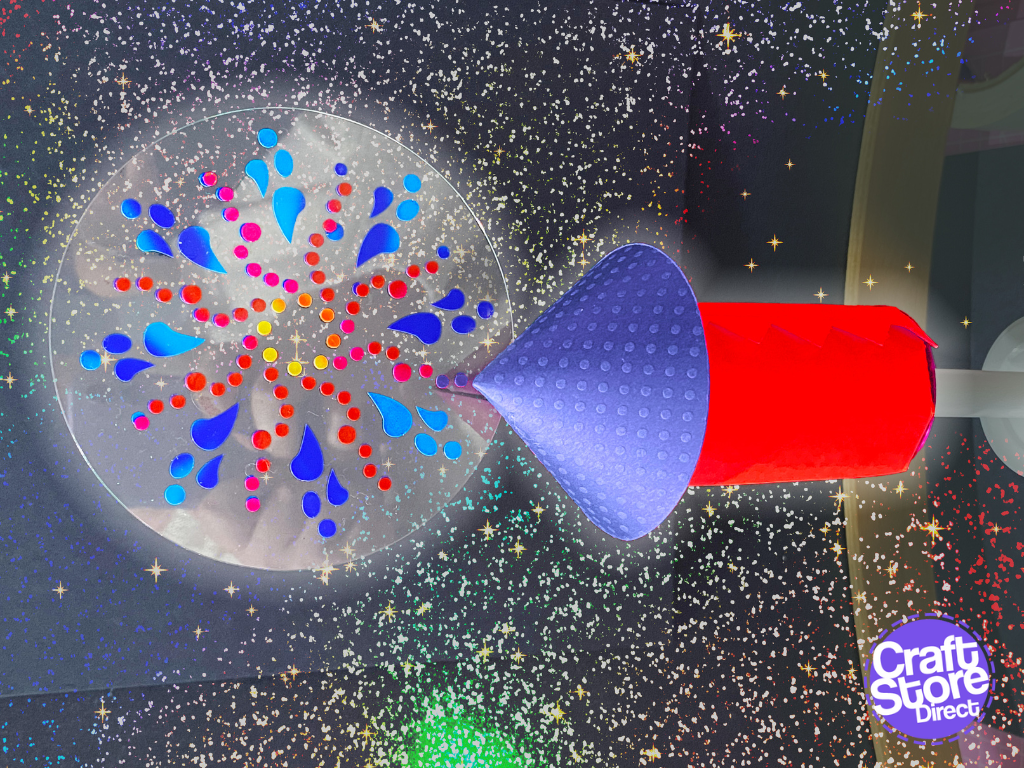
Get Bonfire Night Ready & Create a Bonfire Night Cake Topper With Us
This project is certainly going to bring the bling to your bonfire night – there’s no such thing as too much sparkle!
Craft Materials We Used:
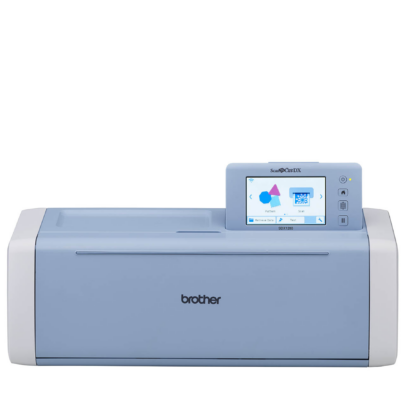
• Brother ScanNCut SDX1200
• Colour + Shape Adhesive Vinyl
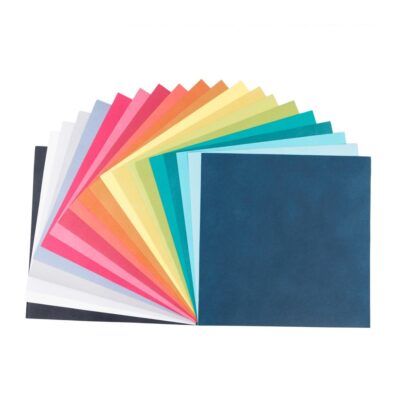
• Silhouette Adhesive-Backed Textured Cardstock
• Cake Poles
• Craft Plastic
Step 1: Create Your Design
This topper uses the benefits of using the Adobe Illustrator tools.
Create your bonfire pattern first by drawing an elongated water drop shape. With the shape selected, go to [Object]-[Repeat]-[Radial]. Using the handles around the repeat, set the number of shapes to 8. Size the repeat outline to your desired size.
Duplicate this repeat and flip it horizontally to create a mirror, rotating the repeat to give the shapes some space around them.
You can repeat this step as many times as you need to build your firework design.
Export to SVG and import it into Canvas Workspace.
Then Group your design.
Step 2: Create The Structure Elements
Add a circle and rounded rectangle around the design. The rectangle should have the same width as the internal diameter of your cake pole. Weld these together to form the acetate base.
In the same document, we can use layers as a way of cutting multiple materials in one file. If you are having to use the online version, you can just delete the elements after transferring to your machine.
Use the circle with a wedge taken from it to create a cone. No glue tab required as we are going to loop this piece on itself to create the join.
Add the zig zag edged rectangle to create the body of the firework; the zigzag edge will become the tabs so add a defined score line if needed.
Finally, add a circle with a circumference (outside length) matching the scored box of your rectangle. Add another circle sized to your cake pole.
Step 3: Cutting & Assembling
Cut your firework body from either coloured card (coloured core is kinder to your machine and blade) or use craft foam.
Firstly, wrap the rectangle into a tube. Rolling the card over the edge of your desk will help to encourage the curl. Thicker card will give you a smoother finish but maybe trickier to glue. You might want to use some decorative staples up the seam to help your tube stay glued.
Use the same process to shape and glue the cone shape (making sure to add any slots for acetate as needed) to fit your cylinder.
Finally, glue on the base.
Cut the cake topper acetate shape and then the firework pattern from vinyl.
Step 4: The Finishing Touches!
Transfer the vinyl design to the acetate piece using transfer tape. You could even cut two and apply one each side for a layered look.
Decorate the firework with shapes cut from vinyl using the in-built designs on the ScanNCut or additional copies of the firework motif.
Mount onto the cake pole(s) as desired.
CraftStore Direct Blog Created By Natalie Ballard
What a banger of a project! An explosion of colour and sparkle.
Join me next time for the start of our festive projects – it is certainly one you can count on.
– Natalie x
Products Used
Brother ScanNCut DX Standard Tack Adhesive Mat
£19.80 – £33.74
Brother ScanNCut SDX1200
Original price was: £499.00.£449.95Current price is: £449.95.
Colour + Shape Easy Apply Permanent Glossy Vinyl
£7.23 – £14.88
Silhouette Adhesive-Backed Textured Cardstock
Original price was: £10.00.£3.00Current price is: £3.00.
