Sale!
Brother ScanNCut SDX1200
Original price was: £499.00.£449.00Current price is: £449.00.
PLEASE NOTE THAT THE OFFICE WILL BE CLOSED FROM 12PM FRIDAY 20TH DECEMBER 2024 AND WILL RE-OPEN ON THURSDAY 2ND JANUARY 2025
ORDERS FOR DELIVERY PRIOR TO CHRISTMAS WILL NEED TO BE SUBMITTED BY 2.30PM ON THURSDAY 19THDECEMBER 2024.
ORDERS RECEIVED AFTER THIS TIME AND DATE WILL BE DESPATCHED ON THURSDAY 2ND JANUARY 2025.
Merry Christmas & A Happy New Year to all our customers. Thank you for your continued support.

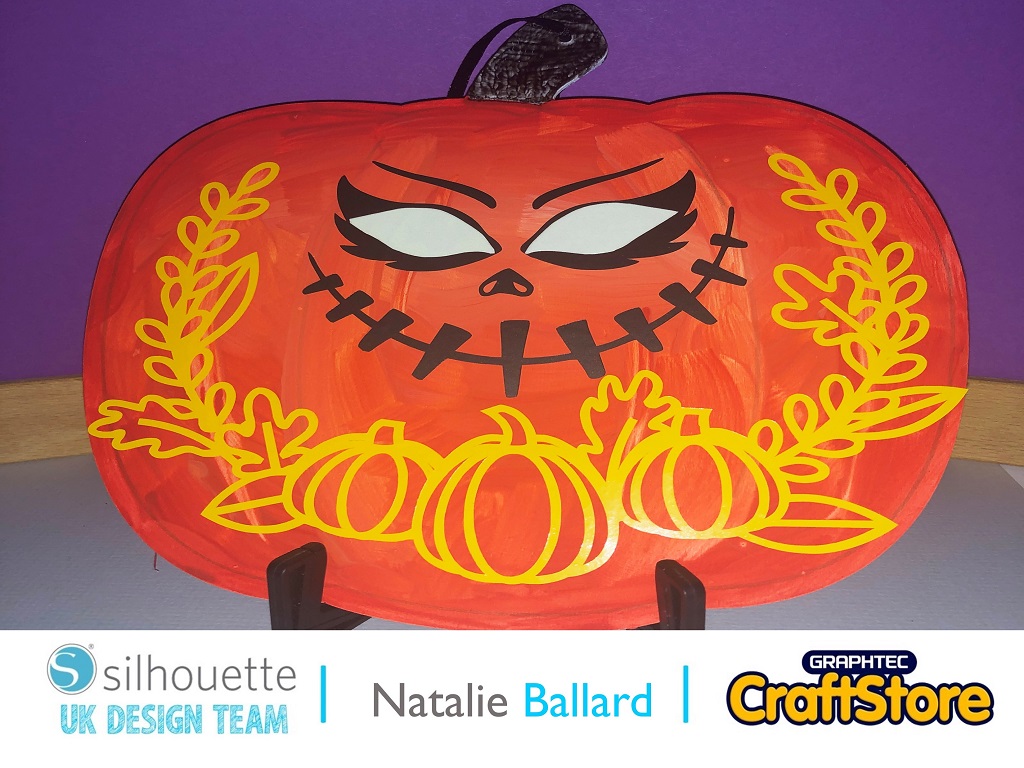
Let’s take place settings to a whole new level with these wooden tables and coasters. You can use pre-made coaster and placemat blanks or get MDF custom cut for your designs.
Craft Materials We Used:
• Brother ScanNCut SDX1200
• SDX Vinyl Auto Blade
• Standard Tack SDX Cutting Mat
• Silhouette Carbon Fibre
• Colour + Shape Snitty Cutter

Your MDF will have a smooth shiny finish, so we need to add a key for paint and vinyl to stick to.
Start by painting two layers of white or black gesso. For best results, use a foam brush, but a wide paintbrush can work too.
Finish with a top coat of white or black acrylic paint and be sure to cover the edges too. Some burn marks can bleed through so be sure to be thorough or add another coat as needed.


Despite the bauble shape, you can use any design based on a circle. Choose whether you want to go edge-to-edge or inset slightly for a nice border.
If your design is one colour, you can add additional colours by setting the fill colour as a way to plan your design.


Choose a focal image in a similar style to your coaster image (or copy elements across).
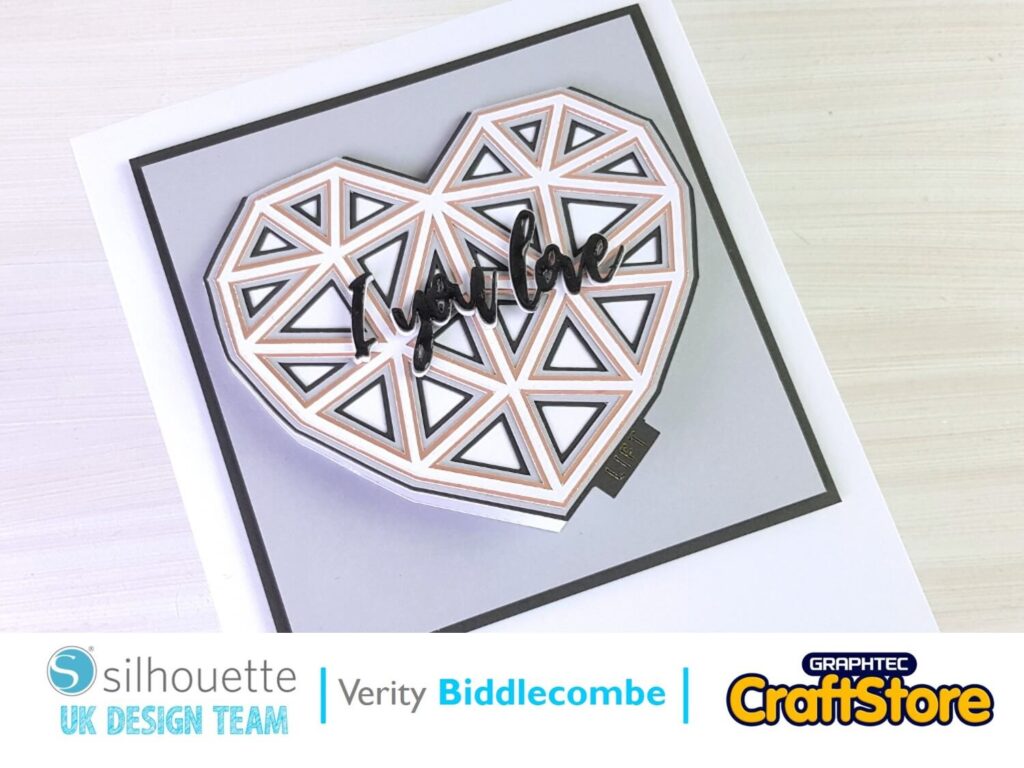
This time, our text will be our secondary colour. Type and style your text to the design you desire. Move over your icon design.
With your text selected, go to [Offset] and add an outwards offset of 2mm while leaving the original shape untouched.
Finally, go to the borders section and add a border of your choosing.


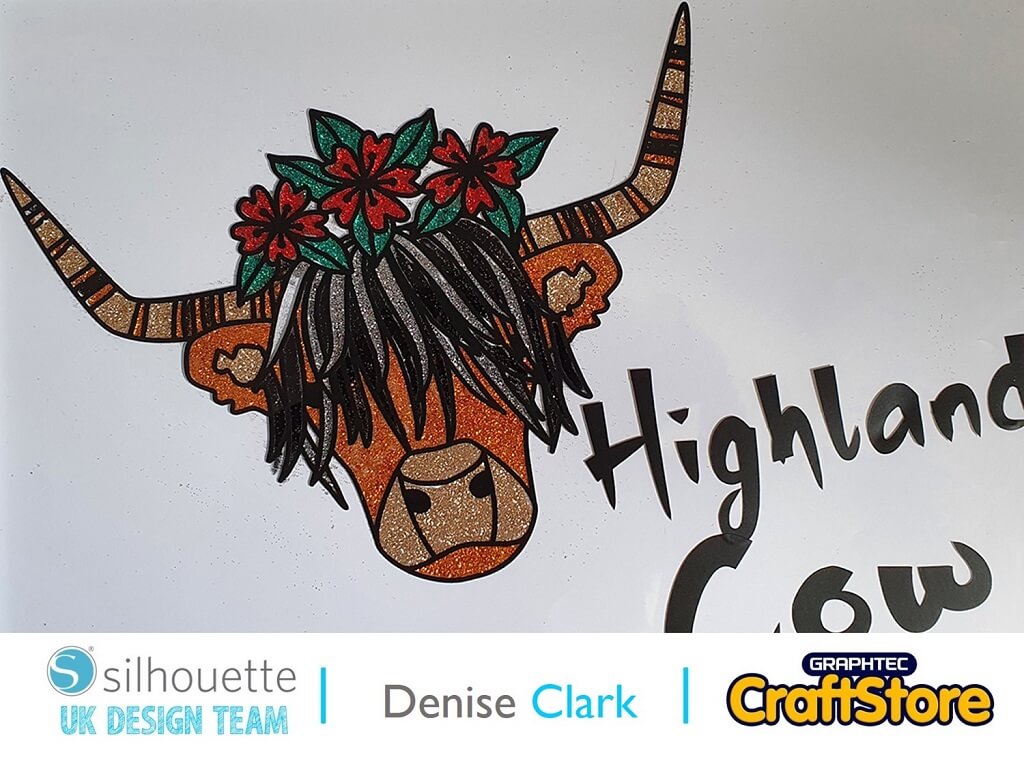
Send the elements of one colour to your machine, we started with gold.
On your machine, use the material saving function to keep your vinyl wastage to a minimum. If you have the vinyl autoblade, you can also use the automatic weeding box function.
Next, hide the gold layers and reveal the black layers. Export to the machine, and this time use the black carbon fibre vinyl.


Make sure your painting is totally dry before proceeding, if it is at all cool to the touch, leave a while longer.
Weed away your waste vinyl while you are waiting.
Lift the gold elements first with transfer tape. The Carbon Fibre vinyls benefit from a transfer tape with slightly more tack than your average. The border though can be placed without the use of transfer tape.
Align to the centre or the edge depending on your chosen design.
Next, lift the black layer and align these over the top of your designs. It is always better to place the largest shape first and work from there.

Why not continue the theme through your crockery and glassware. So long as you avoid any food touching areas, you shouldn’t need any fancy sealant.
– Natalie x

Original price was: £499.00.£449.00Current price is: £449.00.
Original price was: £16.49.£14.84Current price is: £14.84.
Original price was: £10.00.£7.50Current price is: £7.50.
