`
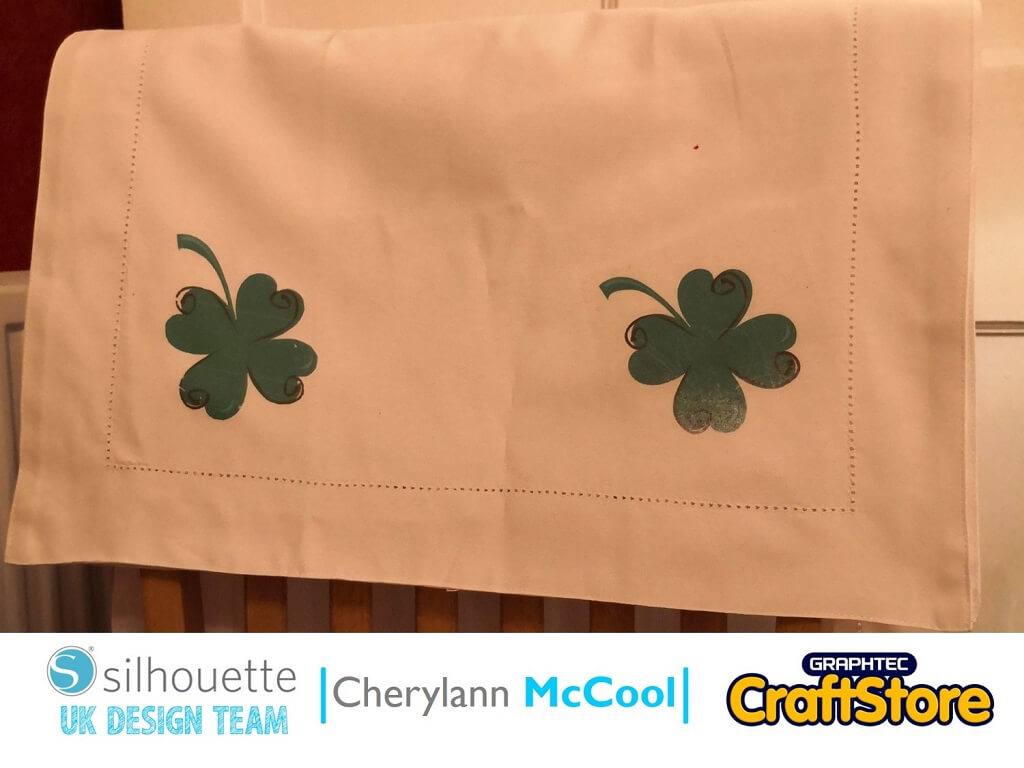
St Patrick’s Rhinestone Magic..
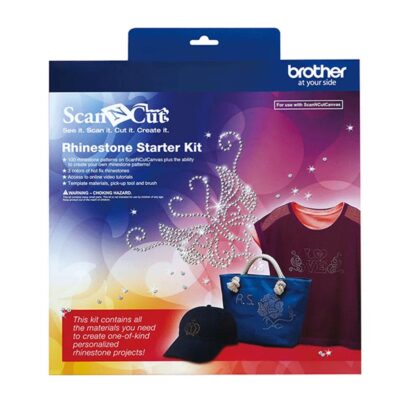
Once you get used to cutting with your machine, it’s time to sparkle! Rhinestones have the same principle whichever machine you use, but what the packs enable are very different. If you are confident with creating files and have a ScanNCut, it’s worth investing in the Rhinestone Starter Kit from Brother. However, if you feel more comfortable having the designs pre-made for you, then check out the kit from Silhouette for your Silhouette. There are also third-party designs and software so that silhouette users can create their own rhinestone designs or upgrade Silhouette Studio to Designer Edition or above.
Craft Materials We Used:
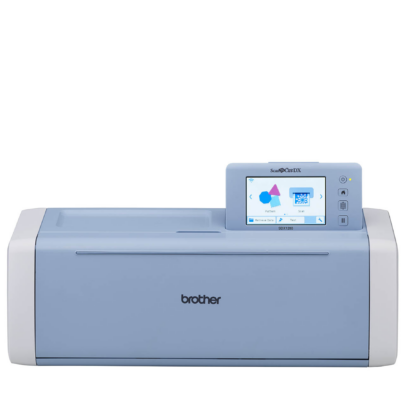
• Brother ScanNCut SDX1200
• Standard Tack Cutting Mat
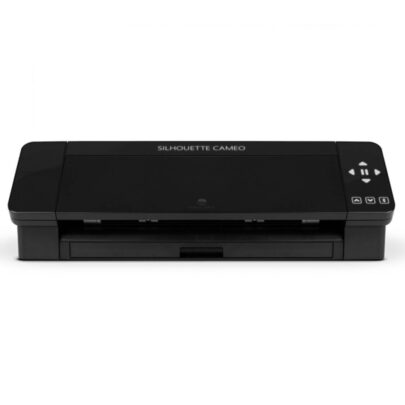
• Silhouette Cameo 4
• Silhouette Rhinestone Starter Kit
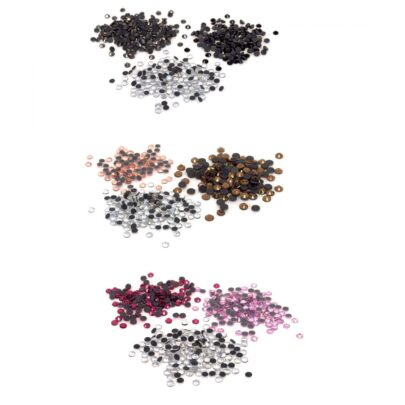
• Additional Rhinestones
• Brother Rhinestone Kit
Step 1: Deciding On Your Surface
Rhinestones provided in the starter kit are hot-fix; they can be applied to most fabric surfaces but also to paper or card based projects. You will need an iron or heat press with which to set the designs.
Start by choosing the type of design you want to create.
Now, if you are wanting a pre-made design, take a look at the Silhouette Design store where you can search by term (e.g. heart) and use the filter check boxes to choose Rhinestone designs only. ScanNCut users can use the designs already in CanvasWorkspace that are setup for rhinestones.
If you want to convert an existing design for rhinestones, then import the design into Silhouette Studio (Designer level or above) or use CanvasWorkspace with the Rhinestone Starter Kit activated to enable the Rhinestone function.
For greater control or for including non-standard rhinestone designs (such as hot-fix nailhead designs), you can use specialist third-party solutions.
For this first project, let’s keep it simple using a pre-built design from the Activation Card inside the Rhinestone Starter Kit from Silhouette.
Step 2: Editing Your Design
Now, scaling works a little differently with rhinestone designs. If it is a pre-made design, you can’t really scale it as such unless you also increase the gem size accordingly.
This is when creating your own designs is preferable. However, it is important, even when creating your own designs, to get your scaling correct prior to conversion.
With some fill patterns, it is also worth carrying out rotation prior to conversion too so that gems lines do not appear wonky or misaligned.
For your first pattern, however, we are going to stick to a simple outline design.
Place a box around the outside of your design to form the edge of your template.
Step 3: Cutting
When using rhinestones, we are going to cut a template from flocked material and apply it onto board after cutting. This template we can use as many times as needed for that design and scale. This makes rhinestone projects one of the quickest for bulk-making for hen parties, weddings and more!
Place your template material onto your cutting mat and follow the cutting instructions for your particular machine. In particular blade depth, speed and/or pressure as this is key to a successful cut. You can also try a test cut, but due to the type of design, choose a circle design at a small scale for the most accurate test basis.
Peel away you cut template and adhere to your board ready for gem application.
Step 4: Preparing To Transfer
If you are applying your rhinestone design to fabric, pre-press your garment to remove any moisture from the fabric along with creating a smooth base to apply the design.
Work with your template in the bottom of a shallow tray or open top box. Pour out some rhinestones onto the pattern. Use the included gem brush to brush the gems into the holes in your template. Do this until all the slots in your template are filled and the gems are facing upwards. Remover the excess gems.
Apply your rhinestone transfer tape over the top to pick up the gems. You can trim this down for smaller designs.
Step 5: Application
Working on the flatbed of your heat press or onto a pressing board with your iron, line up the design onto your garment. Set the temperature according to your manufacturer’s recommendations for setting. You may need to slightly reduce your pressure for clam or swing style presses.
Work colour by colour through your design.
As you get more confident with design and application you can get more and more complex. For example, you could create a pocket design using a scan from an external scanner as a guide.
CraftStore Direct Blog Created By Natalie Ballard
This is my first rhinestone project with my cutter and I’m hooked by the ease of application. Now, onwards to more complex designs and combining them with appliqué work.
– Natalie x
Products Used
Brother ScanNCut Rhinestone Starter Kit
Original price was: £65.99.£59.39Current price is: £59.39.
Brother ScanNCut SDX1200
Original price was: £499.00.£449.95Current price is: £449.95.
Silhouette Cameo 4 | Black Edition
Original price was: £395.00.£218.00Current price is: £218.00.
Silhouette Rhinestones
Original price was: £5.99.£4.49Current price is: £4.49.
Designs Used:
- #18289 Rhinestone Shamrock from the Silhouette Rhinestone Starter Kit Activation Card


