Christmas Markets Ready | Handmade Christmas Bauble
Hello and welcome to my next Silhouette blog. I can’t believe we are already on the countdown to Christmas!
In this week’s blog, we are going to be making something that you would be able to sell at the Christmas Markets – a Christmas bauble using adhesive vinyl.
Craft Materials Used:
• Silhouette Curio (Or a Silhouette or Brother ScanNCut Digital Cutting Machine)
• Colour + Shape Premium PVC Tabletop Cutting Mat
• Acrylic Bauble or Clear/Coloured Acrylic Circle
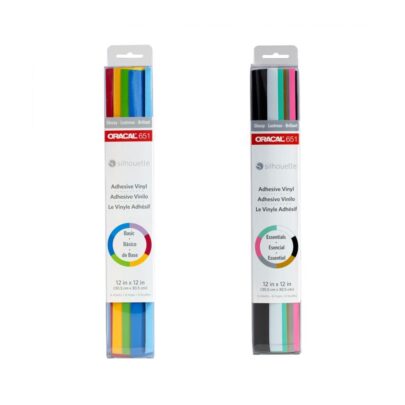
• Oracal 651 Vinyl Sampler Pack
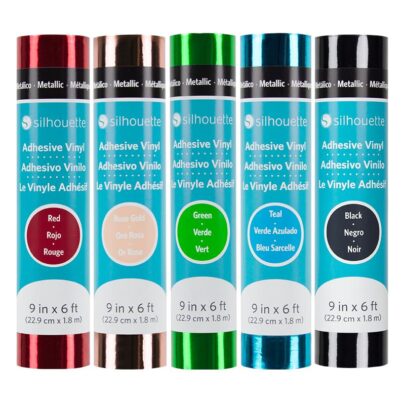
• Silhouette Metallic Vinyl 9″
• Bell & String (Or any extras you would like to add)
Step 1: Choosing Your Design
Having looked in the Silhouette design store, there are so many Christmas vinyl files that would look great on a bauble, I chose “Santa, I can explain” (design code below). Once it is purchased it can be pulled into Silhouette Studio from the library by double clicking on the file.
Step 2: Sizing Your Design
Measure the Acrylic surface of your bauble and create a circle in Silhouette Studio to that size.
Make sure that the padlock is closed, so it scales the whole design.
Step 3: Setting Up The Design Ready To Cut
As I am using 3 different colours of vinyl, I am going to separate my design to cut out different sections in the different vinyls.
To do this right click and ungroup the file.
Move out each section of the design onto a different part of the mat.
Step 4: Placing Vinyl Onto The Mat
Looking at how you have set up the mat on Silhouette Studio, place the vinyl onto the cutting matt, to match the layout.
Click Send.
Step 5: Cutting Out Your Vinyl
Change the material section accordingly, I am using the Silhouette Metallic Vinyl in red and silver and Oracal 651 Vinyl for the holly.
Don’t forget to run a test print and also change the blade options on Silhouette Studio, if you are using different types of vinyl.
Step 6: Weed The Design
Using a weeding tool, weed the design carefully.
After weeding, grab some transfer tape and carefully press this onto the weeded design.
Step 7: Putting The Bauble Together
Now this is where the magic happens!
Apply the vinyl onto the bauble, ensure that it lines up and fits onto the bauble. If you are struggling, use a piece of parchment paper on part of the design first.
When you have applied the vinyl, add your little extras to the bauble. I have used a bell and some cord to hang it on the Christmas tree.
CraftStore Direct Blog Created By Vickie McHugh
So what did you think? Why not give it a try?
You can even add personalisation onto it too!
Please don’t forget to tag myself and CraftStore Direct on Instagram, I would love to see your masterpieces @the_craft_exchange @craftstore_direct #cuttingmatters
…….you will not want to MISS my next blog…… we will be counting down to the big day!! So stay tuned.
– Vickie x
Products Used
Silhouette Shiny Metallic Vinyl | 9″
Original price was: £9.30.£4.99Current price is: £4.99.
Colour + Shape | Premium PVC Tabletop Cutting Mat
Original price was: £8.00.£6.00Current price is: £6.00.
Colour + Shape Easy Apply Transfer Tape
Original price was: £10.00.£8.50Current price is: £8.50.
Oracal 651 Vinyl Sampler Pack
Original price was: £10.30.£7.73Current price is: £7.73.
Design Used:
• Design Used: Santa I Can Explain – Design ID – 159901 > Download
Design Store Artist: Kolette Hall


