Father’s Day Pennant | Verity Biddlecombe | Silhouette UK Blog
Father’s Day Pennant
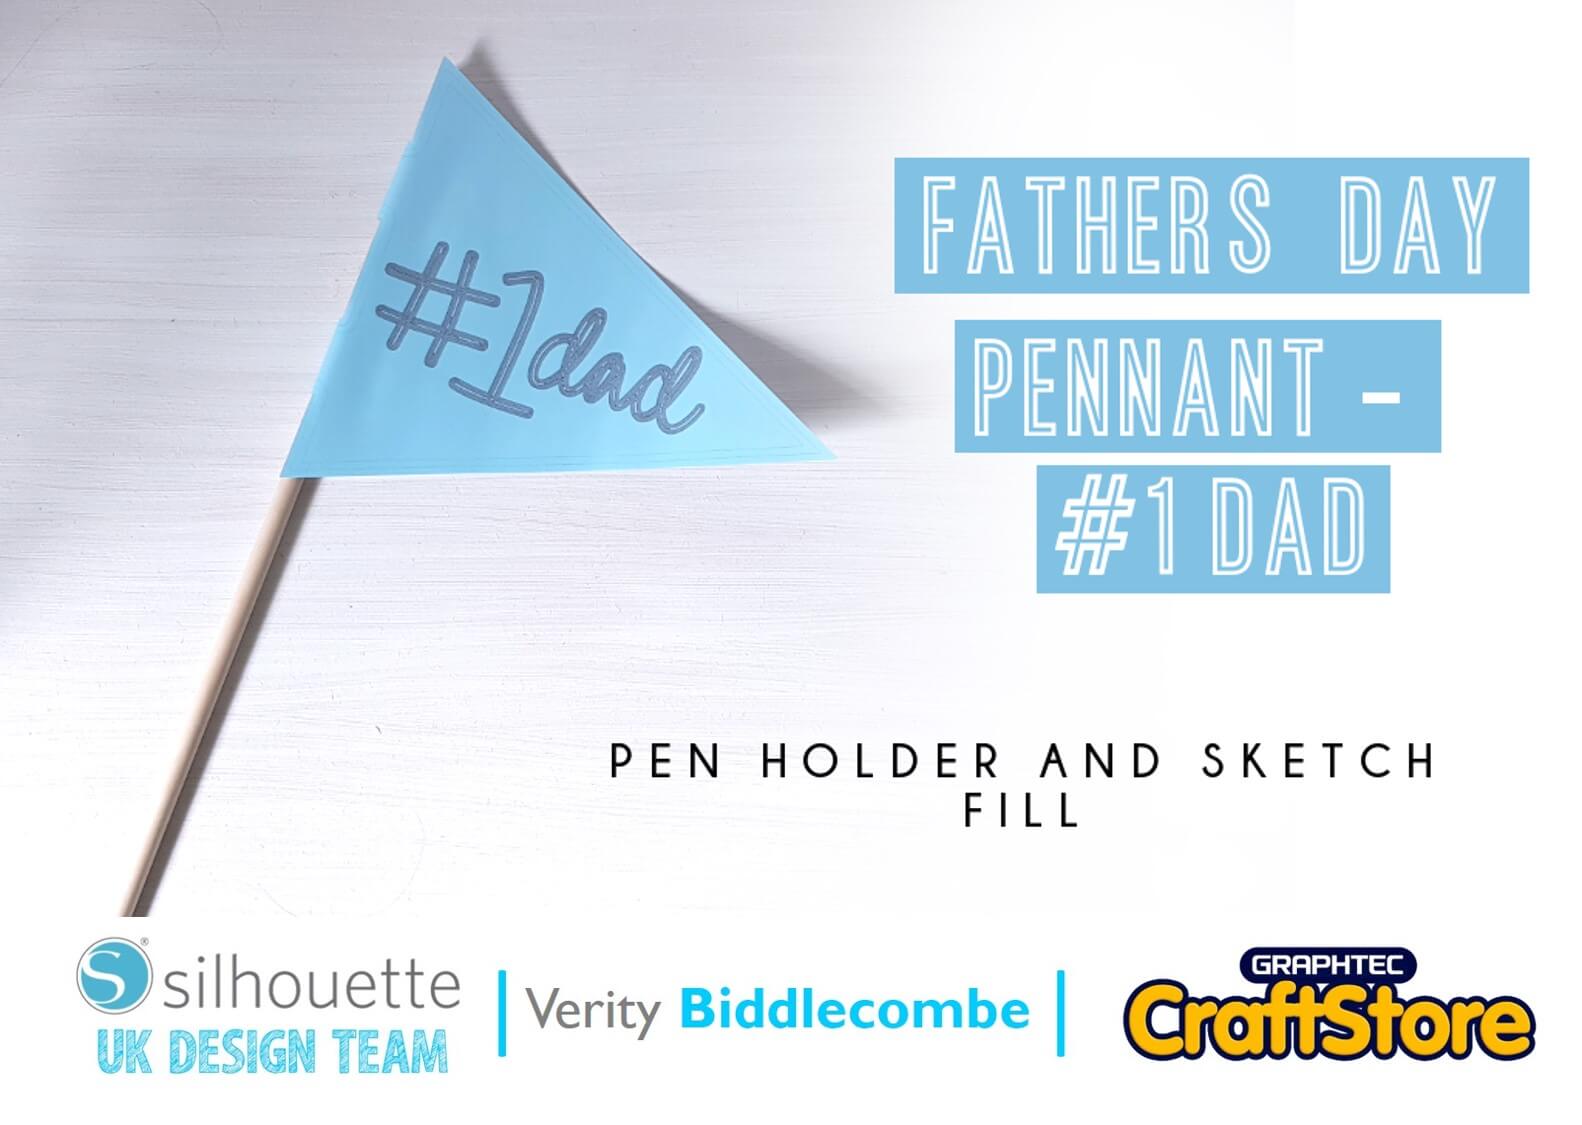
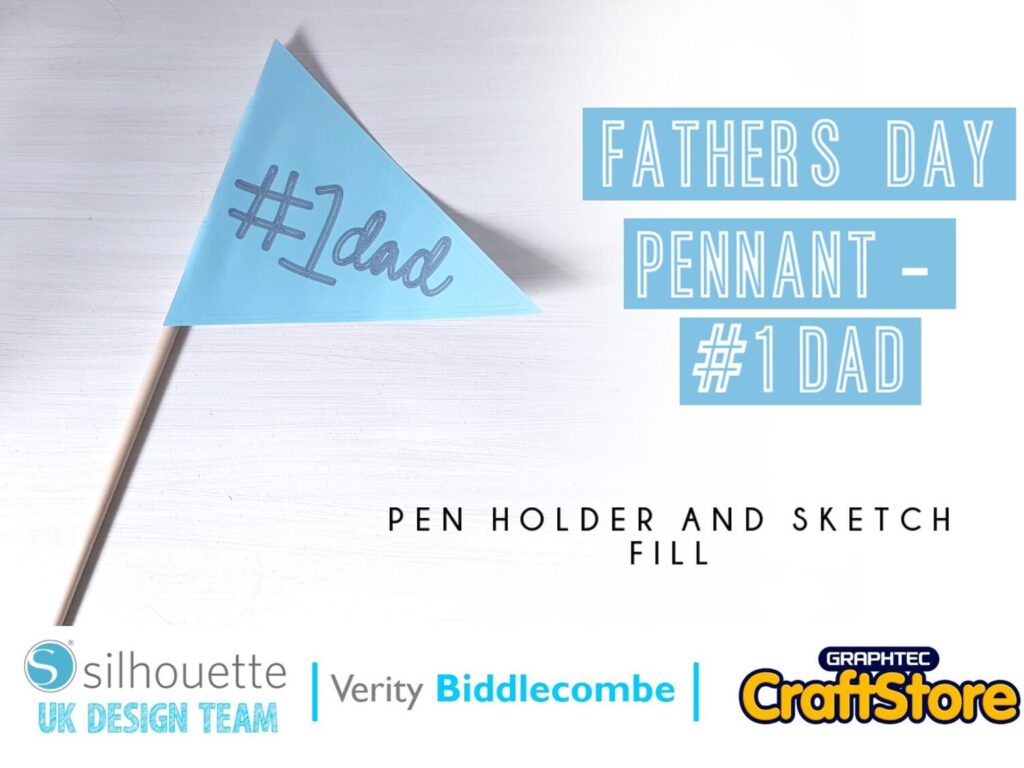
Father’s day is just around the corner and why not create a fun #1 Dad pennant for your child to cheer with on Father’s day, great little addition when their bringing that dad breakfast in pen.
It is such a quick make, that you can easily make one for every child. Whats more, the pen holder makes creating the sign so easy!
Creating The Design
First, download and insert the Pennant design (link below) into your design window. Adjust to size making sure this is not wider than the than the media you plan to cut this out of. Here the paper is set to A4.
To make it easier to work, alter the orientation of your mat using the Page setup window, and rotate the view by 270˚.
(Make Sure You Scroll To The Right For Both Images)
Altering Your Design
Download and insert #1 Dad design (link below). This design comes in two lines, however it would fit better within the pennant on one line. To do this, right click on the design and select release compound. When you do this, all the lines will separate from one another – this will include the inners of the ‘d’s’ etc.
Before moving words around, make sure you group all the lines within ‘dad’ and right click on this.
(Make Sure You Scroll To The Right For Both Images)
Converting Into A Compound Path
Align the ‘#1 Dad# within your pennant, you can group the words at this point. This will allow you to apply a sketch fill to all of the words at once.
Before applying a sketch fill, the design needs to be converted back into a compound path. Right click on the design and select ‘make compound path’. If you do not group and select ‘make compound path’ for the individual words than when you come to sketch fill later on, it will sketch the inners of the ‘d’s’ etc.
(Make Sure You Scroll To The Right For Both Images)
Applying The Sketch Fill
To apply the sketch fill, open the sketch window by clicking on the sketch pen icon on the right-hand toolbar. The best way to apply the fill, is to select the concentric fill option. This can also be used with a Curio for concentric embossing.
When you apply the fill you can alter the spacing. This spacing is the space between each concentric line fill. The smaller the spacing the mover of the design will be filled. You can alter this fill to your desire.
(Make Sure You Scroll To The Right For Both Images)
Adding An Offset
For added interest you can apply and internal offset to the pennant. Open up the offset window by selecting. With the pennant selected, add an internal offset; for more detail you could add two internal offset.
Using Line Colour To Draw & Cut
To make it easier for drawing and cutting, turn the line colours to the different elements with different colours. For the offset, the line colour was turned to green, and the cut line for the pennant was turned to blue.
The offset was drawing in a light blue Stadtler pen, this was inserted into the pen holder using the large ring – you need to check the size of your pen with the different rings to decide which holds the pen the best.
To assemble add double sided take to the back of the pennant tabs and wrap around a small wooden pole.
With only the green line selected this was draw using the pen holder, however, if you have the cameo three and two pen holders you could draw with both slots in your machine and draw the sentiment with another colour of ink.
Lastly, once all the designs are drawn, turn the red and green lines off and check the blue line on and cut this out.
(Make Sure You Scroll To The Right For Both Images)
The Pennant Is Complete
The Silhouette Pen Holder is a great way to make quick and fun projects and you can even get the kids involved.
Why not use it to make a quick and simple card, just change it from a pennant to a card base.
Verity Biddlecombe
