Custom Stamp Making | Cherylann McCool | Silhouette UK Blog
Custom Stamp Making | Cherylann McCool | Silhouette UK BlogCustomer Stamps Hi it’s Cheryl here again. It’s winter and the snow has finally fallen twice this week so I’m glad…
PLEASE NOTE THAT THE OFFICE WILL BE CLOSED FROM 12PM FRIDAY 20TH DECEMBER 2024 AND WILL RE-OPEN ON THURSDAY 2ND JANUARY 2025
ORDERS FOR DELIVERY PRIOR TO CHRISTMAS WILL NEED TO BE SUBMITTED BY 2.30PM ON THURSDAY 19THDECEMBER 2024.
ORDERS RECEIVED AFTER THIS TIME AND DATE WILL BE DESPATCHED ON THURSDAY 2ND JANUARY 2025.
Merry Christmas & A Happy New Year to all our customers. Thank you for your continued support.
Hi everyone, Helen here today.
Introducing the kids to new cultures and celebrations is important to us as a family so this year we are celebrating Chinese New Year with them with a little party.
I wanted to make them some little treat boxes. Here is how I did it. year.
To help me do that I’m creating a positive visual image to stick on the fridge so I can always keep my goal in mind.
Here is how I created this magnetic weight loss tracker.
To complete this project you will need to cut out two pieces of cardstock and one piece of metallic vinyl. First I will explain how to cut out the cardstock.
I selected a takeaway box for the treat box design. I also wanted it to cut out small, so I used a piece of A4 cardstock. I used a dark red colour to match my Chinese theme.
Resize the canvas to A4. To do this open the ‘page setup’ menu and go to the ‘page set up’ tab. Using the size drop down menu selected A4. This then resized the canvas.
Open the takeaway box file and ungroup it from the other elements, then regroup the box together so that you can move and resize it to fit on the A4 cardstock.
Now create an oblong piece to stick to the front of the box. Make sure it is the right size to fit on the front of your box by measuring it against the front of the box.
Now you will need to make sure the vinyl piece is the right size. I chose a fan design but you can choose anything you like. I opened the fan file and then copied it into the file with the box template in it. I resized it to fit into the small oblong piece.
Now that all the pieces are assembled the next step is to cut the pieces out.
The box is cut out of one piece of A4 cardstock. Load the cardstock on the carrier sheet and then go to the ‘Send’ panel. I used the plain cardstock pre-loaded settings to cut with. Once you have done this then load black cardstock and cut out the oblong shape in the same way.
When you are ready to cut the vinyl load the metallic vinyl onto the carrier sheet. Send the vinyl shape to the ‘Send’ menu and select ‘vinyl – metallic’ from the drop down menu. I increased the pre-loaded settings to ‘depth 2’. This just made it easier to weed.
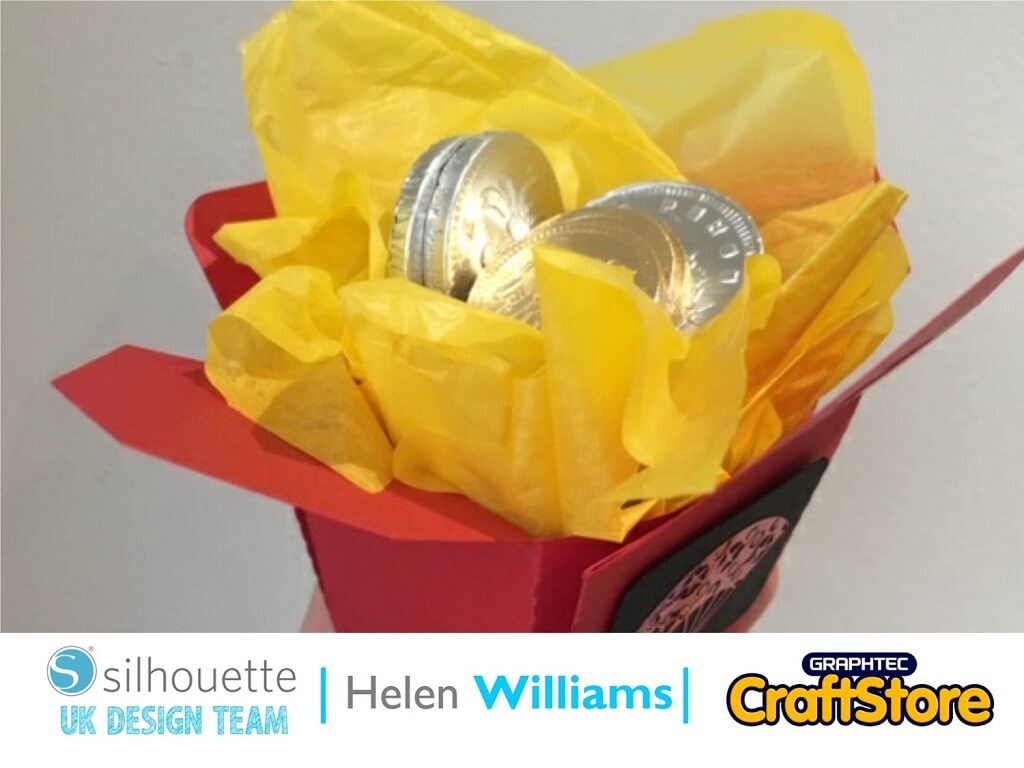
To assemble the box first fold the corners of the box inwards, as in the picture. I fixed the sides of the box in place using sticky tape. If you are using it for a party it would be a good idea to use food safe adhesive.
Weed the vinyl shape. I just used a needle to do this as I’ve found that to be the most effective tool when working with small pieces of vinyl. I then used tweezers to place the vinyl on the black piece of card. Stick the black piece of card on to the front of the box. Add tissue paper and chocolate coins!
I wasn’t sure how this would turn out when I started the project but I love the end result. It will be perfect for the party and the kids will enjoy opening them.
Thanks for reading and keep an eye out for my next post.
– Helen Williams –
• Design Used: Chinese New Year Take Out Box Set
Design Store Artist: Sweet Afton
Design Store ID: 75198 > Download
• Design Used: Fan 1
Design Store Artist: Hero Arts
Design Store ID: 8343 > Download