Sale!
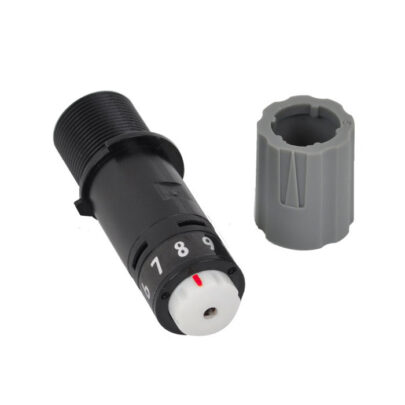
Silhouette Standard Ratchet Blade
Original price was: £15.00.£12.95Current price is: £12.95.
PLEASE NOTE THAT THE OFFICE WILL BE CLOSED FROM 12PM FRIDAY 20TH DECEMBER 2024 AND WILL RE-OPEN ON THURSDAY 2ND JANUARY 2025
ORDERS FOR DELIVERY PRIOR TO CHRISTMAS WILL NEED TO BE SUBMITTED BY 2.30PM ON THURSDAY 19THDECEMBER 2024.
ORDERS RECEIVED AFTER THIS TIME AND DATE WILL BE DESPATCHED ON THURSDAY 2ND JANUARY 2025.
Merry Christmas & A Happy New Year to all our customers. Thank you for your continued support.
Hello, I am so excited to be back creating blogs for Craft Store Direct!
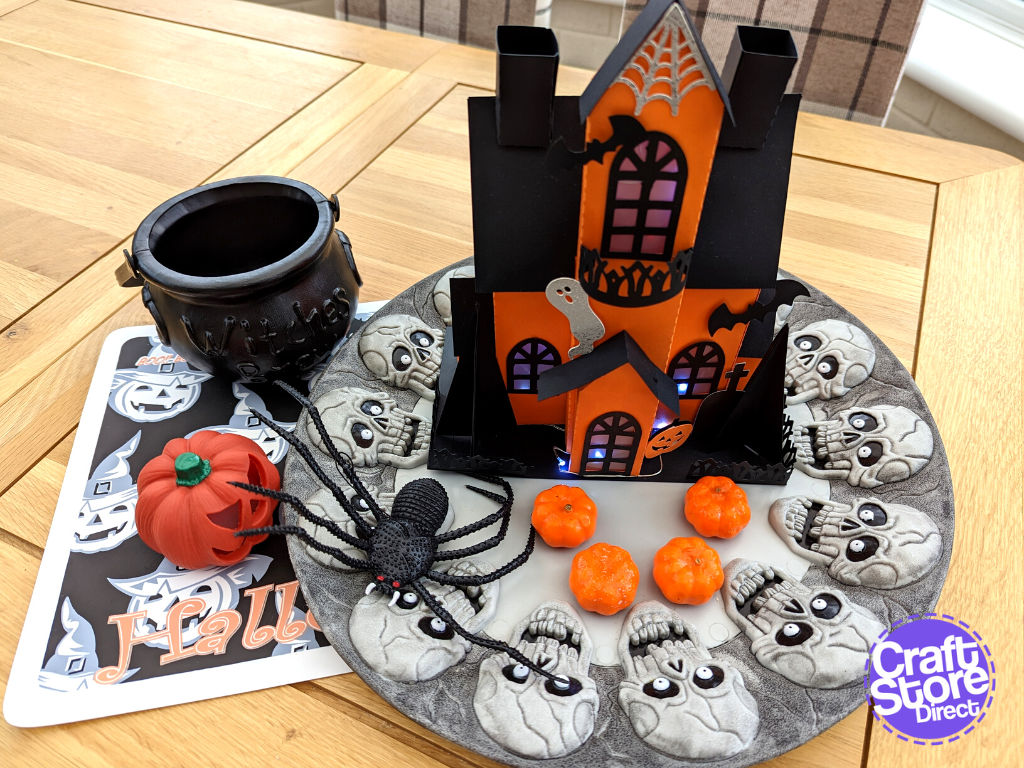
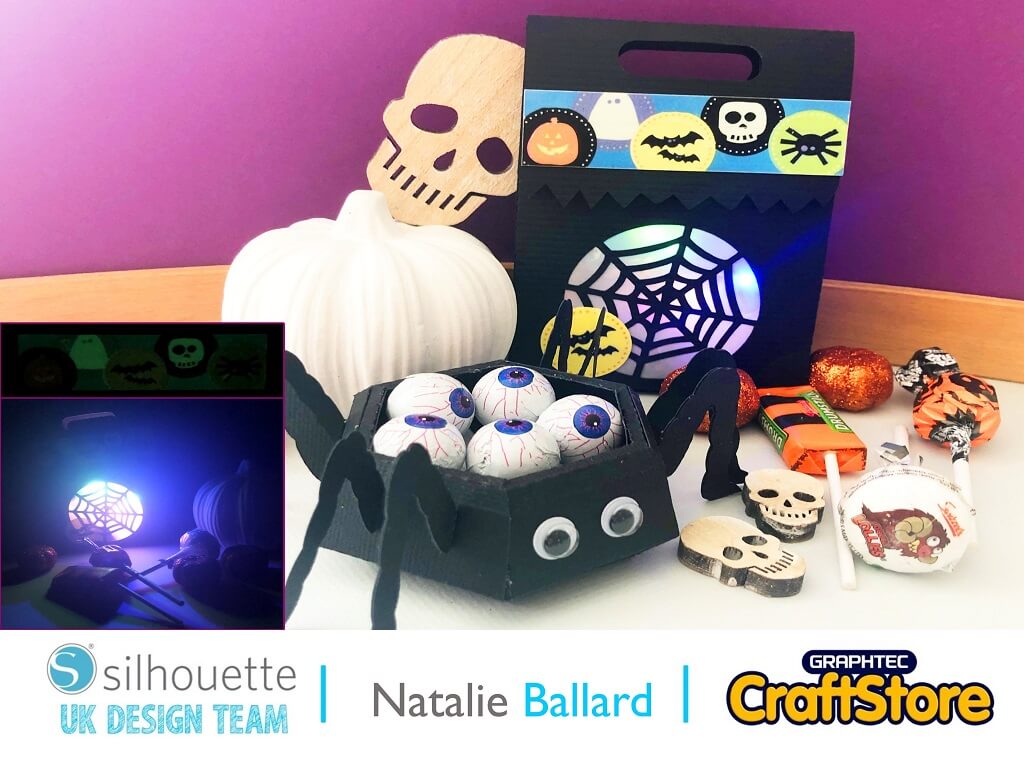
To get us into the Halloween spirit, I am going to show you how to create a spooky haunted house table centrepiece, ready for all those Halloween parties.
• 12″ x 12″ Cardstock in Halloween Colours (I am using 22gsm)
• Double Sided Tape or Glue
• Silhouette Adhesive-Backed Cardstock
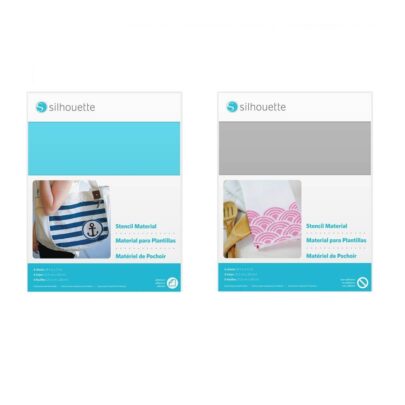
• Acetate or Stencil Material (for the windows)
• Battery Lights
• Silhouette Curio (A Silhouette or Brother ScanNCut Digital Cutting Machine is also fine)
• Silhouette Curio 8 x 12 Cutting Mat

I love this spooky trend and have always wanted to create a 3D paper craft piece for the table.
Having looked in the Silhouette Design Store, there a handful of spooky houses but I went with the Large Haunted House. This design also came with the ghost, bats, pumpkin and tomb stone.
I then pulled it into Silhouette Studio from my library by double clicking on the file.


After opening the file onto the mat, the design appeared slightly larger, so whilst the files were still grouped together, I resized it, so the largest piece fit nicely with the cut parameters.
Firstly, ungroup the files by right clicking.
Have a look at the final design in Silhouette Design space and work out what pieces you want in each colour and sort the cut pieces out.
Place the first colour of card onto the mat.
Click on the SEND in Silhouette Studio.
Change material to show: Cardstock, Textured – Heavy (80lb) and change blade accordingly.
Then click SEND.
Cut out each piece of cardstock using your digital cutting machine.

Now is the fun bit, putting it all together!
Once you have purchased the file from Silhouette Design Store, you can then head over to YouTube and have a look at the designer’s tutorial on how to put the Haunted House together.
I had great fun! I even used some inks to put some “old” shading onto the sides of the building, used glittery card for the spooky ghost and added battery twinkle lights to give it that added spooky theme. To do this, I just added some holes and slits to feed the lights through each window.
For the windows themselves I used the Silhouette Adhesive-backed Textured Cardstock and found that the Silhouette Stencil Material made great glass.
Make sure that you have plenty of imagination and double sided tape!
I have really loved creating this spooky centrepiece, it’s great to be back and crafting again!!
What Silhouette crafts have you been making recently?
Your in for another “Trick or Treat” for my next blog….. So stay tuned for those last minute Halloween Ideas.
Please don’t forget to tag myself and CraftStore Direct on Instagram, I would love to see your masterpieces @the_craft_exchange @craftstore_direct #cuttingmatters
– Vickie x

Original price was: £15.00.£12.95Current price is: £12.95.
Original price was: £9.25.£6.94Current price is: £6.94.
• Design Used: Large Haunted House – Design ID – 382168
Design Store Artist: Lori Whitlock
Design ID:382168> Download


