Sale!
Brother ScanNCut DX Standard Tack Adhesive Mat
Price range: £19.80 through £33.74
Select options
This product has multiple variants. The options may be chosen on the product page
PLEASE NOTE THAT THE OFFICE WILL BE CLOSED FROM 12PM FRIDAY 20TH DECEMBER 2024 AND WILL RE-OPEN ON THURSDAY 2ND JANUARY 2025
ORDERS FOR DELIVERY PRIOR TO CHRISTMAS WILL NEED TO BE SUBMITTED BY 2.30PM ON THURSDAY 19THDECEMBER 2024.
ORDERS RECEIVED AFTER THIS TIME AND DATE WILL BE DESPATCHED ON THURSDAY 2ND JANUARY 2025.
Merry Christmas & A Happy New Year to all our customers. Thank you for your continued support.
`
For this project, I focused on the files in my SDX1200 for creating a new design. I’ve taken part of one design and just embellished it with watercolour markers and go from there.
Craft Materials We Used:
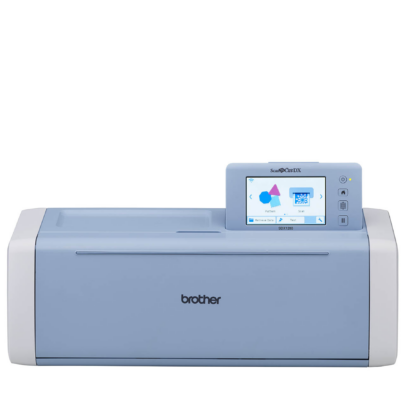
• Brother ScanNCut SDX1200
• Standard Tack Cutting Mat
• SDX Vinyl Autoblade Kit
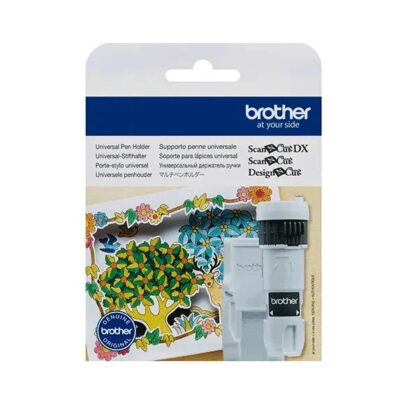
• Universal Pen Holder
Here are the additional tools you need…
• Metal Spatula
• Pokey Tool or Gem Tool
• Blending Brush
• Stamping/flower forming mat
• Large embossing tools
• Watercolour markers
• Water brush or paintbrush with water
• Coloured card, paper and/or vellum
• Pearls and/or gems to match


We are going to start with a design from the SDX1200 – AR-P105 which you can find in the design section. Now, not all ScanNCut models will have this design, but you can download a similar wreath pattern from other third party sites or keep an eye on Artspira for similar designs.
Size this base element to fit well within the boundaries of the front of your chosen card base. Wreath designs look best on square cards. Mine was a 6” card blank so I sized the design t 133mm. As we are only using one element of this design, you can always resize later. Place part A only.
Place your card base (unfolded) onto your cutting mat. Mark the score line with coloured masking tape so you can see the boundary of your card easily once scanned. Load the mat into your machine and background scan.
Align your wreath design to the centre of your card front. Using a green gel pen and a pen holder, draw the outline of the wreath. You could fill too, but you will have a flat fill where as ours is going to be a little more creative. Set the settings according to your pen: in my case Pressure -2 and Speed 1.


So, from your watercolour markers pull out three shades of green; these could be as blue as turquoise right through to a lime and all points between.
Now we are going to set aside the darkest of the three and pick one of the other two colours to get started. Brush a little colour into the tip of one of the leaves, then blend out with the water brush. It really doesn’t take a lot of water to do this. You could also use a clear glitter brush pen.
Then, moving along a little, use the other colour in the same way. Now, with your darkest colour put a tiny amount where the shadow would fall. Blend once more using the same technique.
If you are working onto watercolour card, you can be a bit more generous with water and colour more areas before blending.
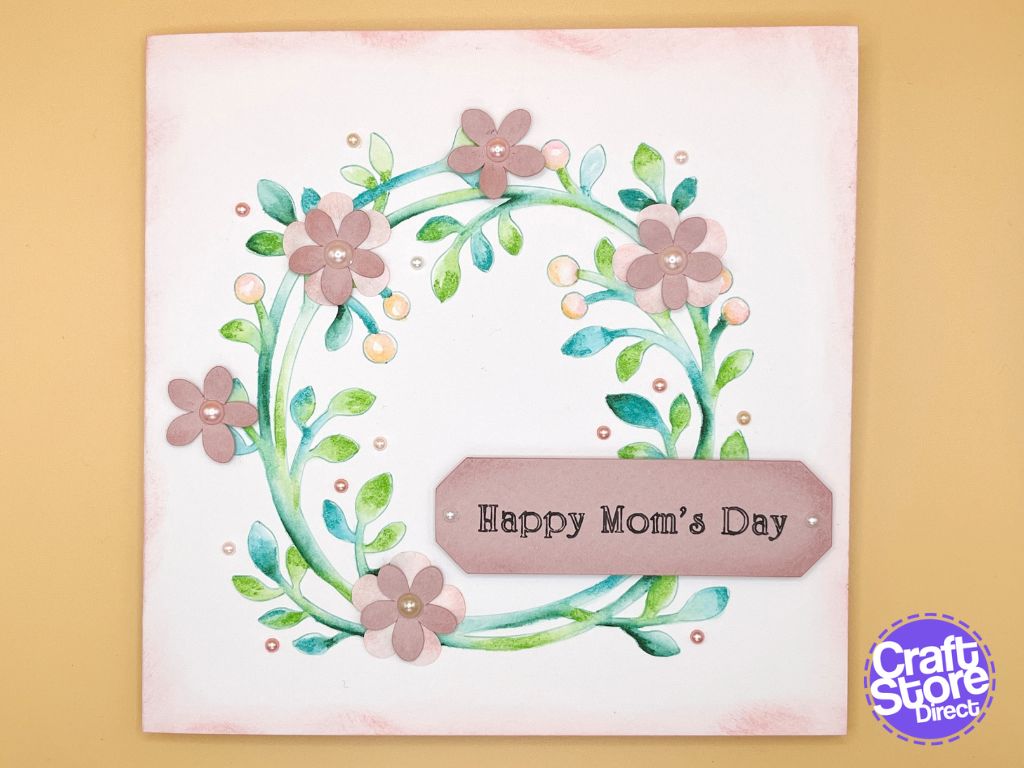
Work all the way around until the wreath is completely coloured. The berries are coloured in with a pink and orange pen used very sparingly to give the illusion of 3D.


So, we are going to choose two types of coloured media. In my case one was a thick, marbled vellum in soft pink and the other a textured thick card in dusky pink.
Reset your machine, and add AR-A015 (from Nature) and resize as small as it will go. In this case, 30x30mm is the lowest you can go at this stage. As we want to further shrink this (3cm is too big when checking against a ruler on the card base), only import 1 copy at this time. Once added to your mat, resize the shape to 20mm. Increase the number to 5. This will then place 4 new copies onto your mat, but these are currently overlapping – don’t worry about that yet.
Go to Add and back to the Nature section, and add AR-A010 and once more shrink as far as it will go. In Edit, you can then size to slightly larger than your first flower shapes. You need 3 copies of this flower for this design.
Use the paper saving tools to get all your copies into a row. Divide the shapes into two groups and align according to the layout of your mat. You want to check you cut your thinnest material first.
Here’s a quick hack to check…
Go to Draw and without anything in your carriage tell it to start. Your machine will throw an error message, but you can tell it to ignore the issue and continue. Pay attention to where it draws first. If it is in the wrong order you can use group to swap them around by groping the elements that draw LAST.
Cut out your flowers, and repeat any subsequent cuts on only those elements that haven’t cut yet.
Now, we need to take these flower shapes from 2D to 3D. Firstly, carefully remove them from your cutting mat using a metal spatula. Nw, grab your choice of ink (should be a darker shade of your materials) and a blending brush. Tap the brush on the ink pad, then sweep the brush over the ends of the petals.
Next, grab a dense foam mat (typically used for flower forming, parchment craft or as a stamping mat) and an embossing tool. Bigger tools are better but with the size of these flowers try not to go to too much of an extreme. Press on the back of each petal then flip over the flower and press in the middle to make the petals pop up. Repeat for all the flowers, and then position them onto your wreath design as shown. I used a little 3D PVA which is stiffer than your average PVA.


Start by adding a banner design. If you choose one of the folding designs, you can remove the score lines using a 1mm offset and ungroup. Add to the mat and rotate and resize to suit your card design. In this case, landscape with a width of 24x80mm.
Add your chosen text using the text tool, typing out the whole phrase in one go. Adjust the Character Size so the width is smaller than your banner shape. You can adjust this further in Edit/Object Edit if needed once the design is placed onto the mat.
Select both the banner and text elements no use Move-Align and align to the centre and middle. Save this completed tag for future use as well as being able to work with drawn text and cut outline separately without worrying about alignment.
Remove the banner shape and insert a gel pen into the pen holder. Draw your text without fill. Fill will not work well at small scales.
Once drawn, reset the machine and re-import your saved banner. This time delete the text instead, pop in the blade and cut as normal.
Layer up with 3D foam and you are nearly done


Add gems or pearls to your card front focusing firstly on the centre of flowers and then adding a spattering of gems around the wreath at leaf tips.
You can also add tiny gems/pearls to the banner to match.
Using your blending brush, add ink to the banner and the outside edges of your card front.
As you get more used to this process, you can bring in printed papers which will give your flowers even more interest and a professional look.
Once you start to break up the designs in your machine, you will truly see just how versatile they can be. Welding for instance can give your wreath a whole new look as a decorative layer. You can even draw the wreath first and then weld to create a flat frame.
– Natalie x

Price range: £19.80 through £33.74
Original price was: £499.00.£449.00Current price is: £449.00.
Original price was: £55.00.£49.50Current price is: £49.50.
Original price was: £19.00.£17.10Current price is: £17.10.


