Autumn Glass Mugs | Graphtec GB Craft Store
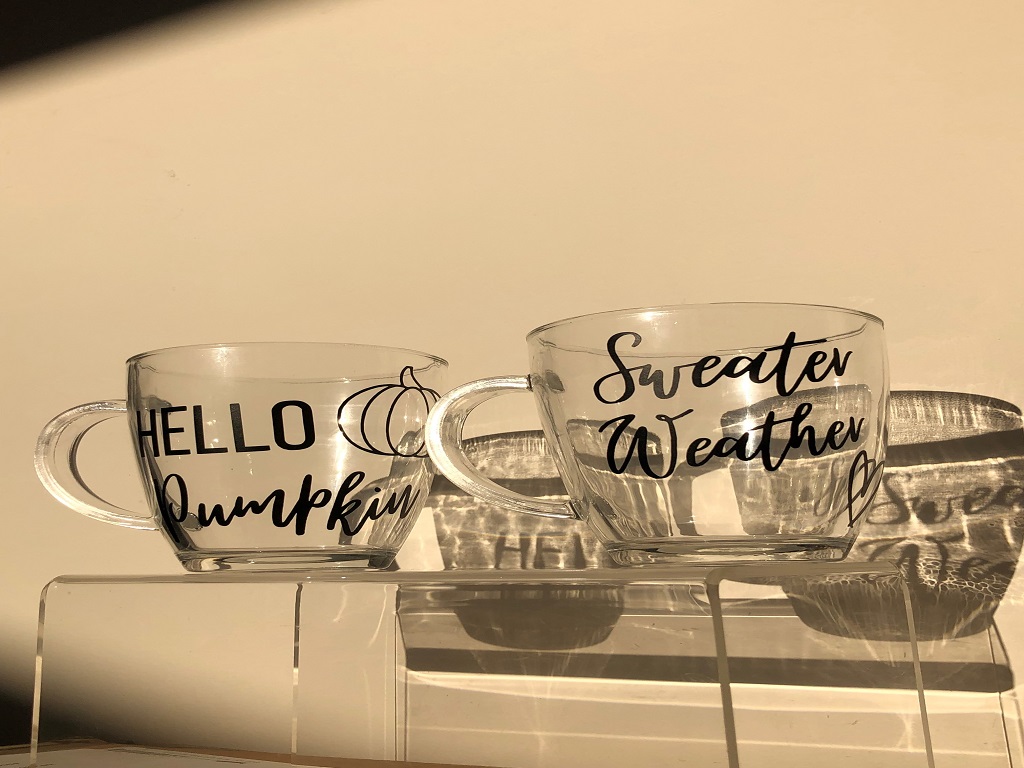
Autumn Glass Mugs | Graphtec GB Craft StoreAutumn Glass Mugs So for this blog, we will be making Autumnal themed glass mugs! The blog post will show you how to…
PLEASE NOTE THAT THE OFFICE WILL BE CLOSED FROM 12PM FRIDAY 20TH DECEMBER 2024 AND WILL RE-OPEN ON THURSDAY 2ND JANUARY 2025
ORDERS FOR DELIVERY PRIOR TO CHRISTMAS WILL NEED TO BE SUBMITTED BY 2.30PM ON THURSDAY 19THDECEMBER 2024.
ORDERS RECEIVED AFTER THIS TIME AND DATE WILL BE DESPATCHED ON THURSDAY 2ND JANUARY 2025.
Merry Christmas & A Happy New Year to all our customers. Thank you for your continued support.

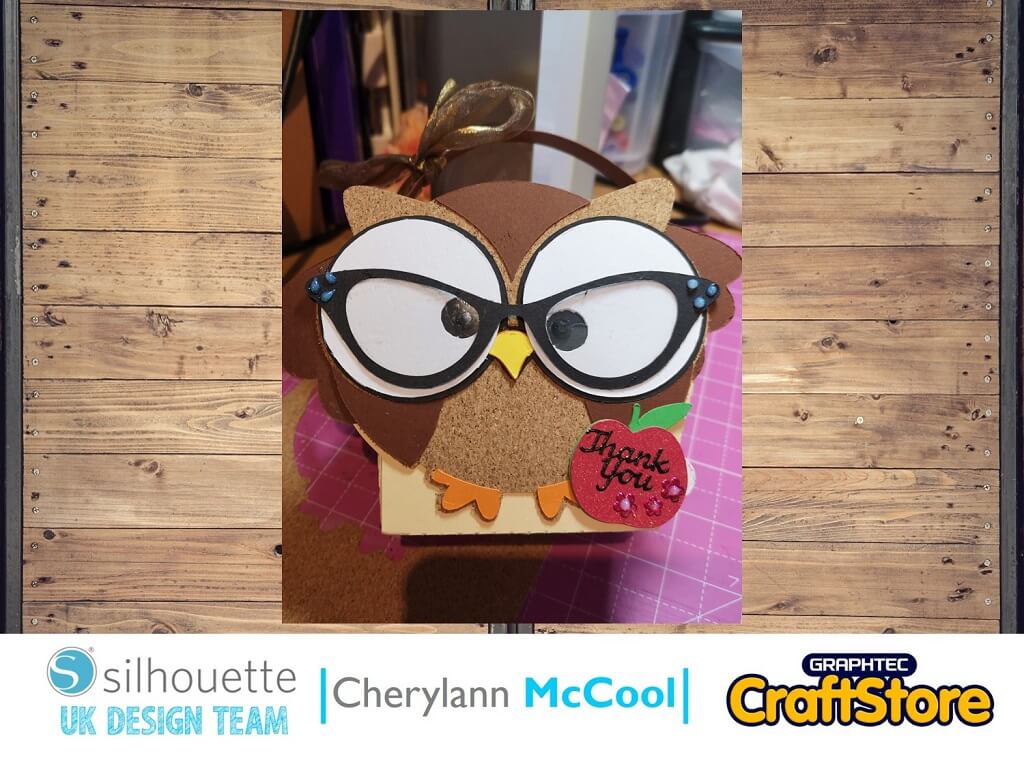
Hi Cheryl here again.
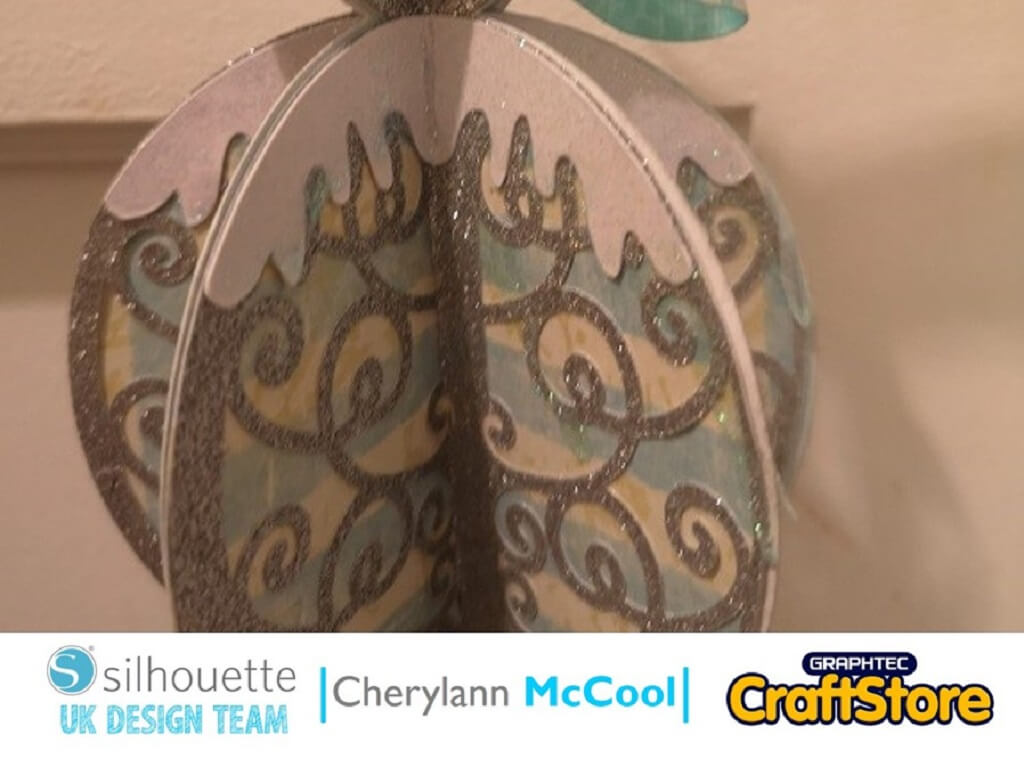
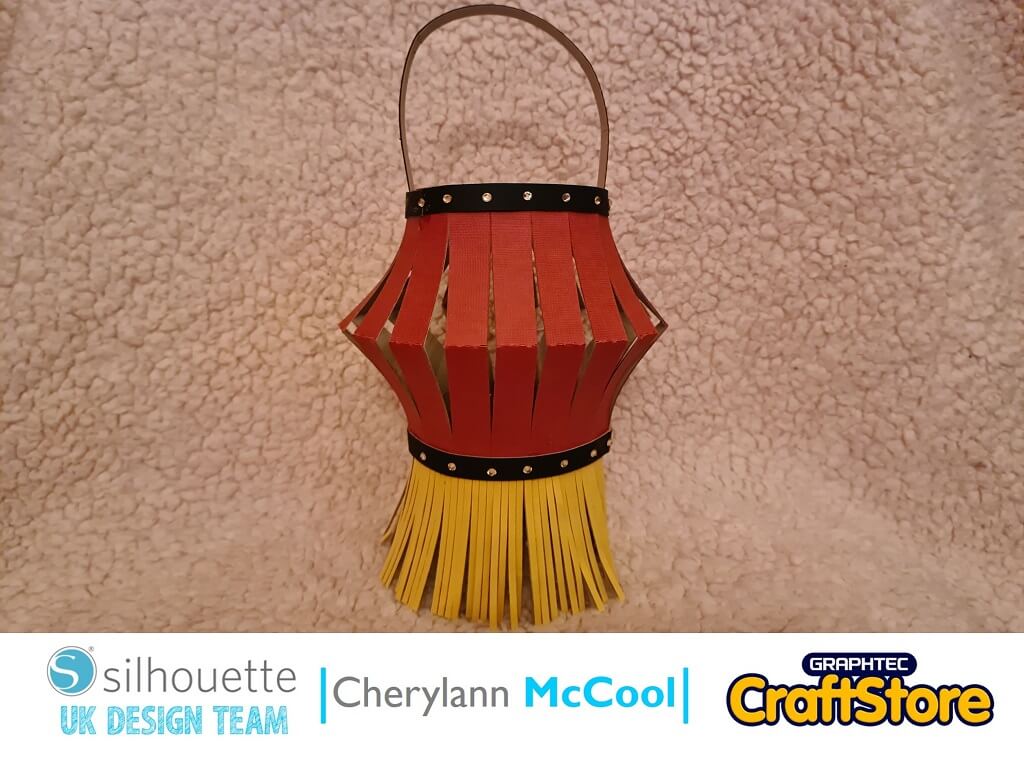
I hope you all had an amazing festive period and the man in the red suit brought you lots of crafty things e.g. a Silhouette Cameo 4 machine. If so, come join me in making this Chinese New Year Decoration and 2022 is the year of the sheep/goat.
• Silhouette Adhesive backed textured cardstock bumper pack
• Silhouette Chipboard
• Adhesive gem stones
As this is a decoration it needs to feel strong so we are going to start with a sheet of the Chipboard on your mat.
Open file in your software and here you can decide on the size you want to make. I went with the 12 x12 mat.


If you are happy with your size then you want to press send up in the top right hand corner.
At this screen you want to change your material to Chipboard and if happy with the settings then hit send at the bottom of the screen.
Once cut remove your chipboard from the mat and then put the first colour your card stock and follow the steps as above just making sure you select adhesive cardstock at the materials selection.


Once you have all your pieces cut its time to make your decoration. You want to stick the chipboard to the sticky side of the cardstock and you may want to use a stronger glue to hold the pieces.
With the main part of the decoration glue one edge to the other.
Then hold the top and bottom and push until the centre bit pops out.
Then with the bottom piece glue one edge on to the other.


Then with the black thinner strips put one around the edge of the top part and then the other join the top and bottom pieces and then the thicker piece glue to the inside of the top part to make a handle.
Then put gems around the two thinner strips and your project is done.
I had fun making this project especially the bottom piece and once it came together I loved it.
I’m not exactly sure what they are used for but I have put a fake candle in and loved how it looks.
I cant wait to show you my next project but all I will say is find something in the house to do an upcycle project I would suggest, bottle, frame or canvas.
See you soon!
– Cherylann McCool xx –
• Design Used: Chinese Lantern
Design Store Artist: Sweet Afton
Design ID:75199> Download