Childrens Crayon Case | Vickie McHugh | Silhouette UK Blog
Childrens Crayon Case
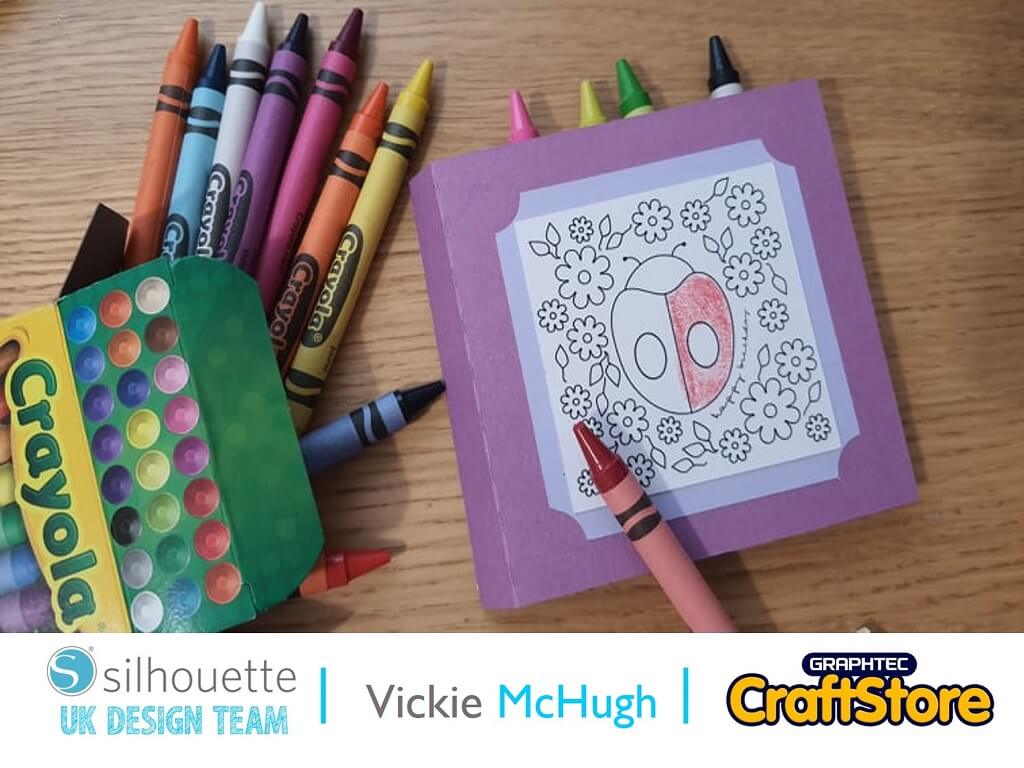
With the school holidays coming up, what better thing to make with your Silhouette machine, a colouring card to keep your children entertained.
It’s my little ones birthday coming up too, so I will be making a number of these as favours.
Items I Used
• Silhouette Curio
• Cutting Mat (8.5″x12″)
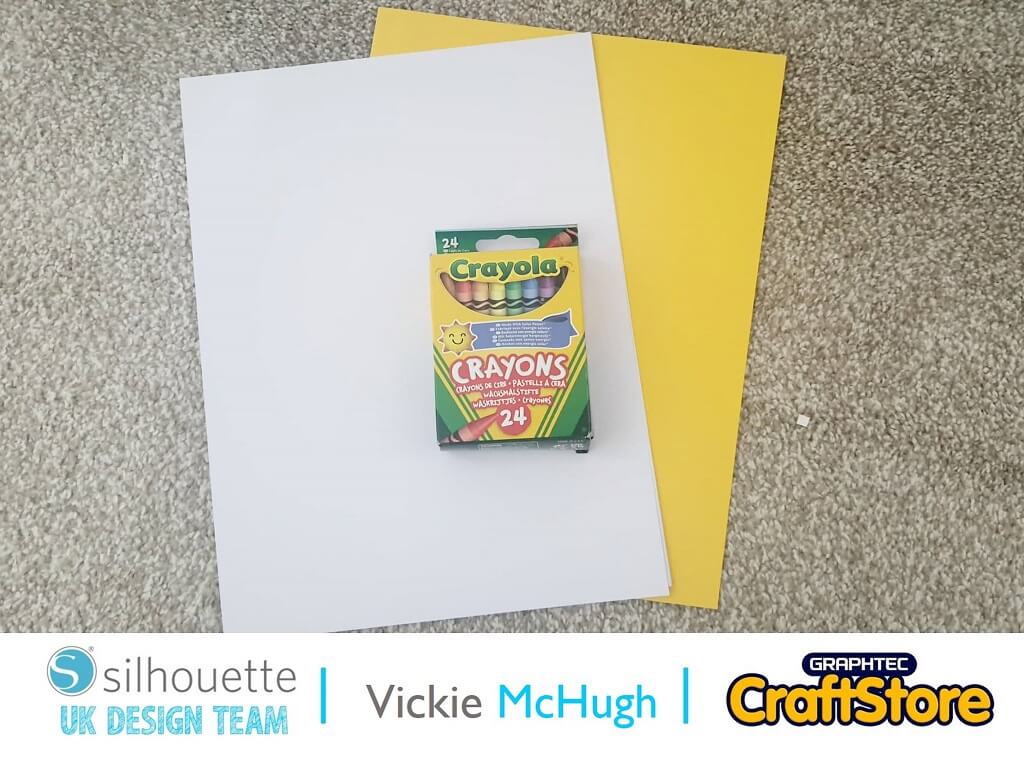
• White & Coloured Cardstock
• Wax Crayons
• Glue
Choosing The Colouring Card
I purchase a colouring card from the Silhouette Design Store.
To do this, I have searched “coloring card” and open it within Silhouette.
Creating The Colouring Section
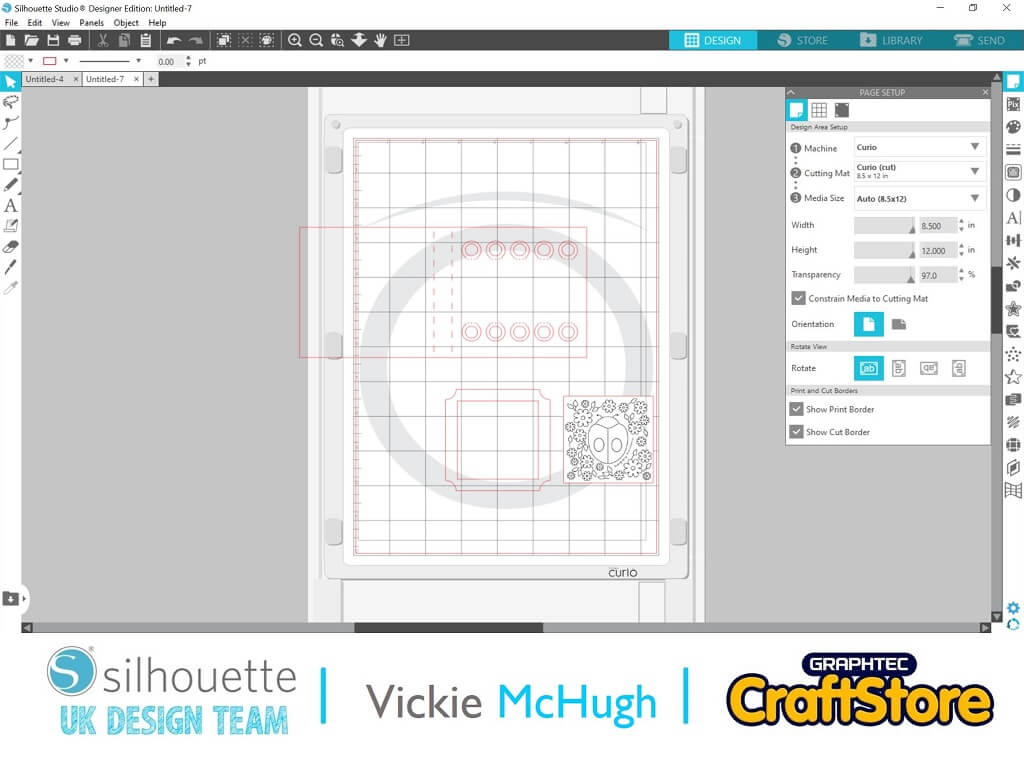
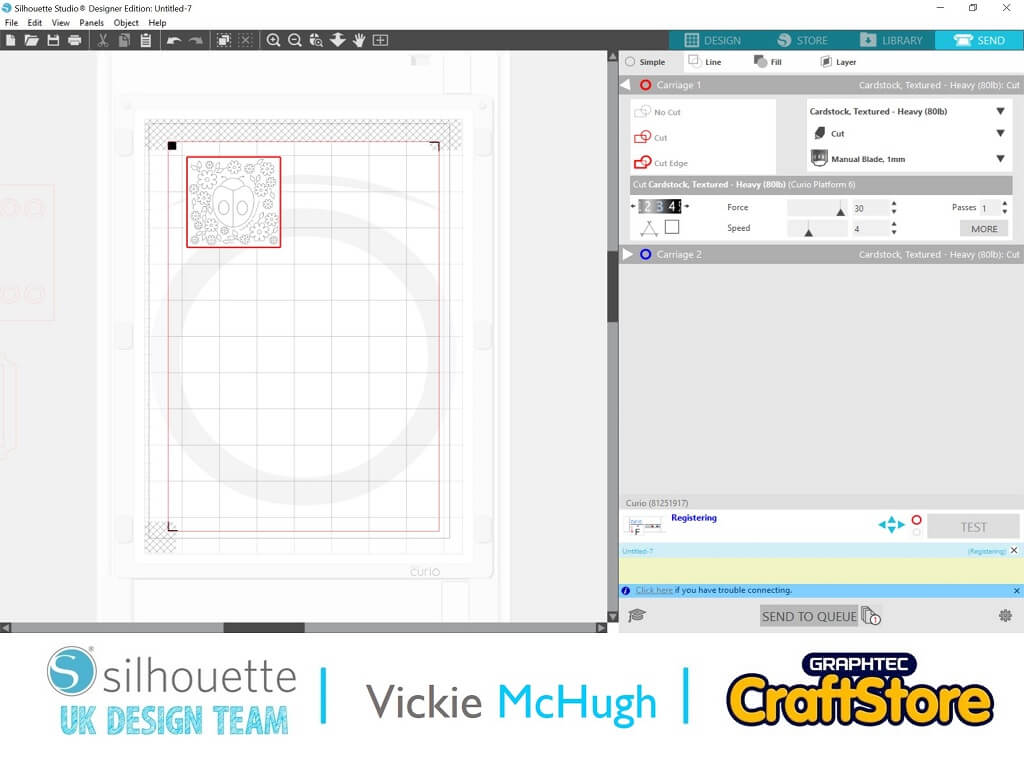
Ungroup the files by right clicking and move the image over to the mat.
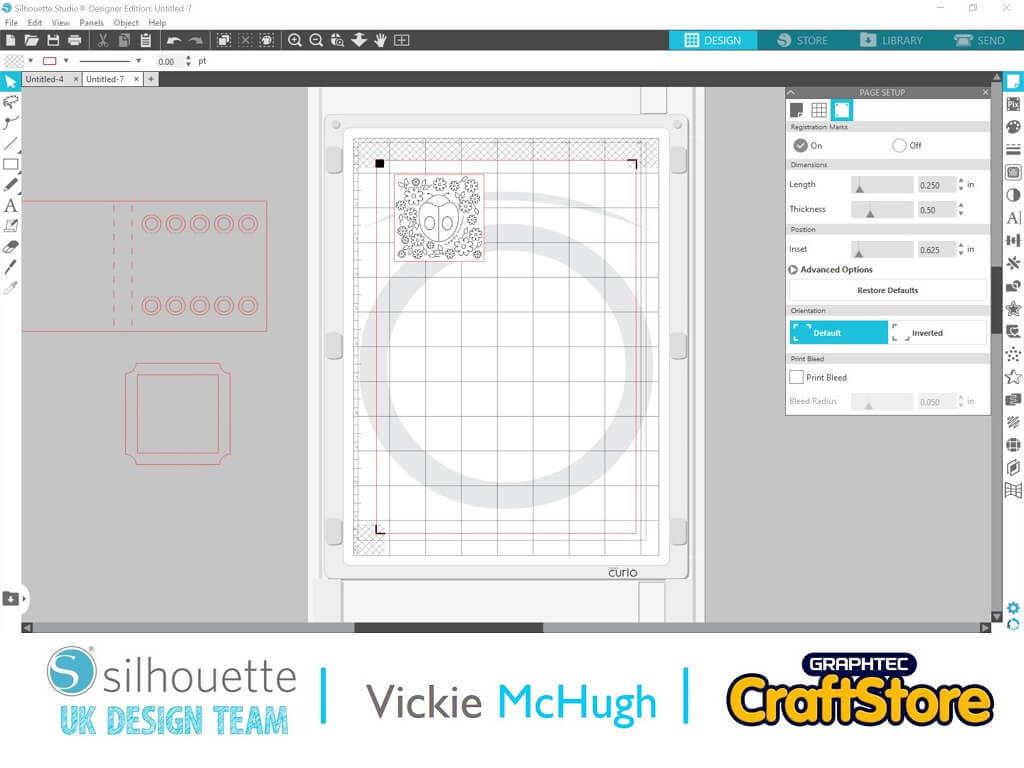
In Page Set up tab, turn on the registration markers and print.
Print Settings
I have used a card stock for this design.
My Cut Settings:
> Material: Cardstock Heavy
> Force: 30
> Blade Length: 4
> Click Send
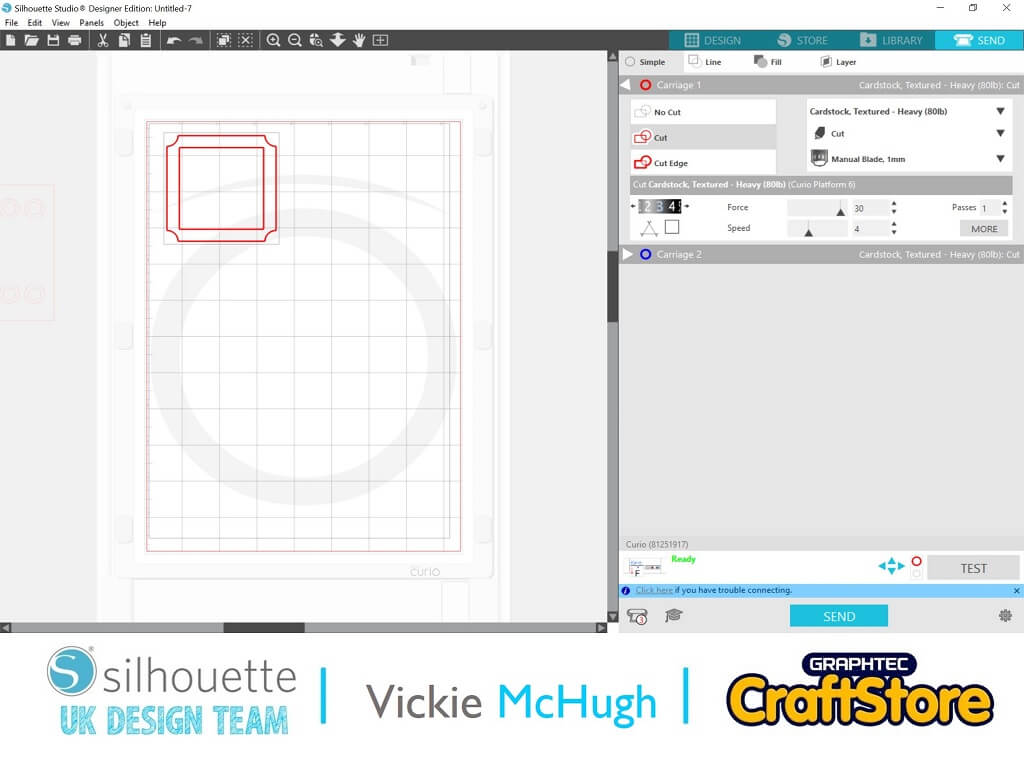
Cutting The Frame
In Silhouette Studio move the image from the mat and put to one side.
Drag the frame over and put a coloured piece of card onto the mat.
Using the same settings click send.
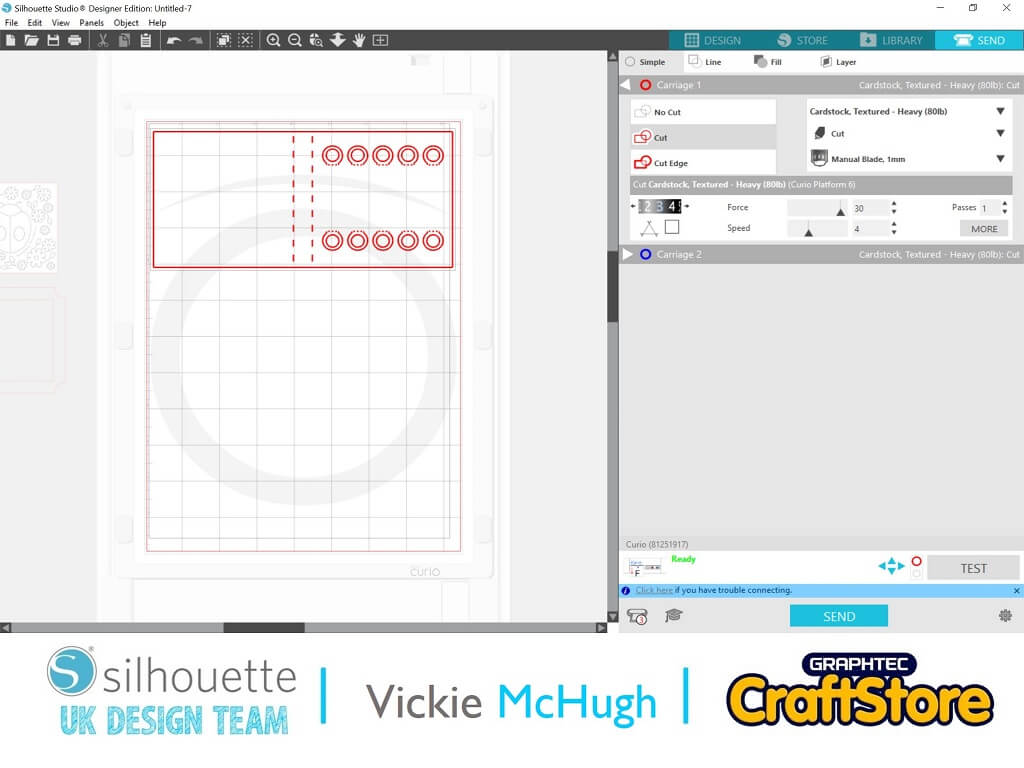
Cutting The Background
In Silhouette Studio move the frame from the mat and put to one side.
Drag the card background over and put a coloured piece of card onto the mat.
Using the same settings click send.
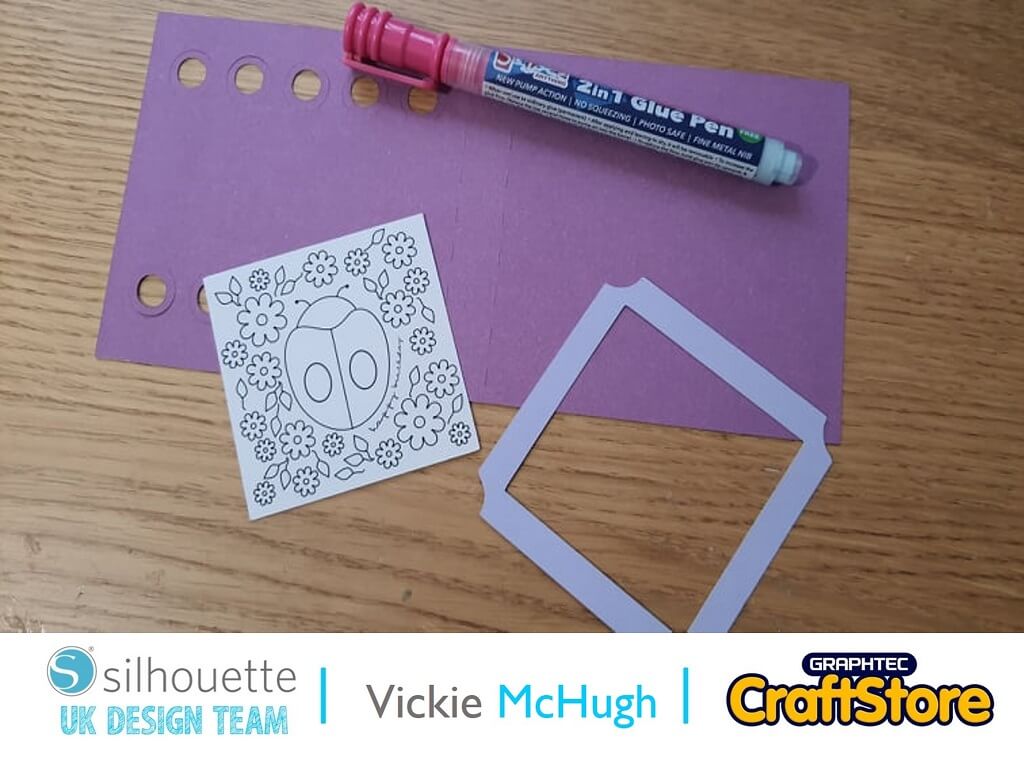
Putting The Card Together
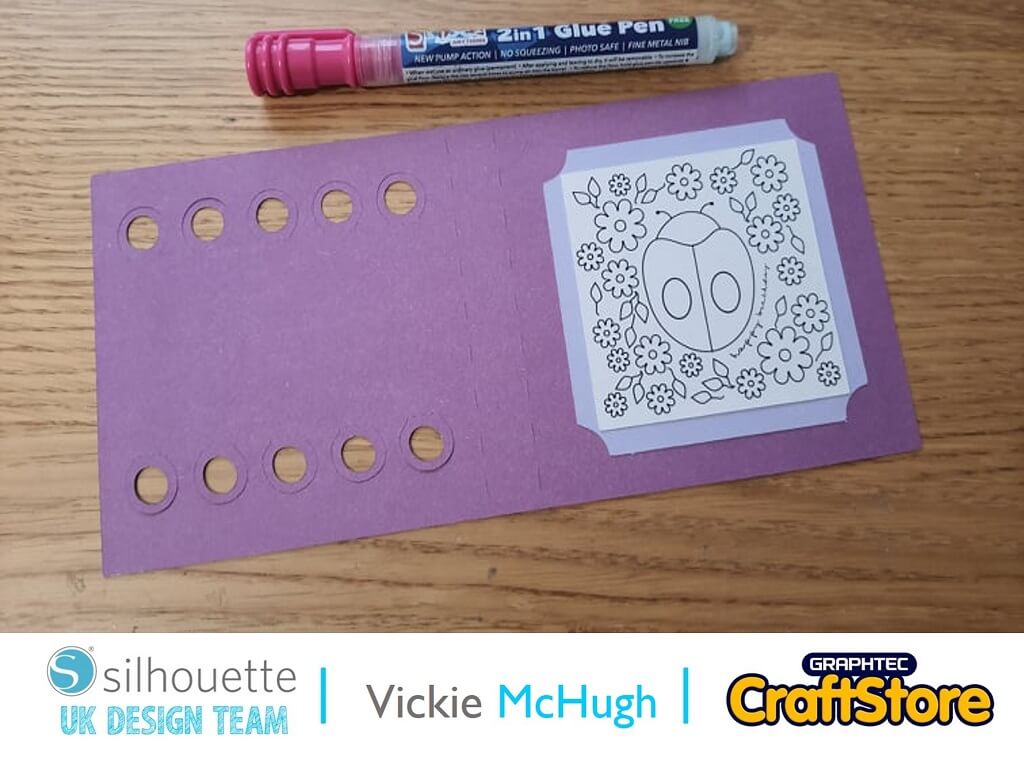
Using a glue pen, glue the colouring in section onto the frame.
Then with the holes on the left hand side, attached the frame to the card, again using glue.
Adding The Final Touches
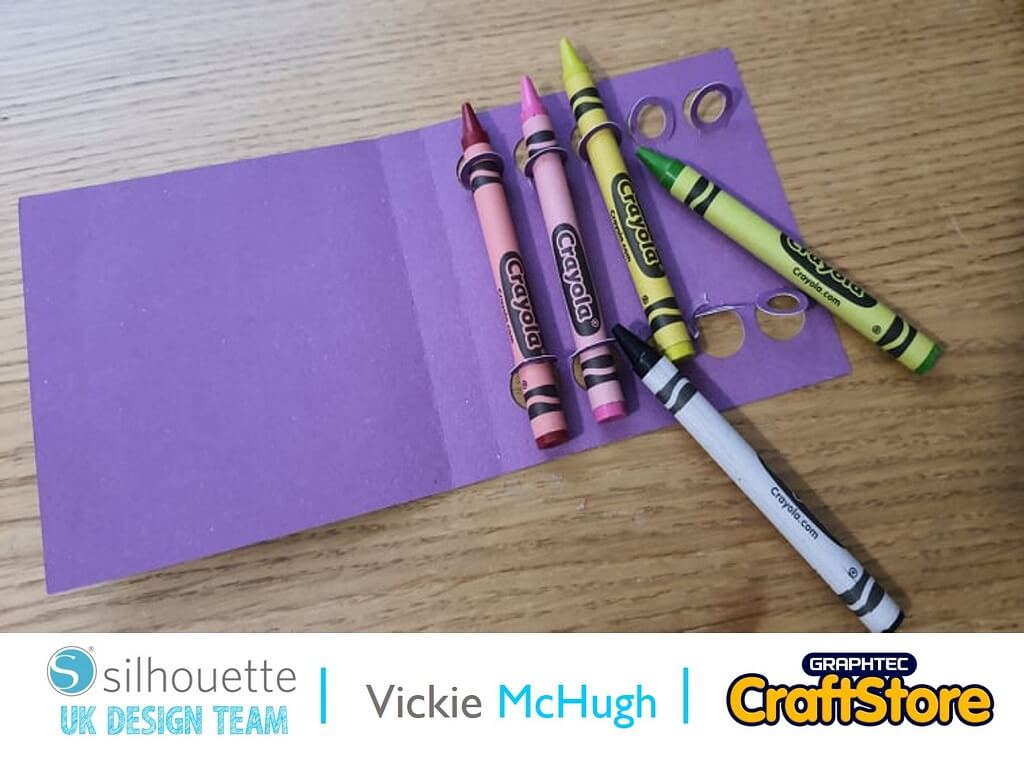
Fold the card in half and pop out the circles.
Once you have done this, insert 5 crayons into the slots.
There are plenty of other colouring card templates to choose from in silhouette studio, so have a look and I look forward to seeing what you make. Please don’t forget to tag me on Instagram so I can see your masterpieces @crafty_vickie
Did you know that fairies live at the bottom of the garden?…….
I wonder if there will be some in my next blog?
– Vickie McHugh –
