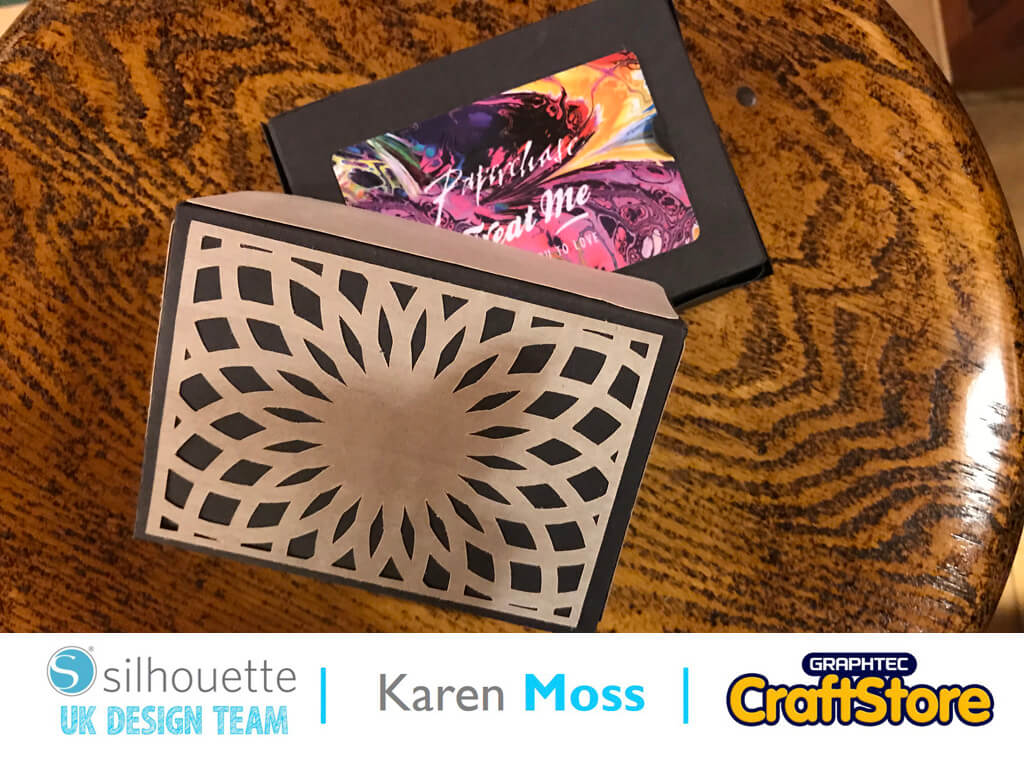
Mother’s Day Gift Box | Karen Moss | Silhouette UK Blog
Mother’s Day Gift Box | Karen Moss | Silhouette UK BlogMother’s Day Gift Box | Silhouette Wood Paper Sheets What to get my Mum for Mother’s Day is always a…
PLEASE NOTE THAT THE OFFICE WILL BE CLOSED FROM 12PM FRIDAY 20TH DECEMBER 2024 AND WILL RE-OPEN ON THURSDAY 2ND JANUARY 2025
ORDERS FOR DELIVERY PRIOR TO CHRISTMAS WILL NEED TO BE SUBMITTED BY 2.30PM ON THURSDAY 19THDECEMBER 2024.
ORDERS RECEIVED AFTER THIS TIME AND DATE WILL BE DESPATCHED ON THURSDAY 2ND JANUARY 2025.
Merry Christmas & A Happy New Year to all our customers. Thank you for your continued support.
Hello! Natalie here today.
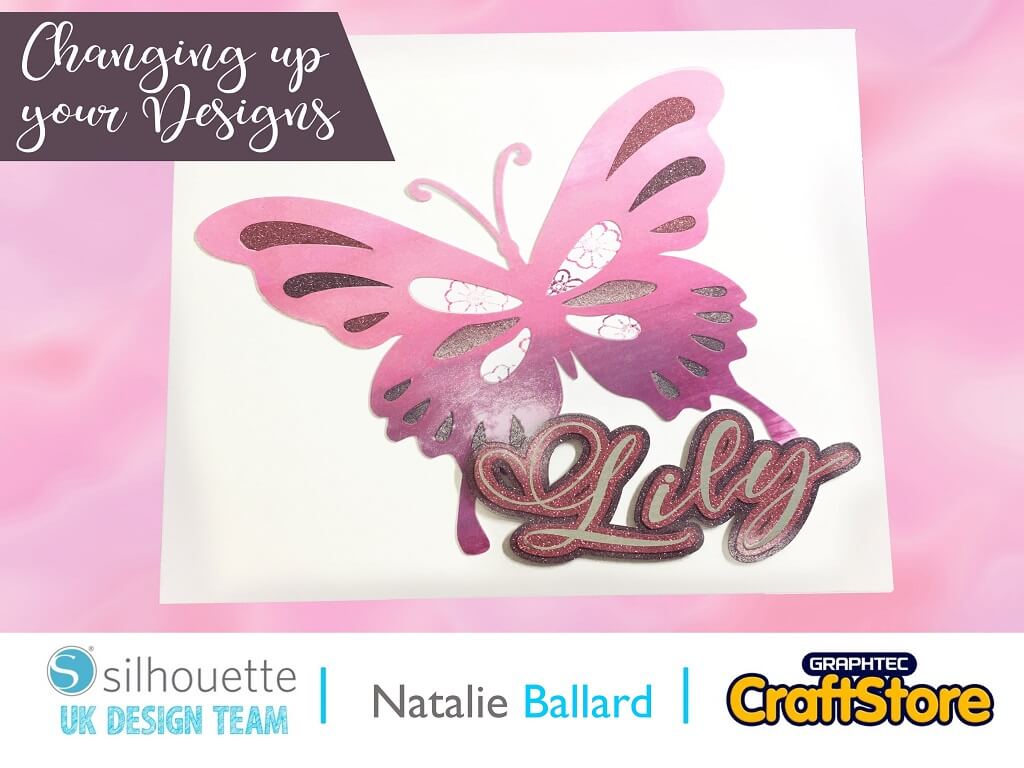
This is my first ever blog for the Silhouette UK Design Team and today we will be talking about stretching your designs and downloads further by changing up how a design is set up within Silhouette Studio.

I’ve chosen a nice simple butterfly design for this project.
I’m going to do some ink blending and stamping for this project, so simple is better.
Ungroup the design so you can edit the component parts.
So, remove the solid butterfly and regroup the top design.
Duplicate this and move the copy to the bottom.
On the original butterfly, ungroup and subtract to punch the holes through your butterfly.
Colour this butterfly black so you can see the calculation has been done correctly.


Duplicate and break apart a copy of the bottom butterfly.
Colour your sections according to the different material you want to use.
Using select by colour, pick each colour and group.
Move each group to its individual sections of the mat.
This will help you to measure and layout your materials onto your mat so you can cut in one pass.


Once you are happy with the layout, you can send the design to be cut on your machine or save/export it for future use.
Use your grid lines to help you measure and layout your materials.
Using a smooth cardstock measuring 6×12, blend three shades of Distress Oxide across the top half of the cardstock to create an ombre effect.
Blend this with a blending sponge to soften the streaks.
On a smaller piece stamp small images for some of the insert sections of the wings.
Once the ombre panel has dried, laminate the section with clear vinyl.

Cut out your pieces as laid out by trimming your card to match your mat layout.
Apply your blended and stamped pieces first and infill with ombre glitter card.
Use the lighter section of the card for one group and the darker colour for the other.
Type your chosen sentiment in a fine decorative font.
We’ll be cutting this layer from vinyl.
Then add two offsets; these will hold the word together if there are any gaps.
These two layers will be cut from the two ends of the ombre glitter card to create contrast between the layers.
Cut and assemble this and adhere to the card with foam pads or tape.


I love swapping up designs like this and making them fit new projects and techniques.
Now you need to pick a design from your stash and try this technique out on it too.
I would love to see what you make.
– Natalie Ballard –
• Design Used: Butterfly
Design Store Artist: Wispy Willow Designs
Design Store ID: 345189 > Download