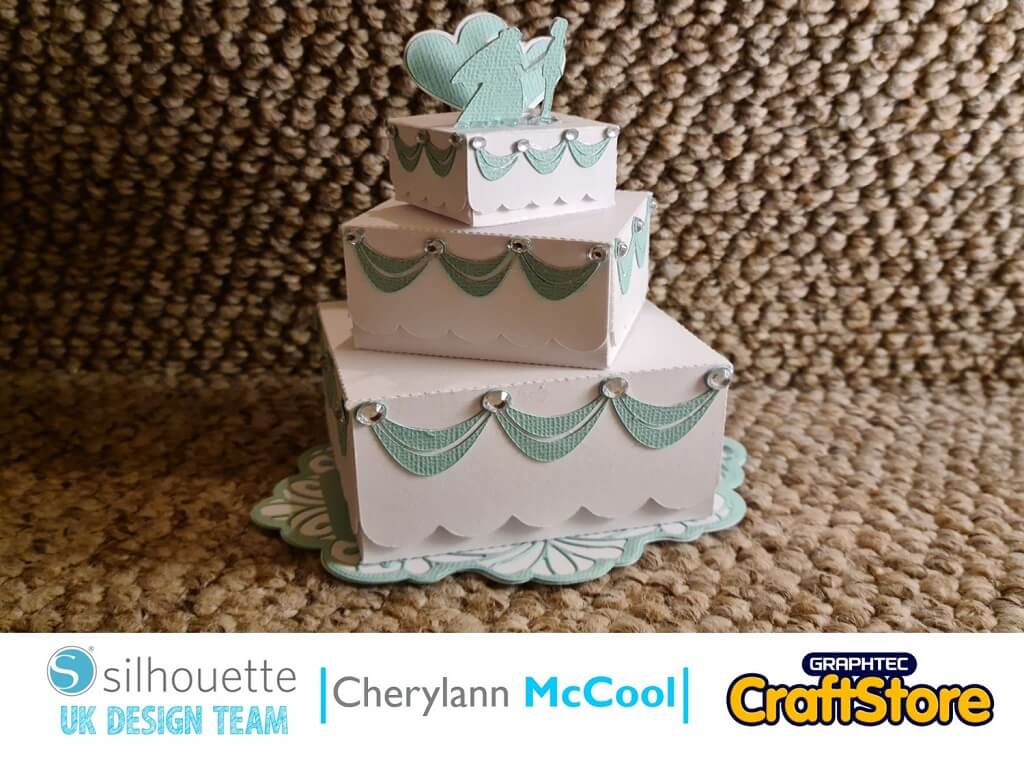
Wedding Cake Boxes | Cherylann McCool | Silhouette UK Blog
Wedding Cake Boxes
Hi it’s me Cheryl here again.
The weather is improving and with Lockdown easing hopefully we will be able to see our family and friends again soon.
It’s getting to that time of year when you finally see the date arrive for a wedding and you might be looking for something different for your special day.
Well take a look at this week’s project and its perfect, so let’s go and start crafting.
Craft Materials Used
• Silhouette Cardstock
• Glue
• Adhesive Gems
Open Your File
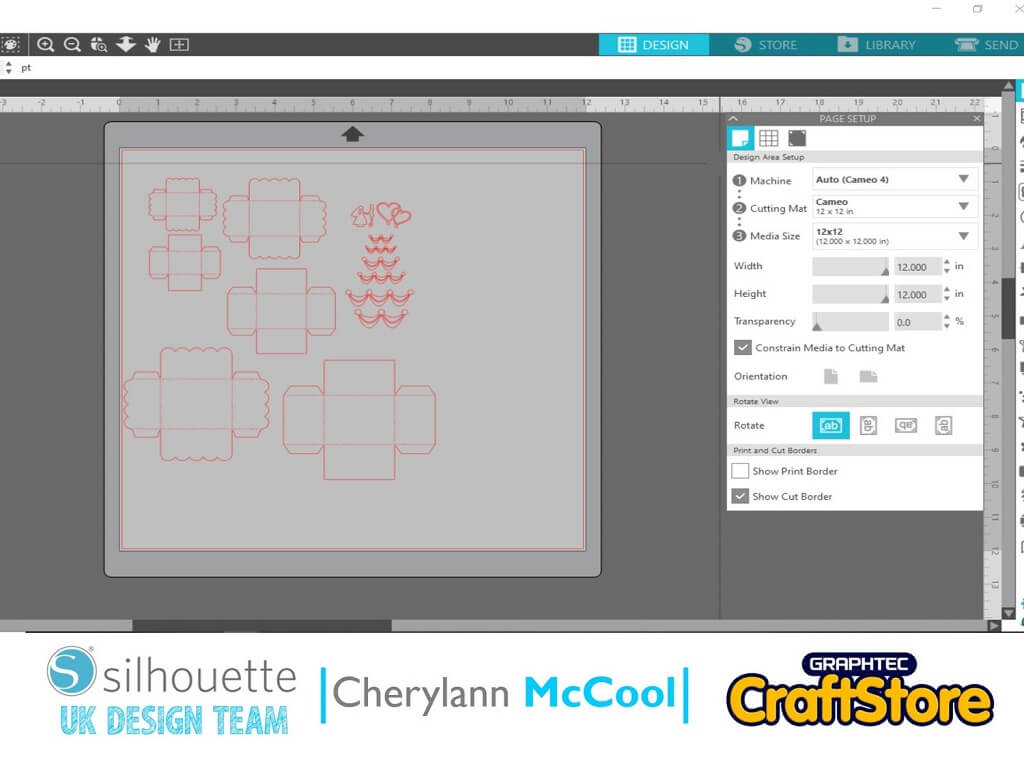
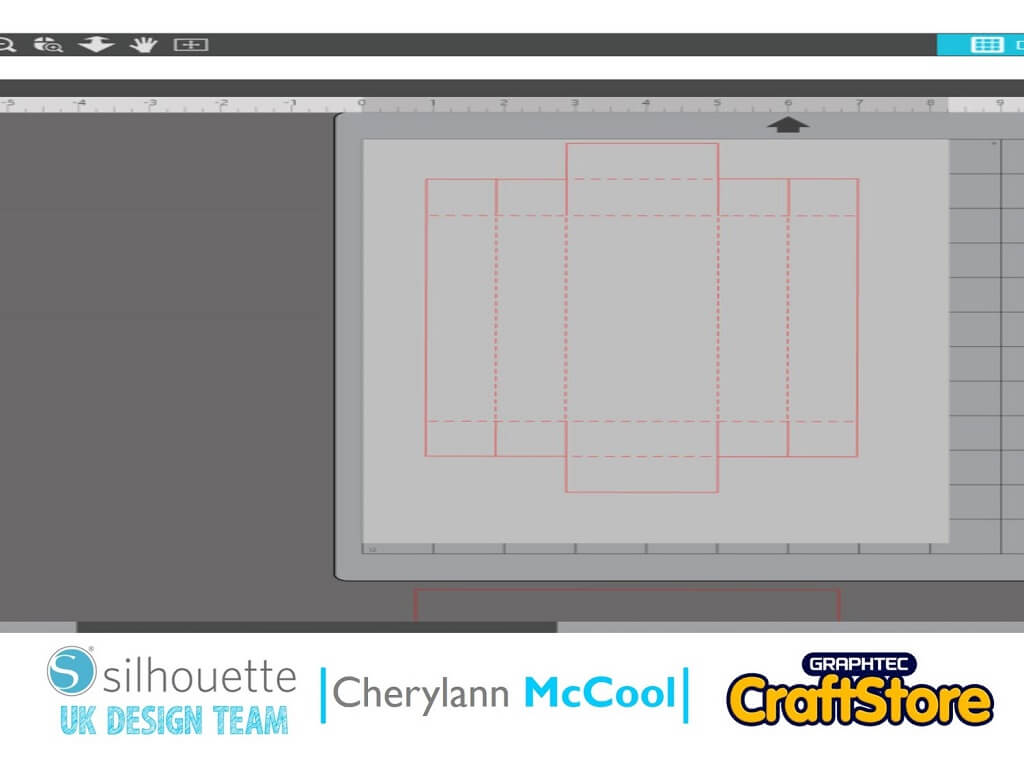
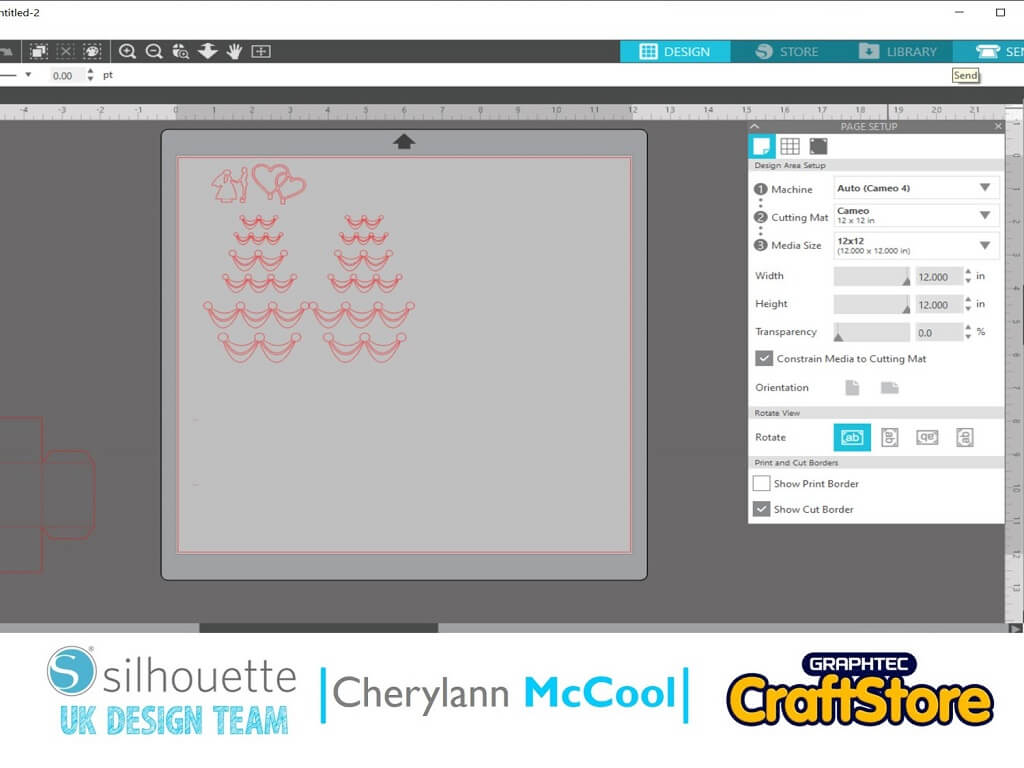
In your software open your file in the design space and you will see that your file opens, all you have to do is decide on the size of mat you will need to use.
I would recommend using the 12 x 12” mat size and card for this project.
Page Set Up
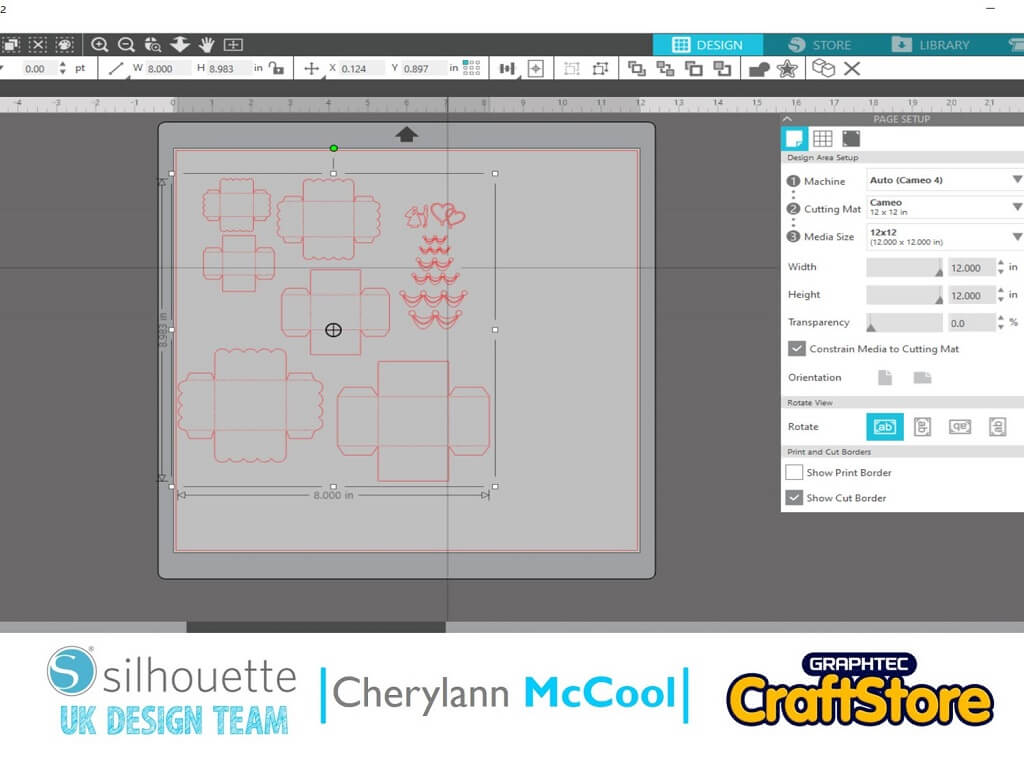
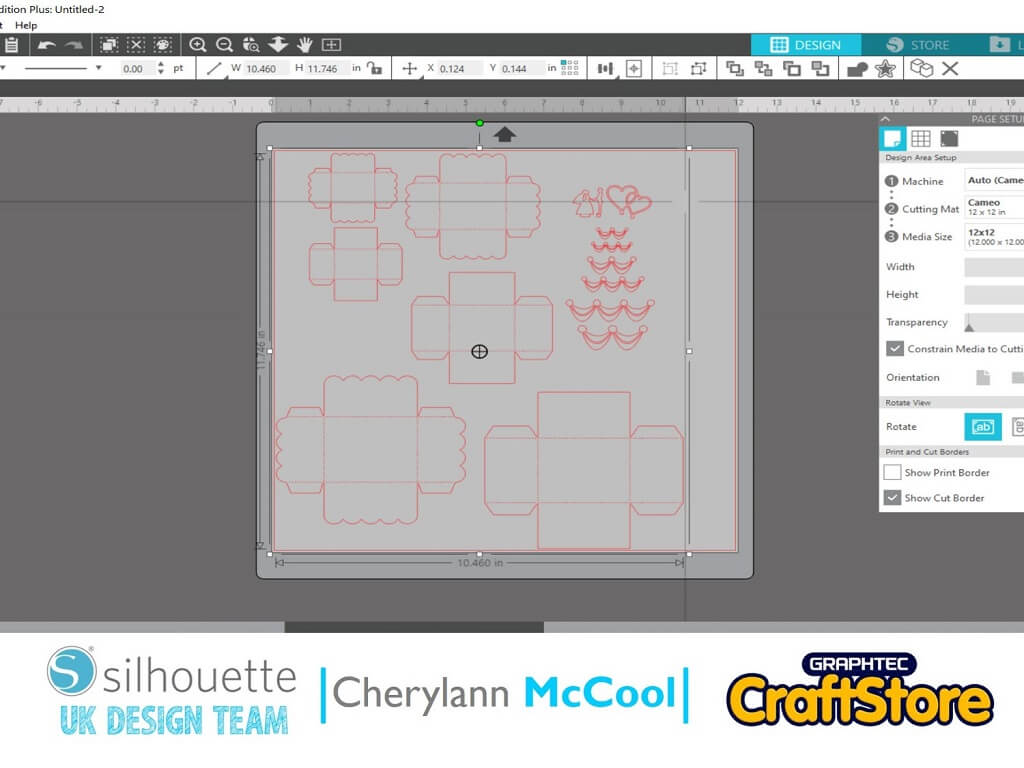
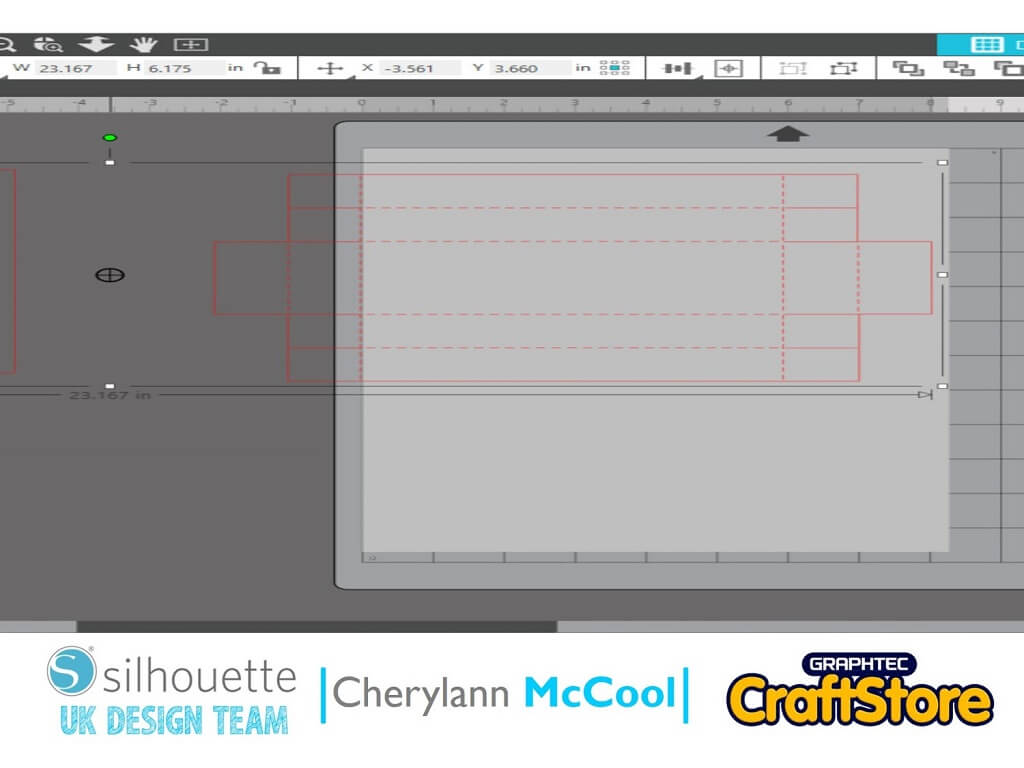
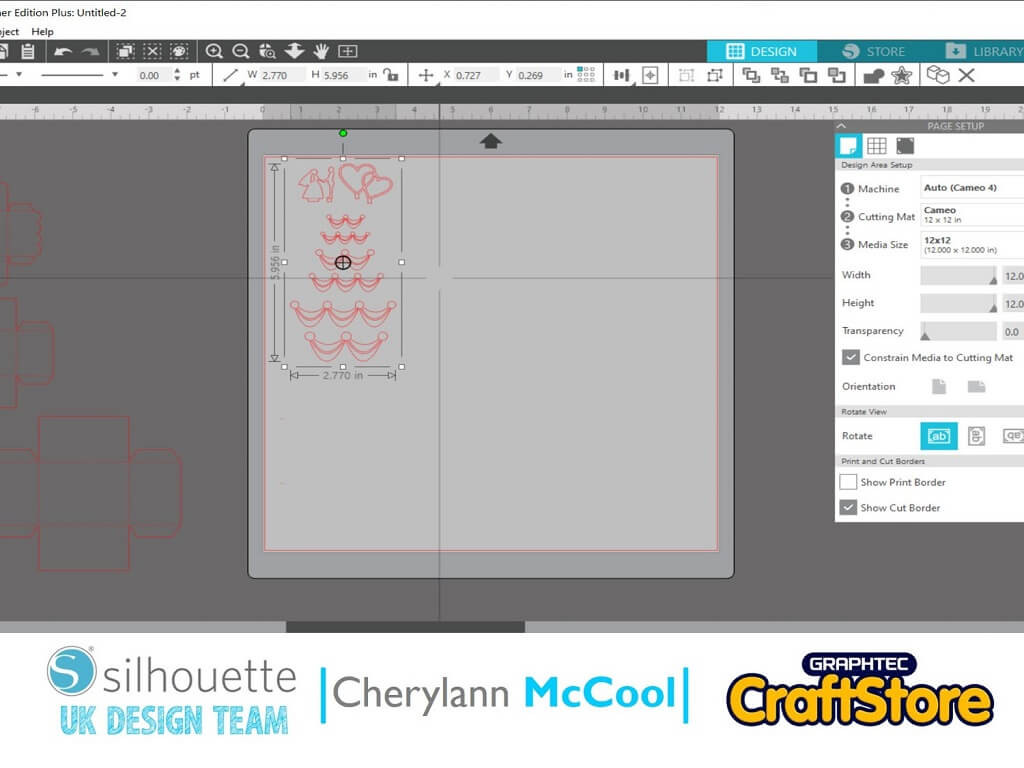
So now you want to increase the size of your image.
You want to click on the edge of your image until you see the black box appear around it.
Once it appears, go to the bottom right hand white box and take it to the right hand side of your 12×12” card and then drag the middle top white box and drag it to the top of the paper.
Moving The Design
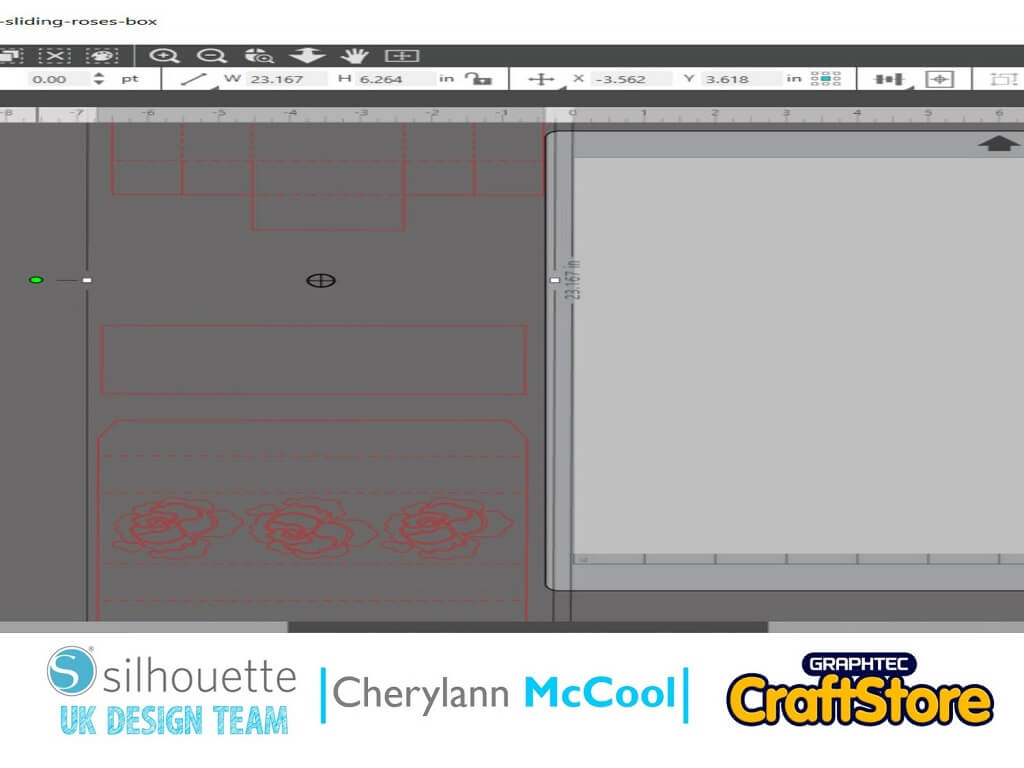
Before you send to print you want to move the banners, hearts and wedded couple.
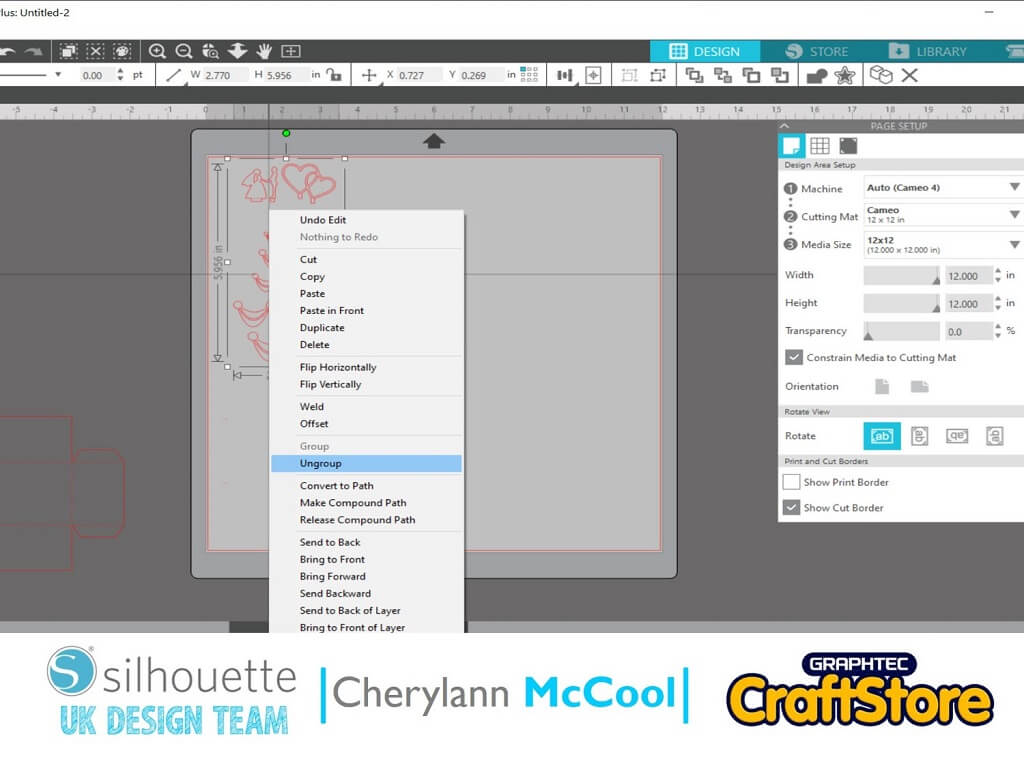
To do this, click to get the box to go around and right click to group the design together.
Click with the mouse and move to the side. If you are happy with the sizes of your boxes then you want to hit send at the very top right hand corner.
Send To Cut
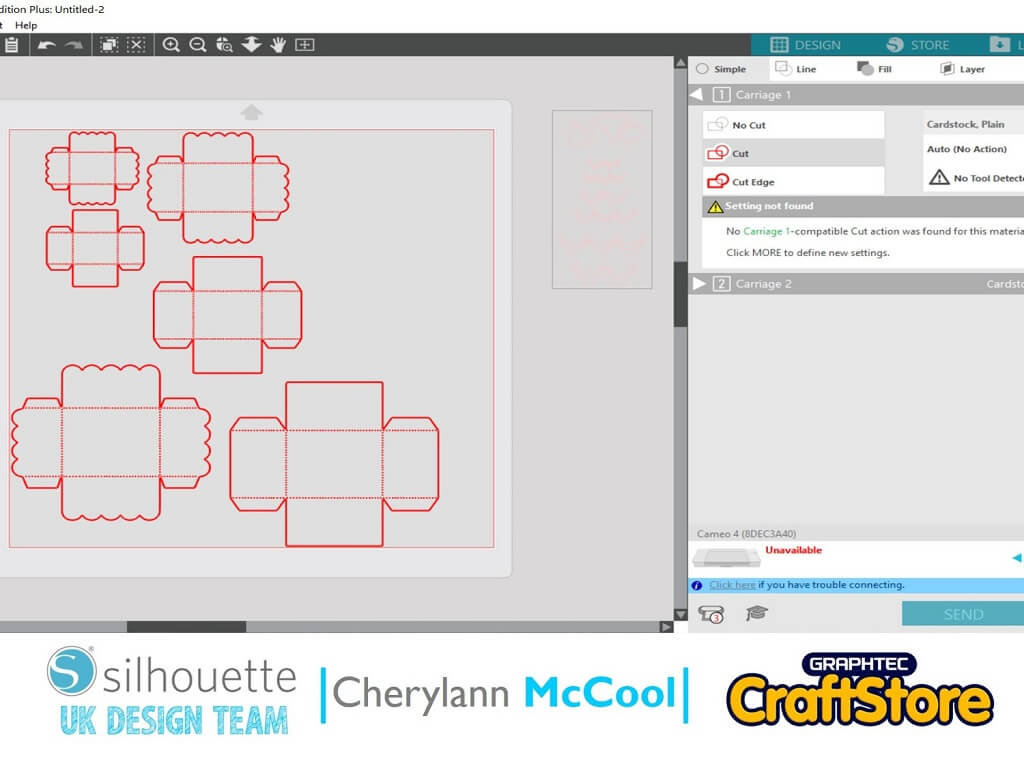
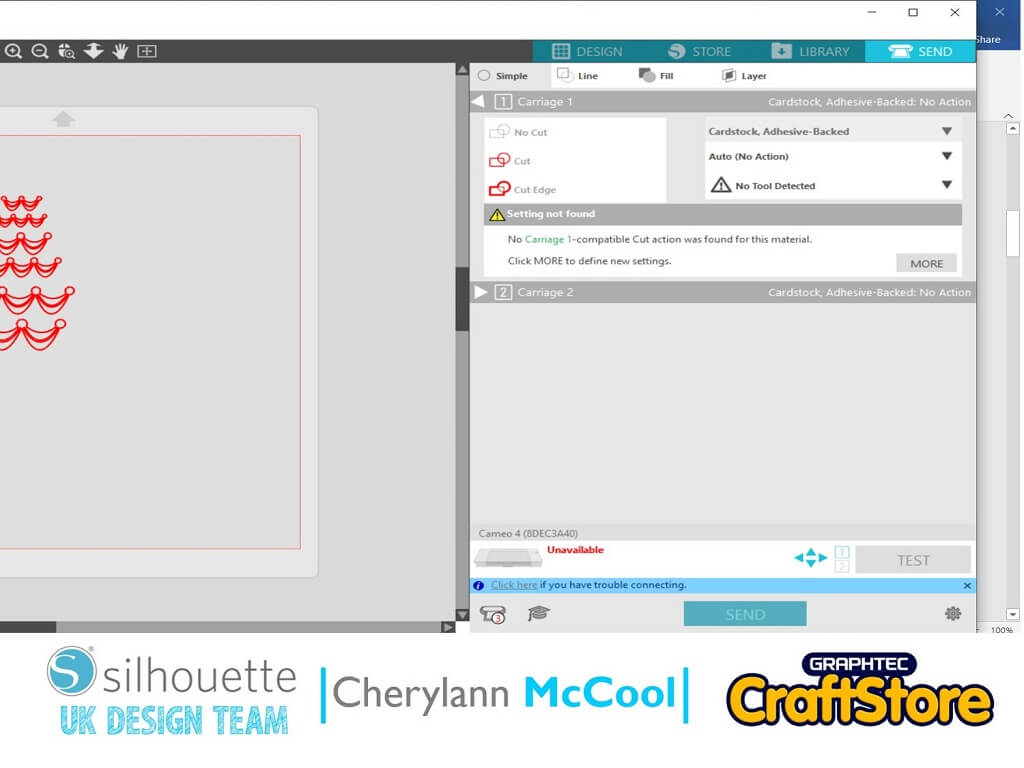
Here you will see your screen change.
Now you want to change your material to cardboard, plain and then you will see the settings change to suit your material if happy then press send to cut.
Duplicate
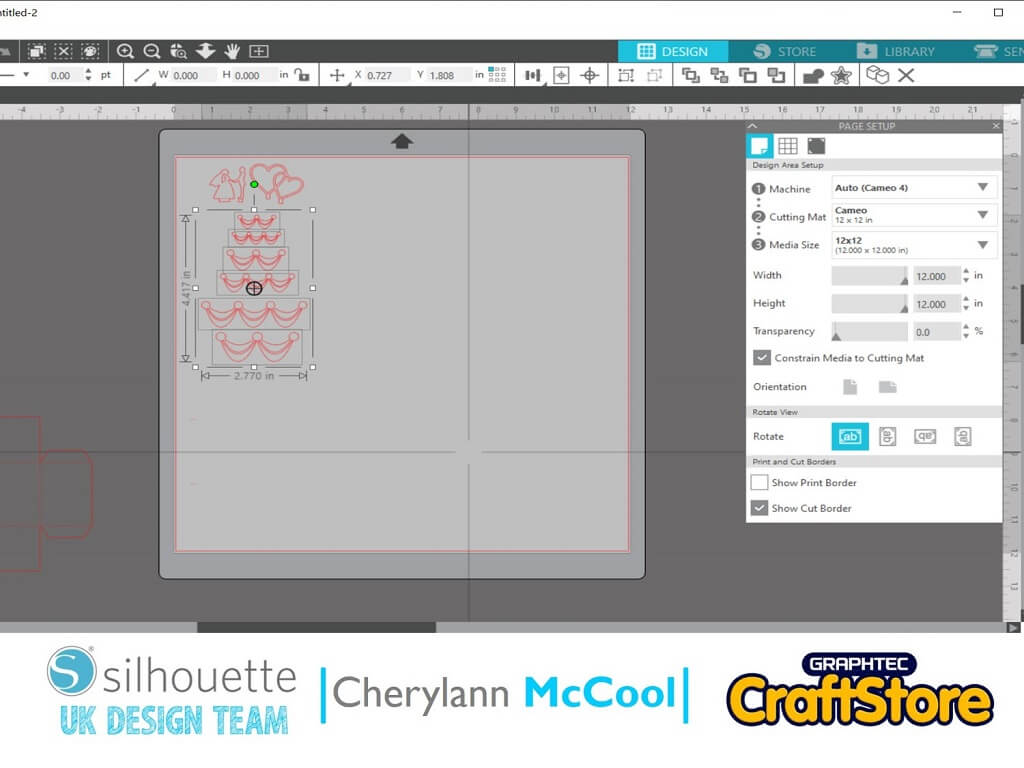
Now you want to move your boxes off the mat area and bring your banners and toppers back on the mat.
If you need to change the sizes then follow the steps above.
Now you will see that you need to duplicate the banners as you only get 2 of each size of box.
Now ungroup all the shapes and click with mouse.
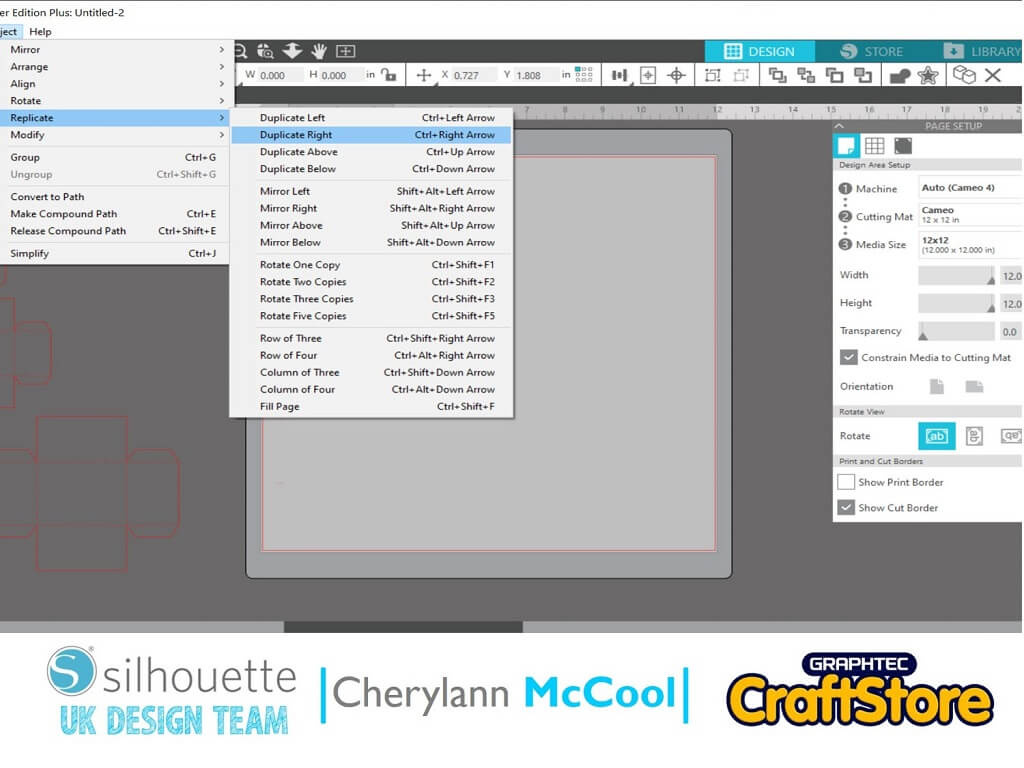
Now you want to put a box around the banners and then you want to go to Object then replicate then duplicate right from the options on top left hand side.
Cutting The Cardstock
Once you’re happy hit the send button.
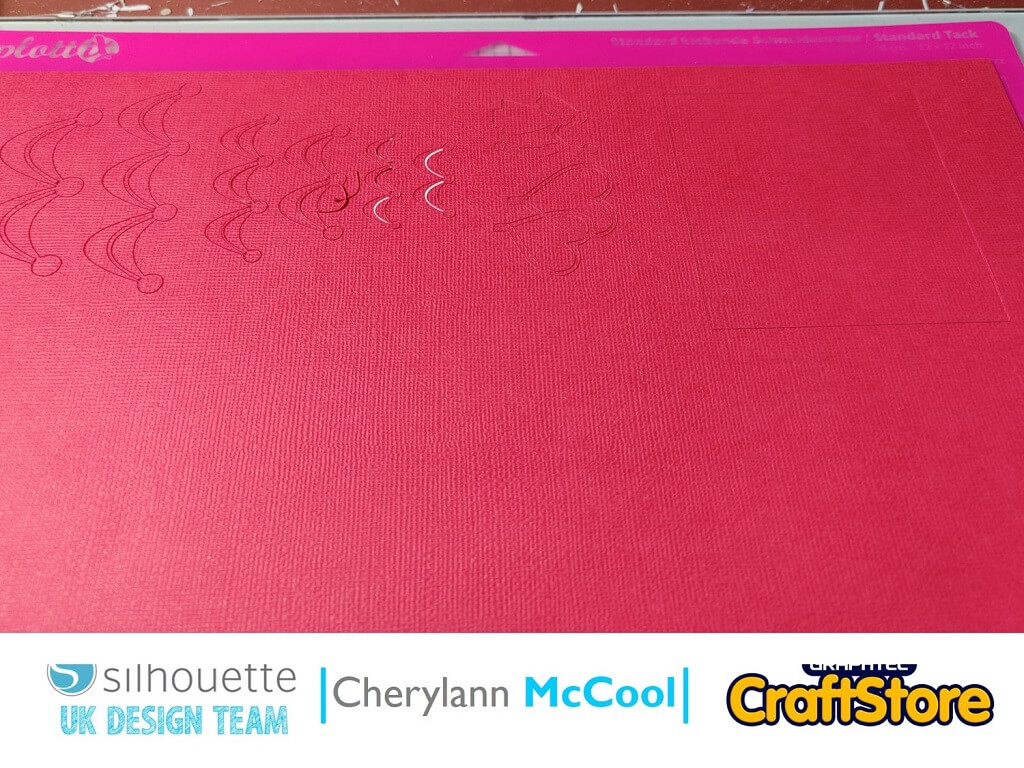
On this screen you can change your material here and you want to pick adhesive cardstock, once selected, hit send.
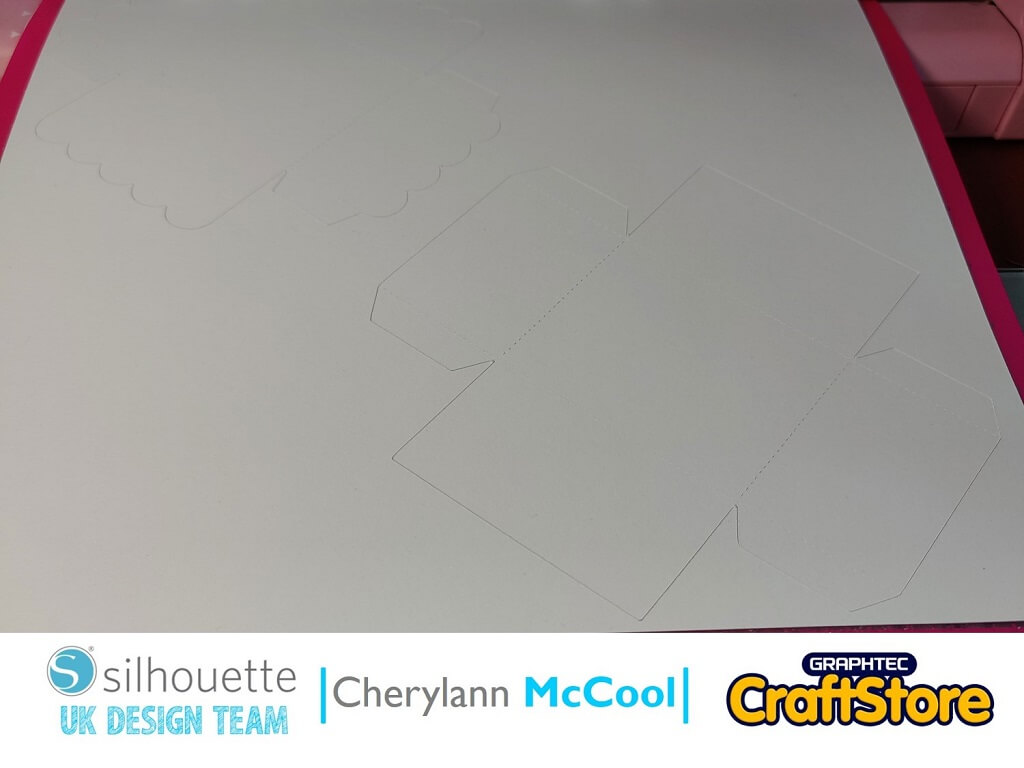
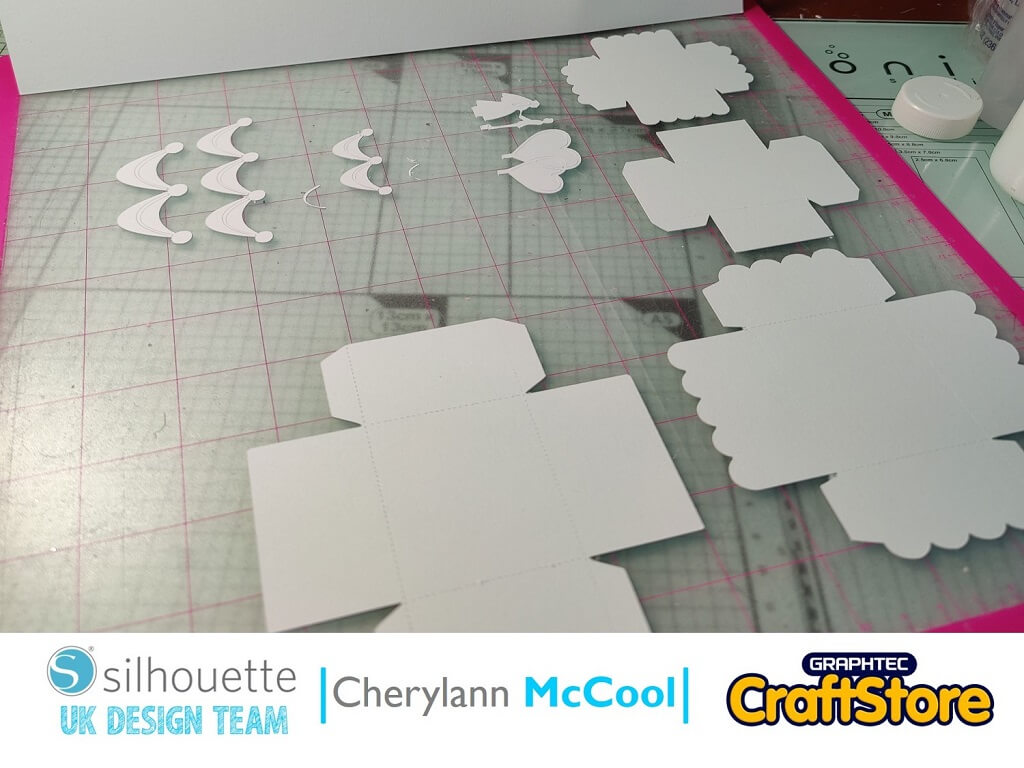
Once all your pieces have been cut and you have weeded them from the mat the really fun bit of putting it all together starts.
Putting It All Together
Now to put it all together.
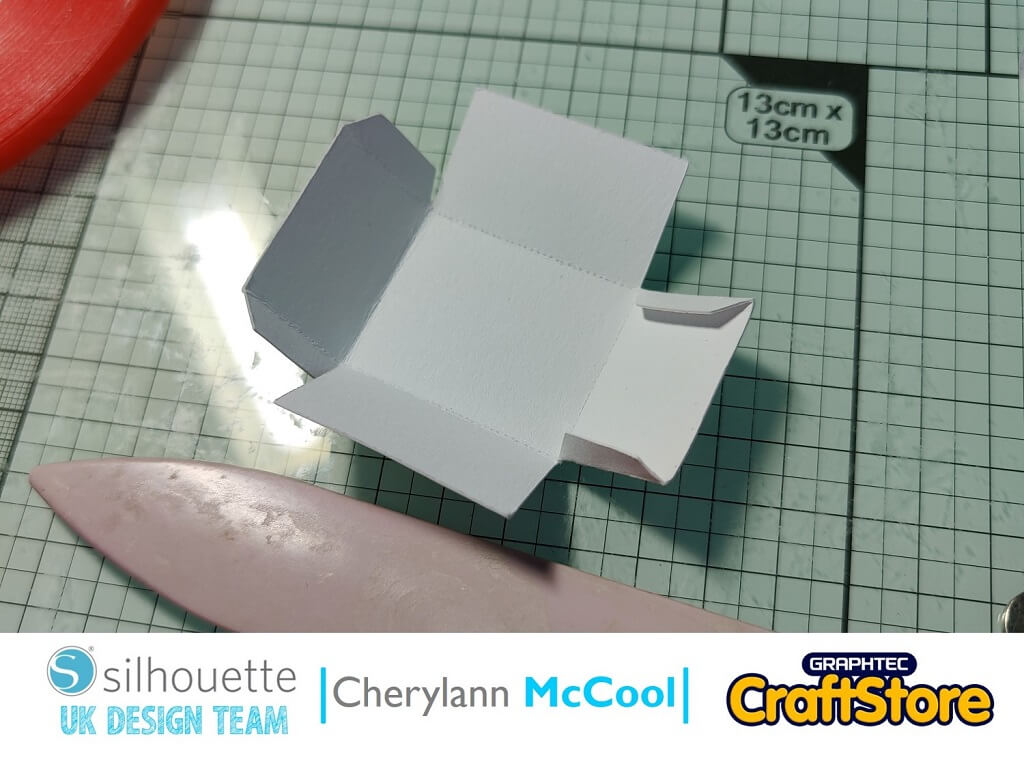
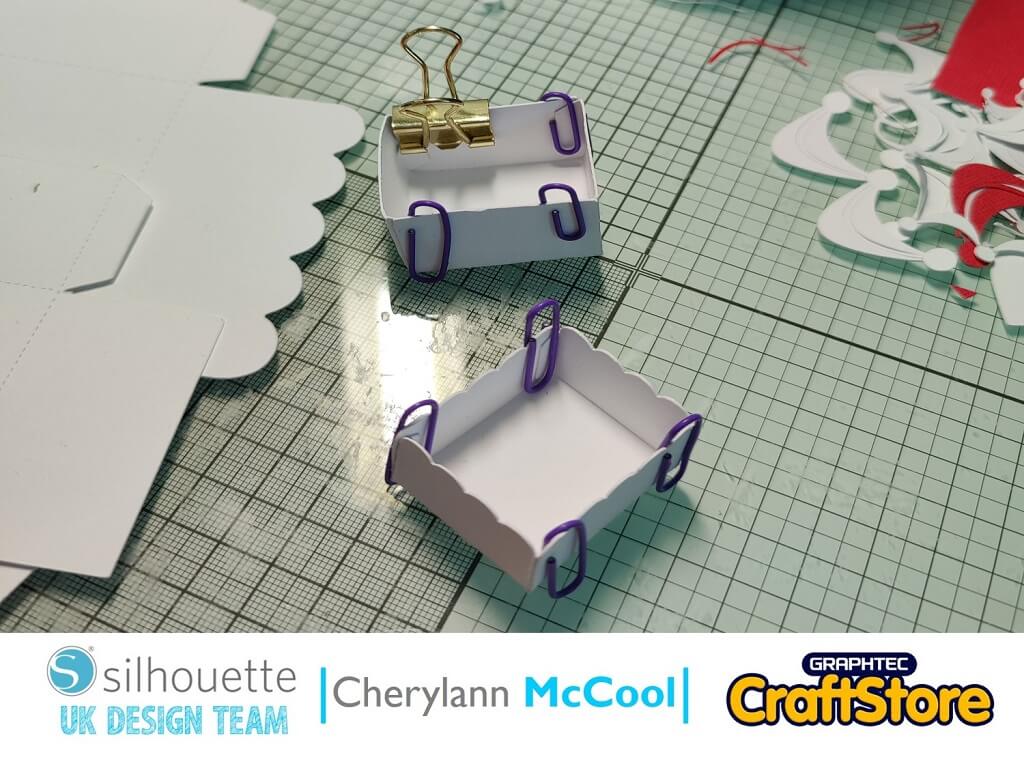
You want to start putting your boxes together by folding the perforations and the shaped edges.
Glue the outside of these pieces and press to hold the shapes.
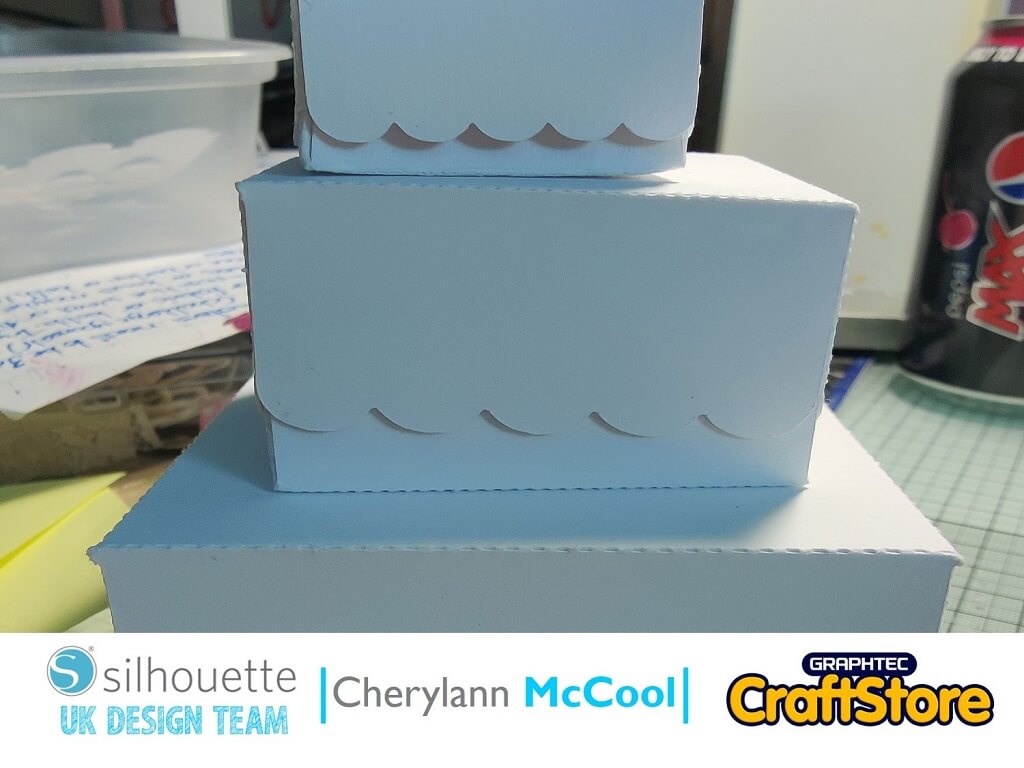
Once all are done put the wavy edge boxes on top of their bases.
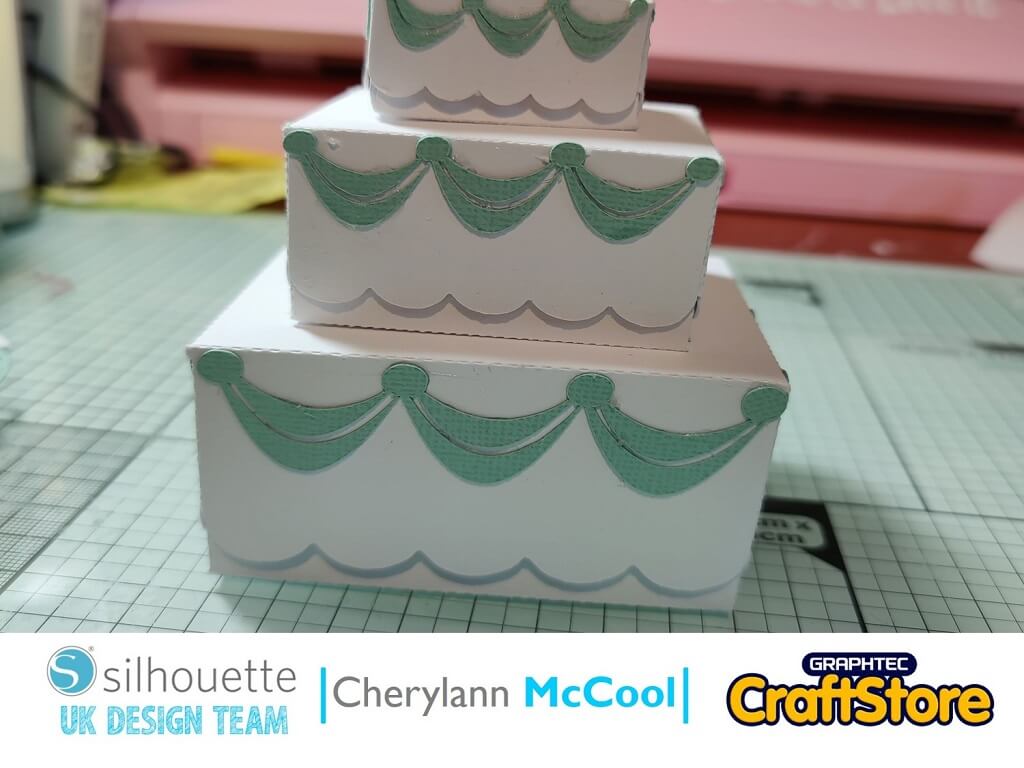
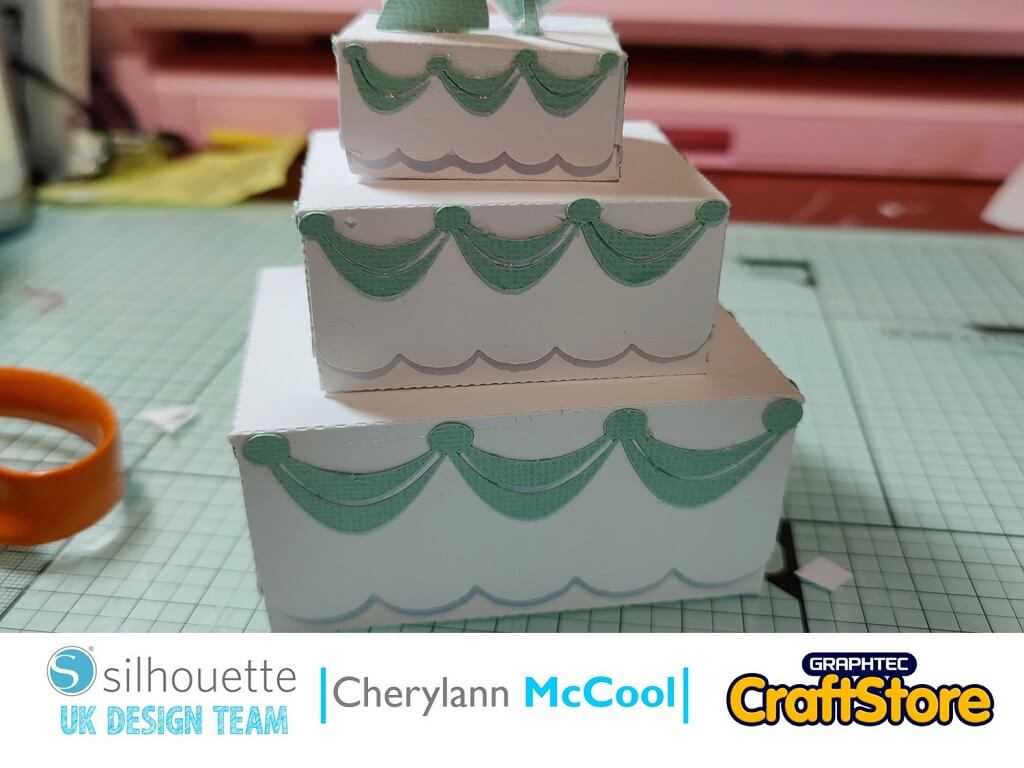
Glue the banners around the boxes and then for your toppers fold the perforated edge and glue them to the top of the smallest box.
To finish off you can put gems around the boxes.
I loved making this file and it doesn’t need to be just for weddings it could be adapted for most occasions and it’s relatively quick to make so ideal if you are going to make them as wedding favor’s.
So, I do hope you try this design as it looks great when finished and can be done to any colour theme .
Well, I hope you will come and join me on my next project where we will be making another wedding item that you normally see if you are having the meal at the wedding so you will just need to come and see.
Have a great week!
Bye for now!
– Cherylann McCool xx –
Silhouette UK Blog Created By Cherylann McCool
Silhouette Products Used
Silhouette Designs Used
• Design Used: Wedding Cake Boxes
Design Store Artist: Sweet Afton
Design ID: 66080 > Download
