Pop Up Flower Card | Sharon Nettleship | Silhouette UK Blog
Pop Up Flower Caard
Hi DT Sharon here.
I don’t know about you but I can’t wait for Spring to come, Winter always seems to go on forever.
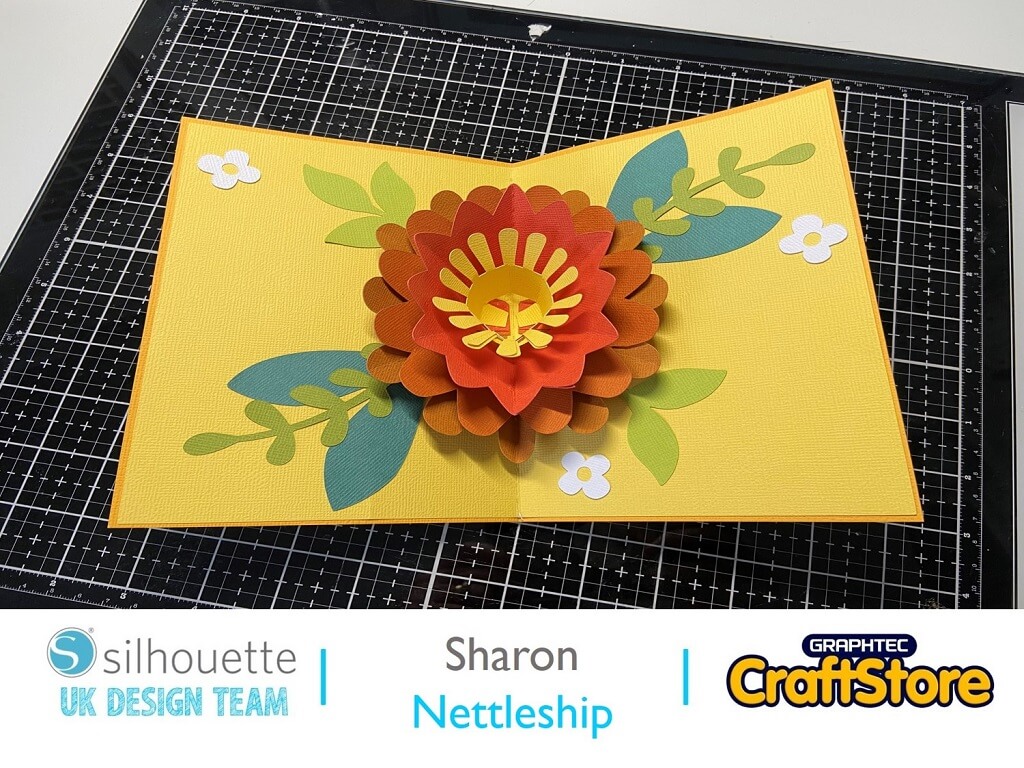
So I made this bright, colourful pop up card to remind me that Spring is on the way.
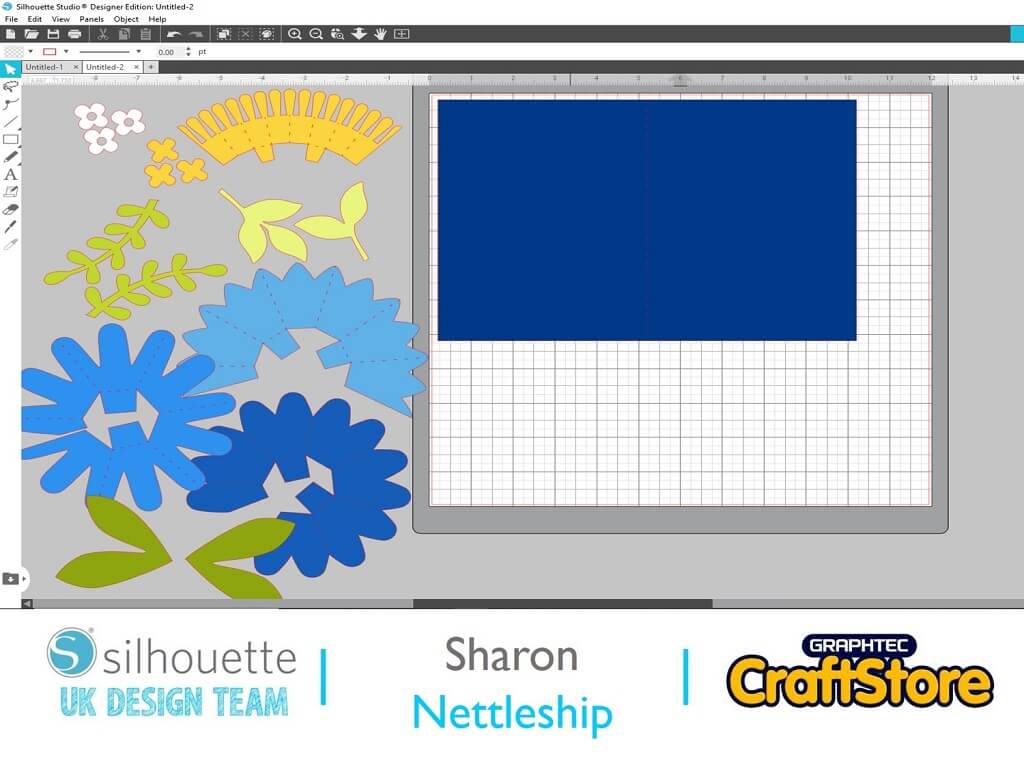
Bringing In The Files
Bring in the file and ungroup.
Group the same file colours together and bring each group into the cut space.
Fold your base card in half.
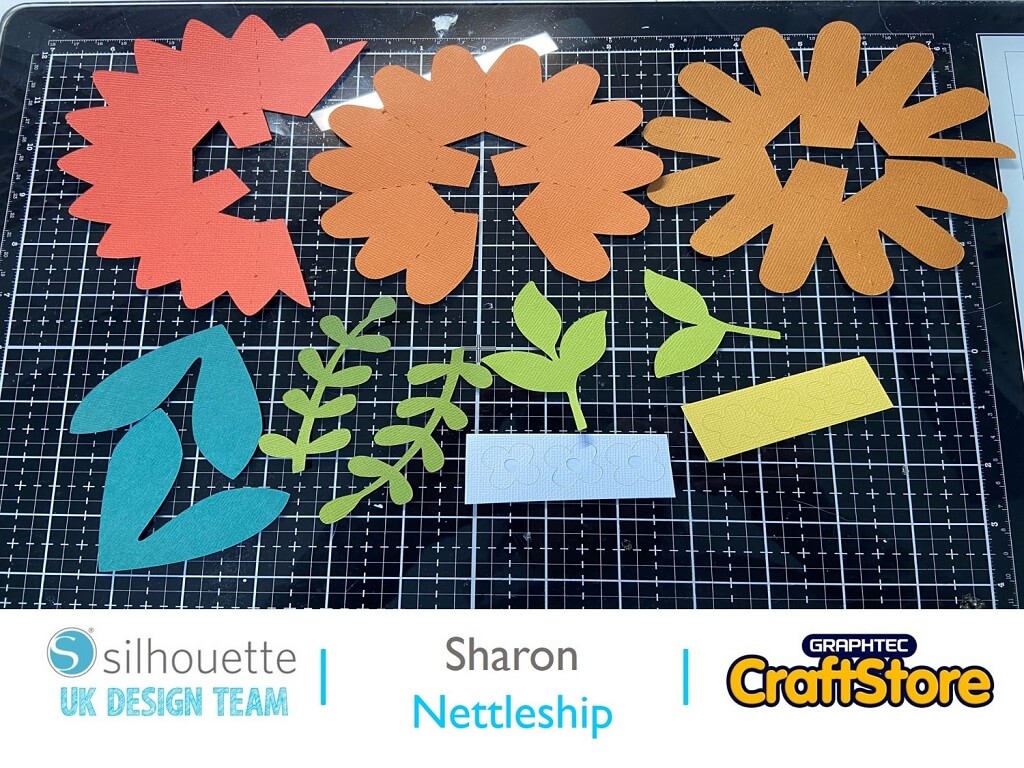
Cut Out All Of The Pieces
Cut out all your pieces.
Take the 2 main flowers and put the rest to one side.
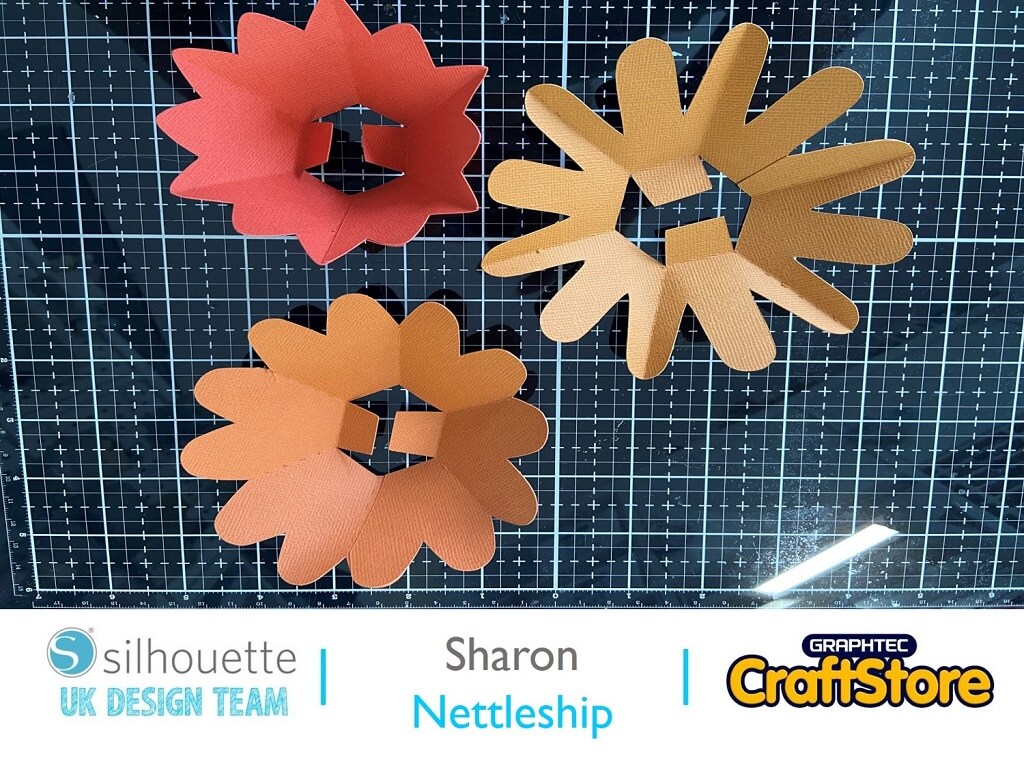
Assembling The Pop Up Flowers
Fold the dotted lines into valleys.
Bring the open sides together and glue or just stick if you are using the Silhouette adhesive card.
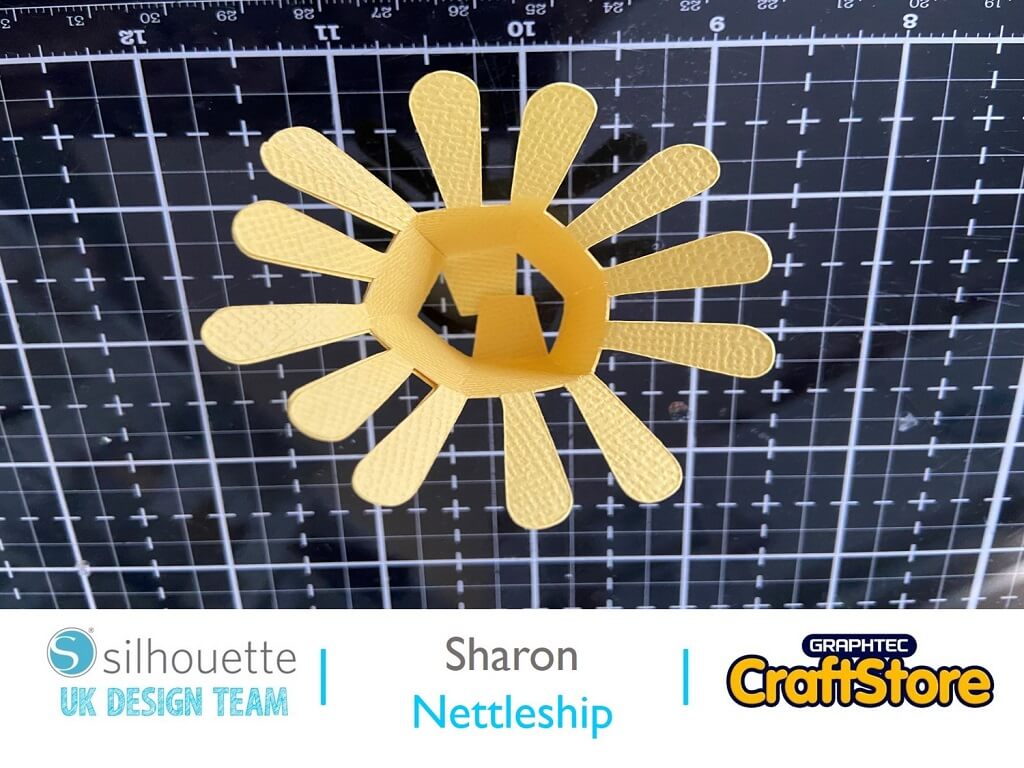
Assembling The Centre Piece
Again fold the lines and bring the two sides together.
Make a circle.
Glue or adhere a panel together to join them up.
Slightly bend your petals backwards.
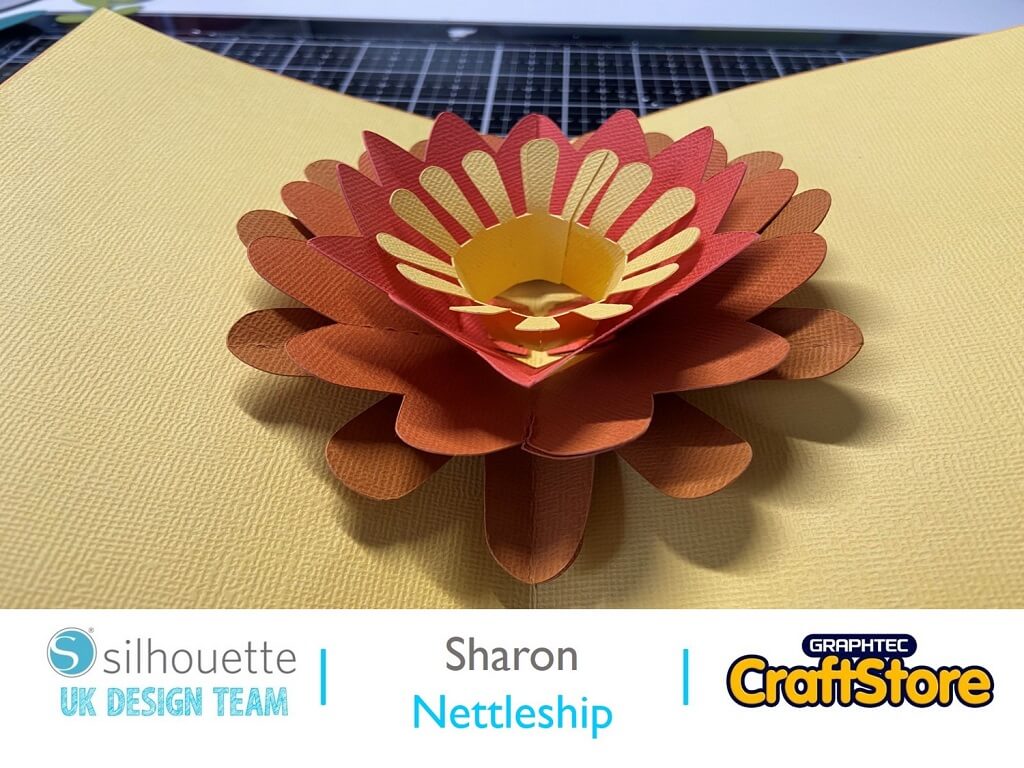
Assembling The Flower
With the biggest flower fold in half an adhere the tab to one side of the card base fold.
Red liner tape is a good idea for this.
Next adhere the tape to the other tab and shut the card.
The tape will stick to the card making your first pop up layer.
Do this with all 3 flowers.
Now add your centre piece.
Close and open your card and make sure everything has stuck well.
Adding The Extras
Now arrange all the extra leaves and tiny flowers onto your card.
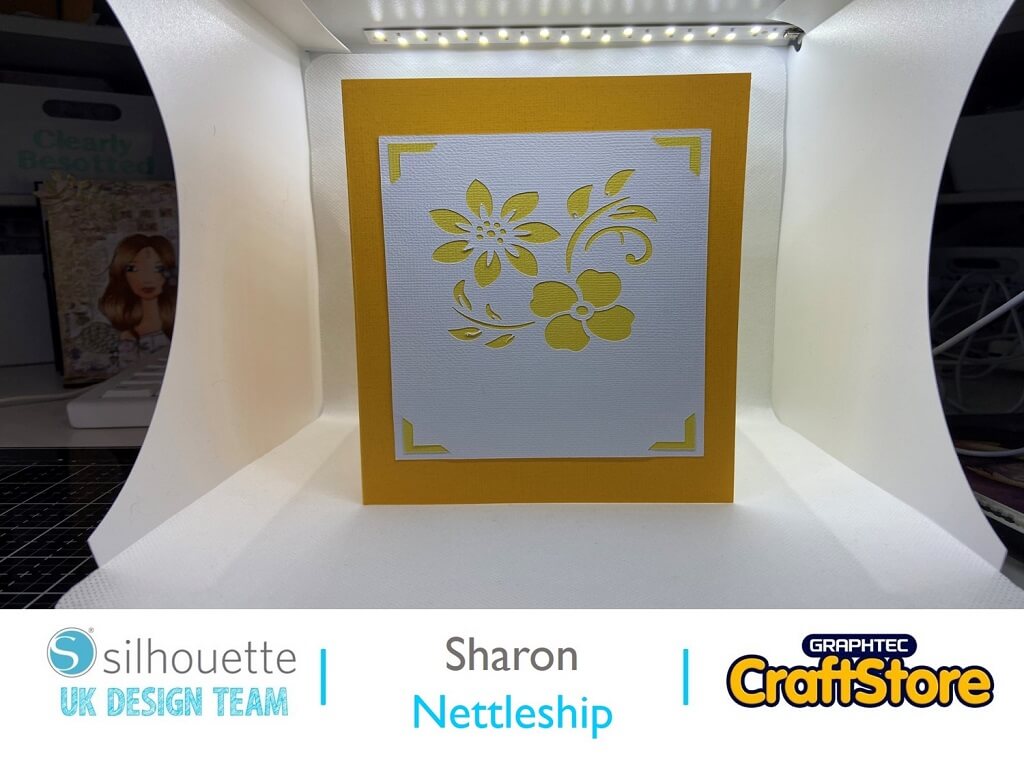
The Card Front
Cut out the 2 pieces of the card front.
Tuck the background card into the decorative corners and adhere the piece to the front of your card.
This card would be lovely to send someone special to brighten their day.
It can be made in lots of different colours too.
There are several variations in the Silhouette studio library but all along the same lines.
It’s a great interactive card to make.
– Sharon Nettleship –
Silhouette UK Blog Created By Sharon Nettleship
Silhouette Products Used
Silhouette Designs Used
• Design Used: 5×7 Pop Up Flower Card
Design Store Artist: Lori Whitlock
Design Store ID: 326447 > Download
