New Year Cotton Bag | Vickie McHugh | Silhouette UK Blog
New Year Cotton Bag
I hope you all had a very Merry Christmas and a Happy New Year.
What did you do when the clock hit 12?
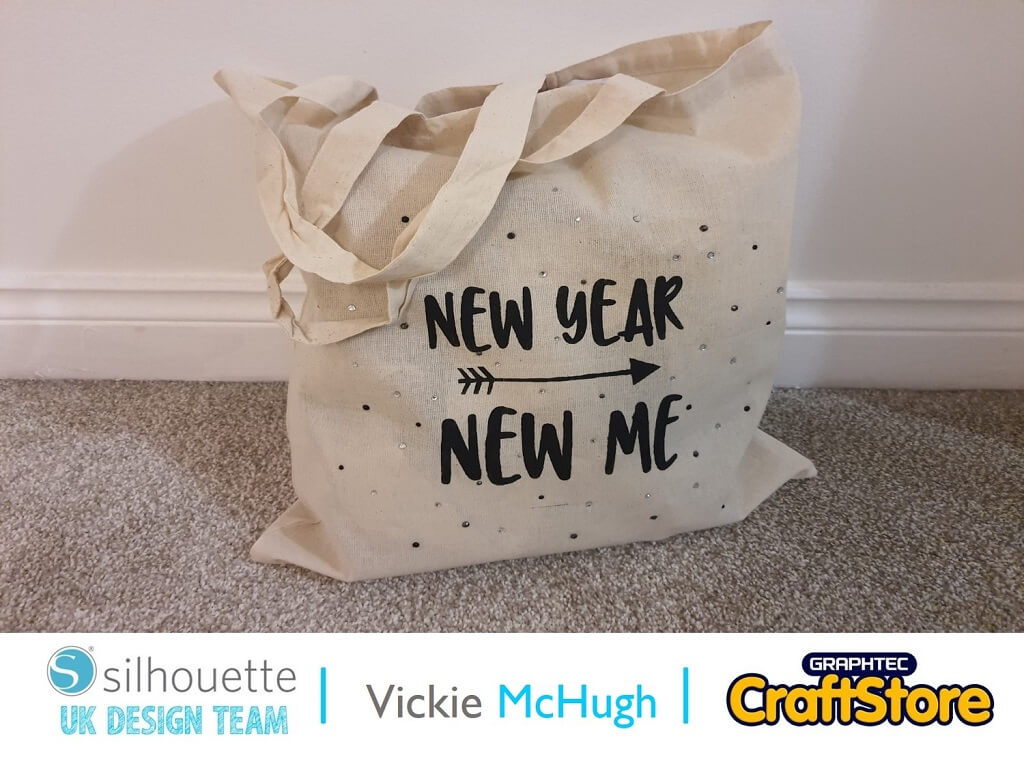
I spent my New Year ’s Eve being crafty and made myself a New Years personalized bag.
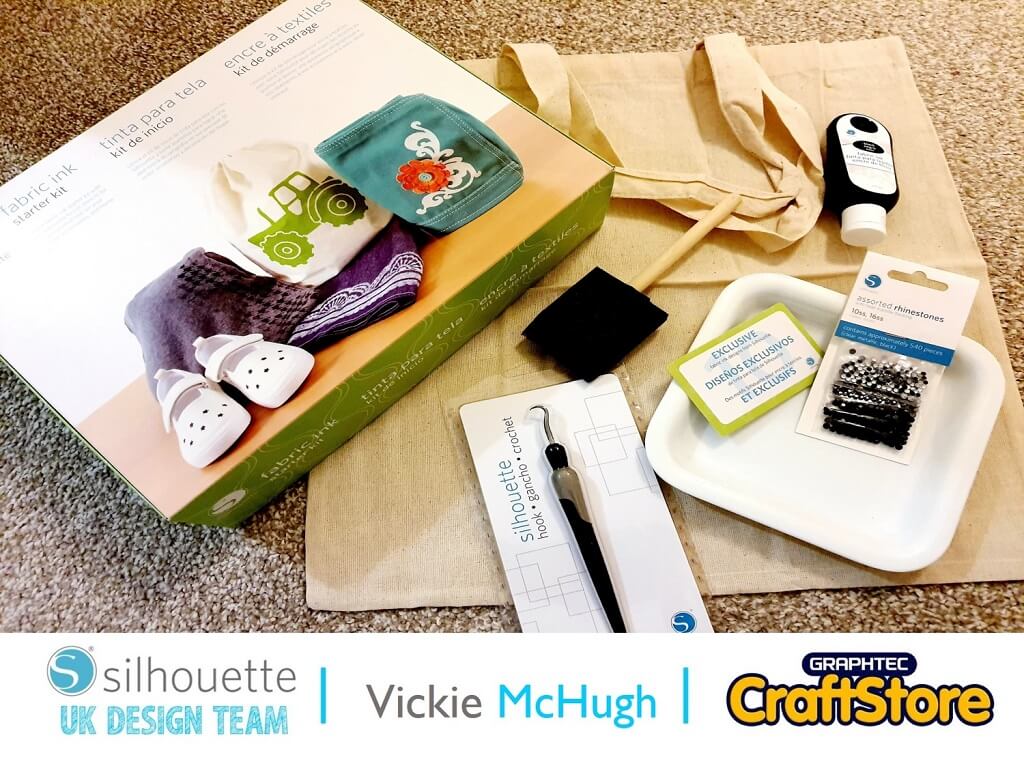
Items I Used
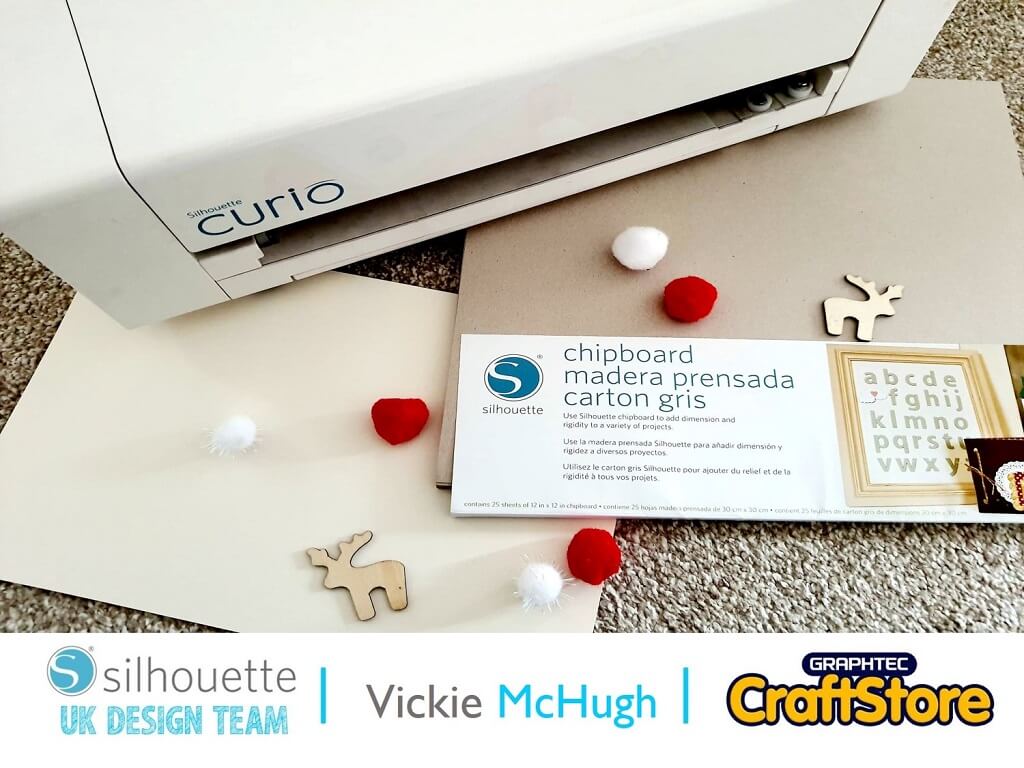
• Silhouette Curio
• Silhouette Standard Ratchet Blade
• Silhouette Curio Cutting Mat (I Use The 8.5×6″ Mat)
• Silhouette Fabric Ink Starter Kit
• Silhouette Rhinestones
• Cotton Shopping Bag
Selecting My Design
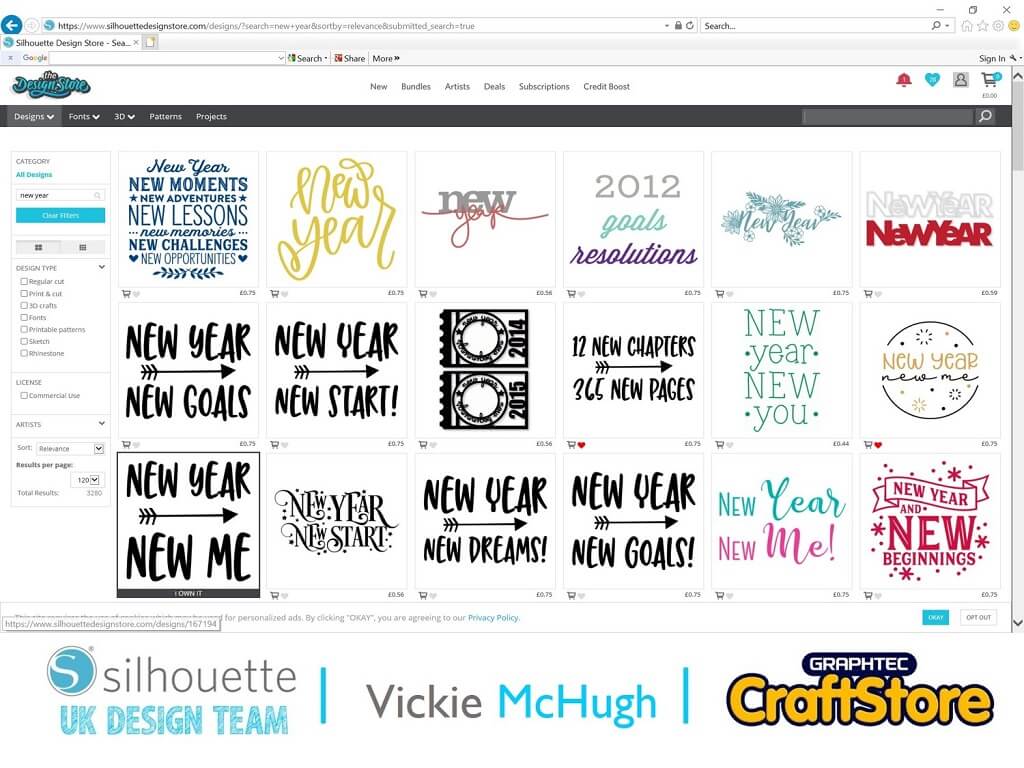
New Year, New Me is the design I have picked for this project from the Silhouette Store.
I typed “new year” into the search engine and there were a large number of designs to choose from.
As I am using the fabric inks, I decided to choose a simple bold design as I will jazz it up with rhinestones.
(Don’t forget to look in the deals section at the top for your free designs and offers)
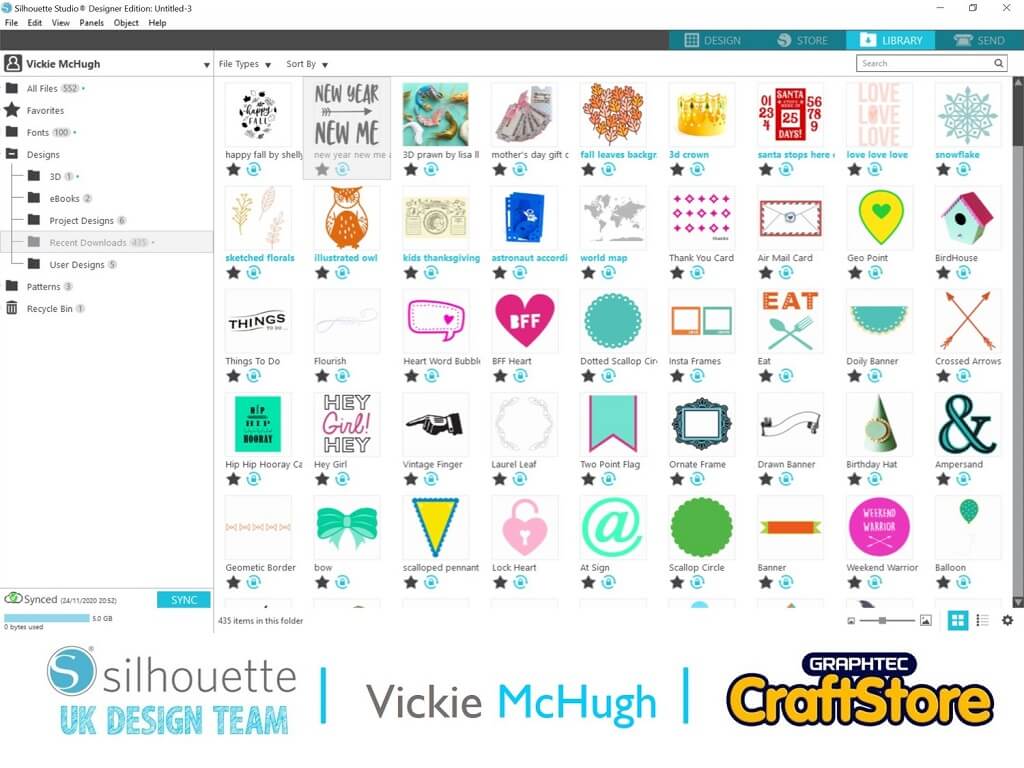
Importing The Image From Silhouette Library
To import my purchased file into the silhouette software, click on the “Library” tab find the image you want to import and double click.
Sizing Up Your Image
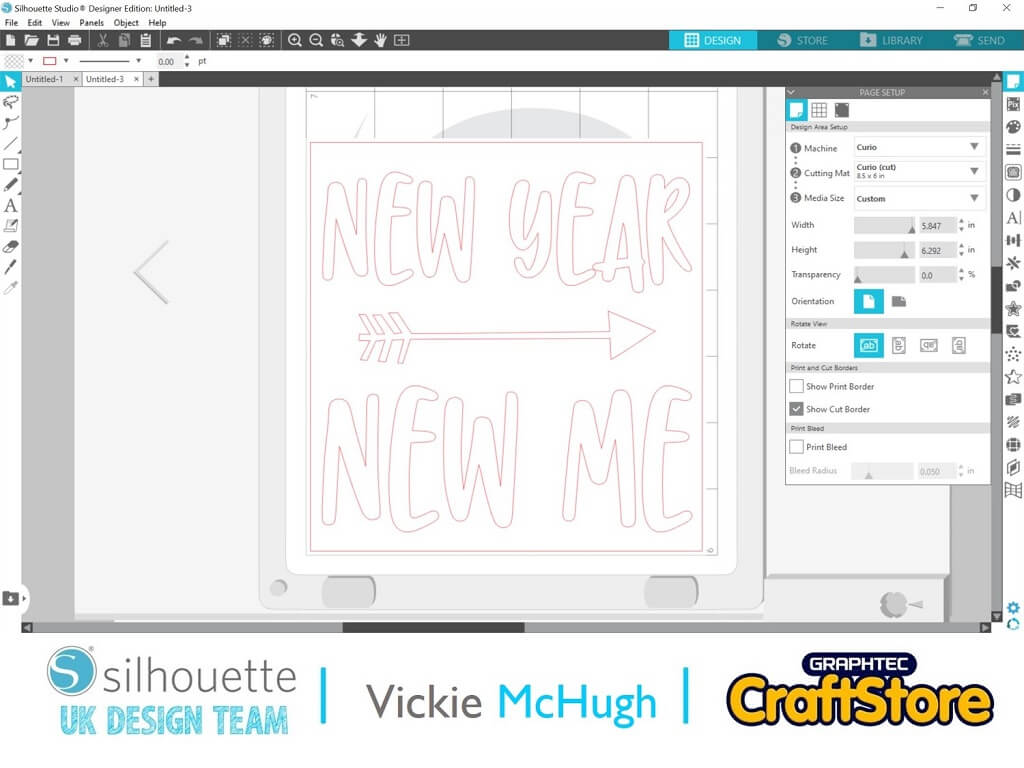
Once the image has been imported, check the size of the mat is correct.
You can do this by checking the Page Set up. I am using the 8.5 x 6” mat and the image.
I haven’t had to change anything about this design and the size is perfect.
Sending The Text To Cut
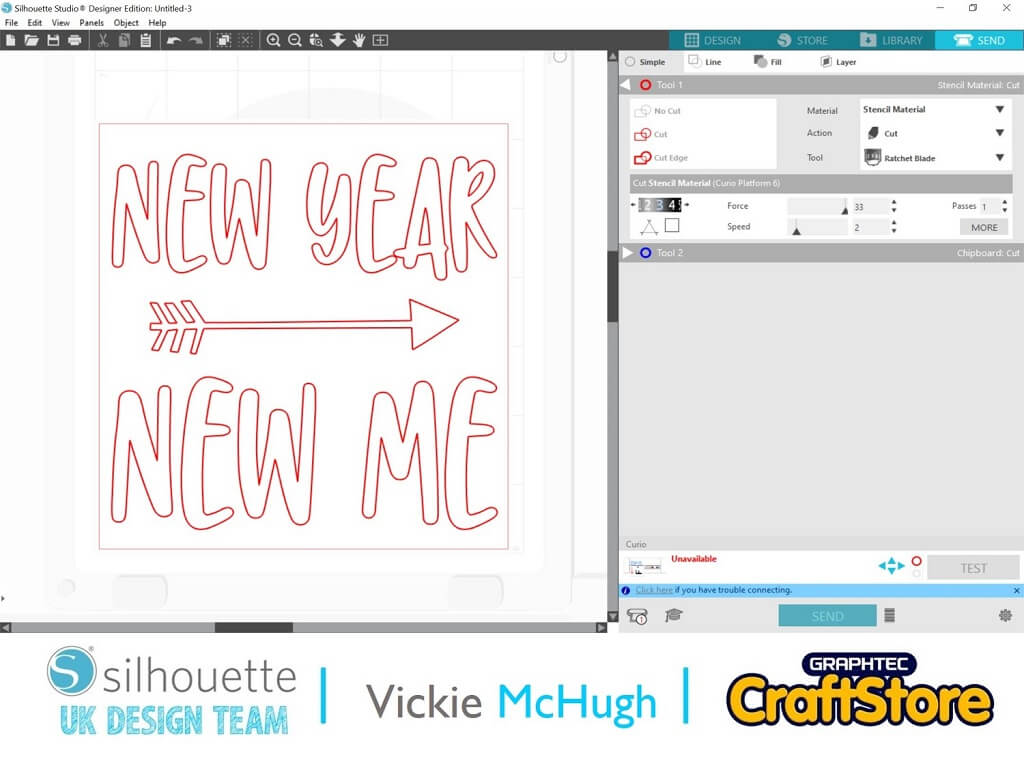
Once you are happy with the size and layout of your design or text, click on the Send tab.
Check the Material selection and change if necessary.
I am using the vinyl that came with the Fabric ink kit, so I have changed my settings to vinyl glossy.
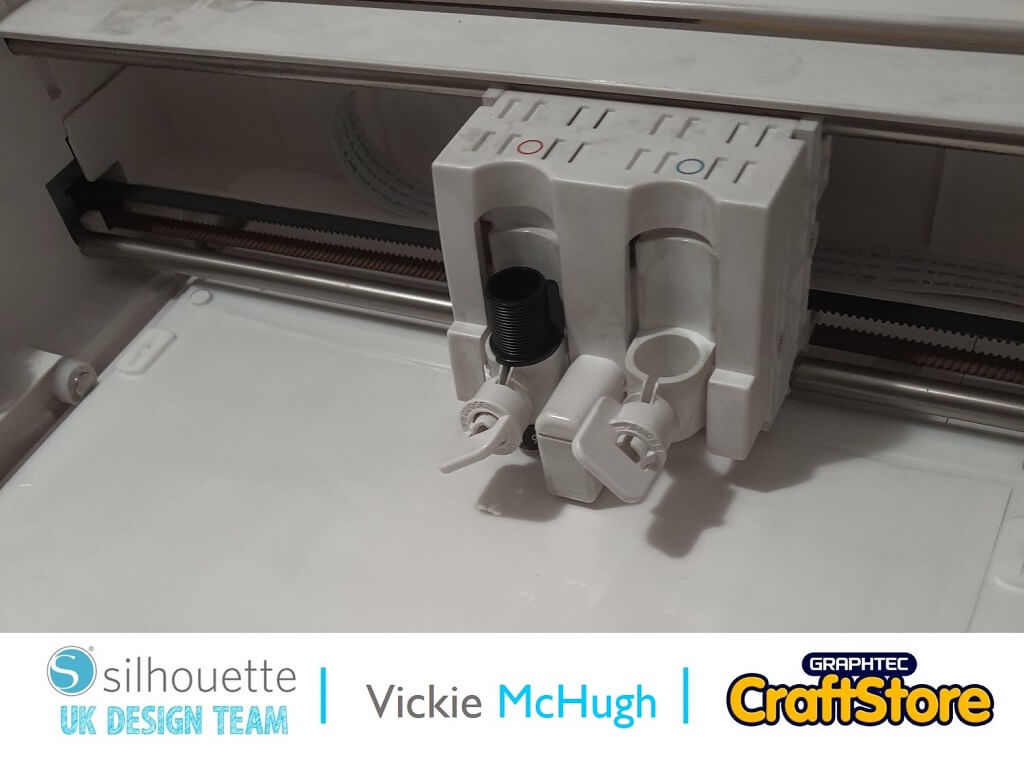
Once you have selected your material, check what blade setting you need.
This shows me that I need to change mine to a 1.
When all the settings changes have been made, click Send.
Don’t forget when creating your stencil, there is no need to mirror the image.
The Silhouette Curio will now cut out the design.
Weeding The Design
Once the image has been cut out.
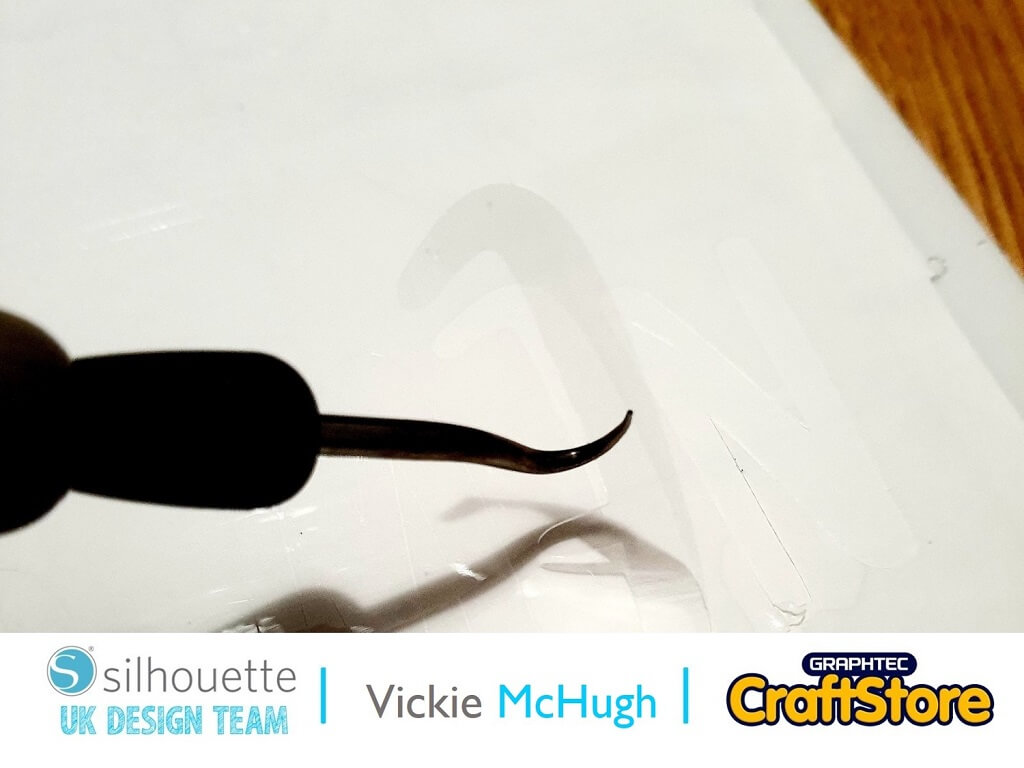
Carefully remove the inside of the design to create a stencil.
If the design is intricate you may want to use the Silhouette hook tool which also came with the Fabric Ink Kit.
Backing The Stencil Ready To Use
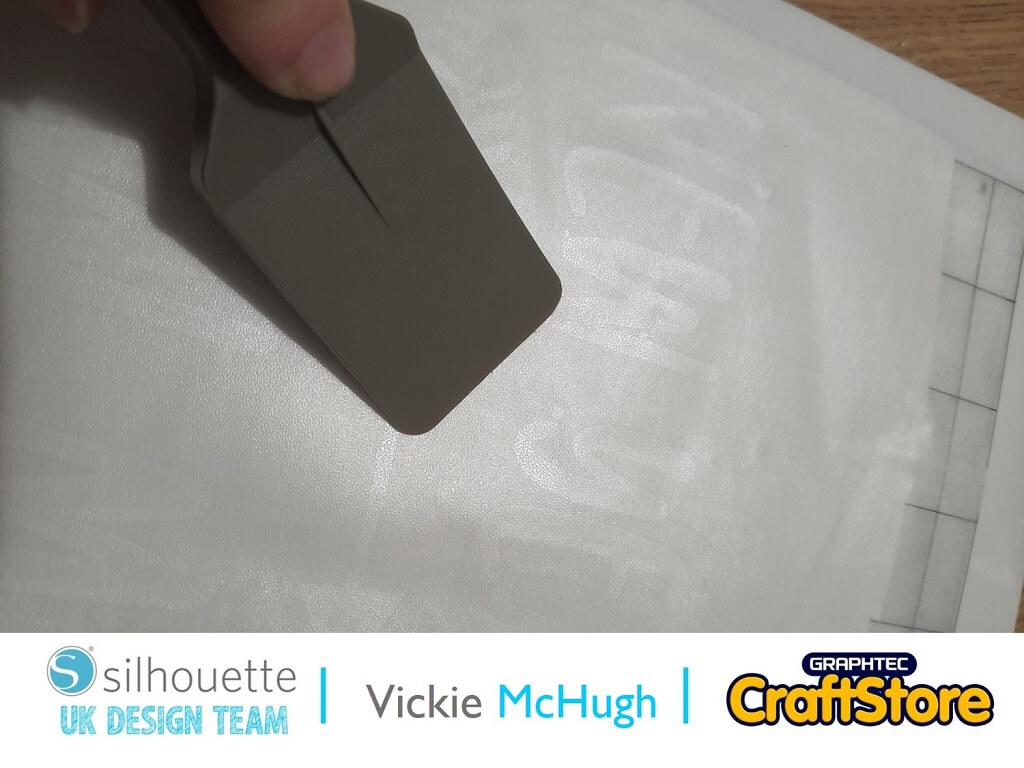
Once the image has been “weeded”, apply a clear transfer tape to the design and press it down using a flat edged too such as the Silhouette scraper (link below).
Then peel off the transfer tape with your design attached, off the vinyl liner.
Applying The Stencil To The Bag
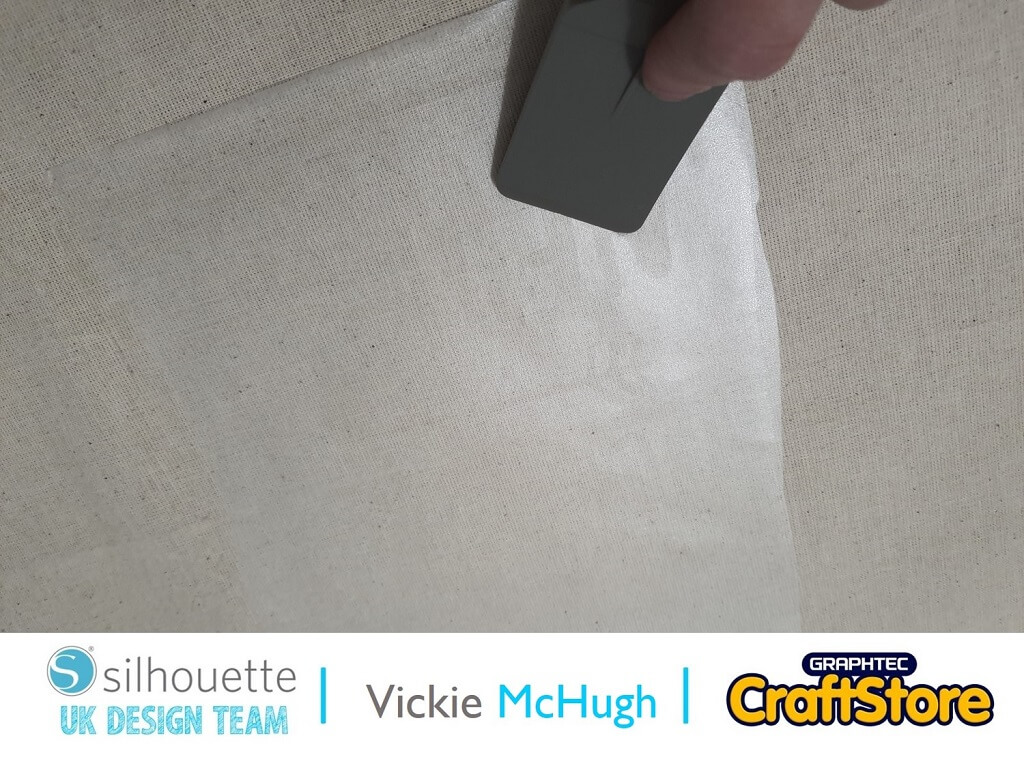
Apply the stencil and transfer take to the fabric bag and rub the design using a tool such as the Silhouette scraper tool.
Carefully remove the clear transfer tape leaving the vinyl stencil on the bag.
Using The Fabric Ink
Once the stencil is in place, its now time to add the ink.
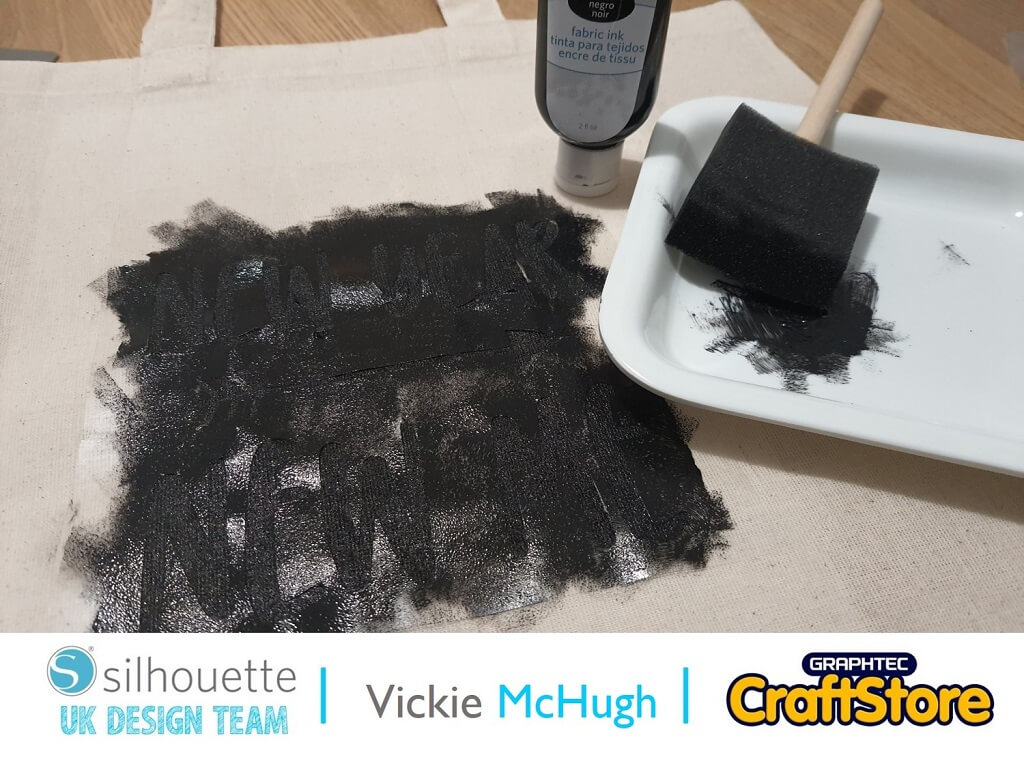
Squeeze a small amount of ink into the tray provided.
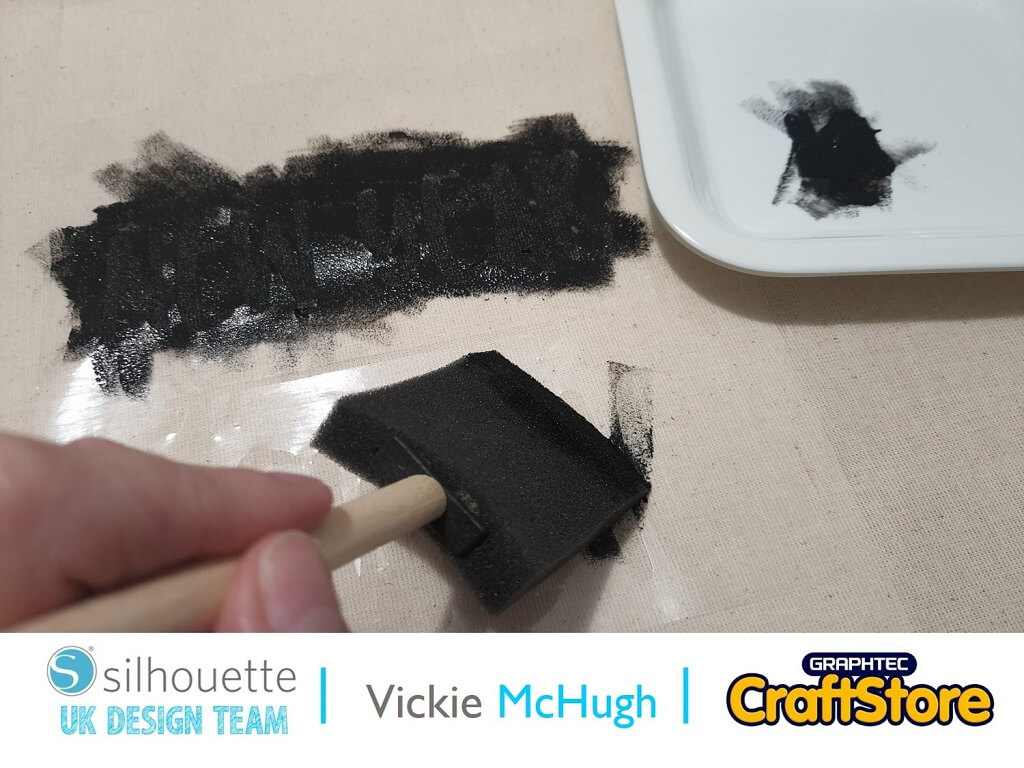
Using the foam brush or sponge, apply the Silhouette ink to the fabric.
If you have a larger space to cover, I would recommend using the brush.
It may need two coats of ink to get a good cover, especially if you are using a lighter in on a darker fabric.
Once the ink has dried, remove the stencil vinyl
Infusing The Design Onto The Bag
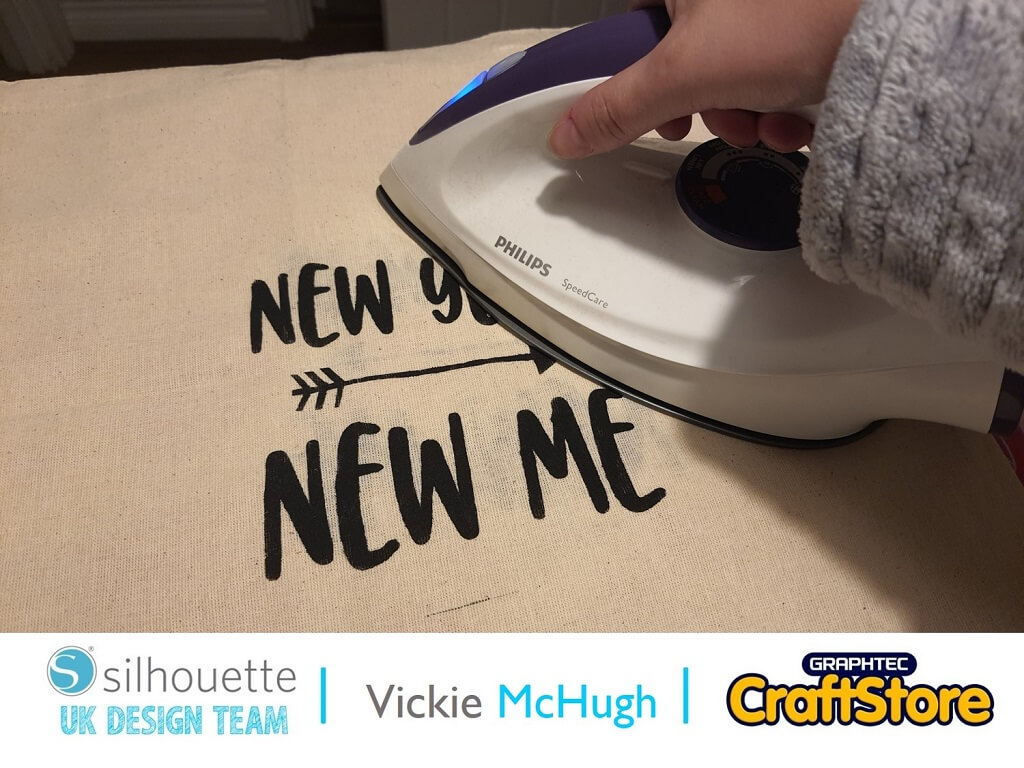
Once the image is dry and the vinyl has been removed, iron the design to set the ink into the fabric.
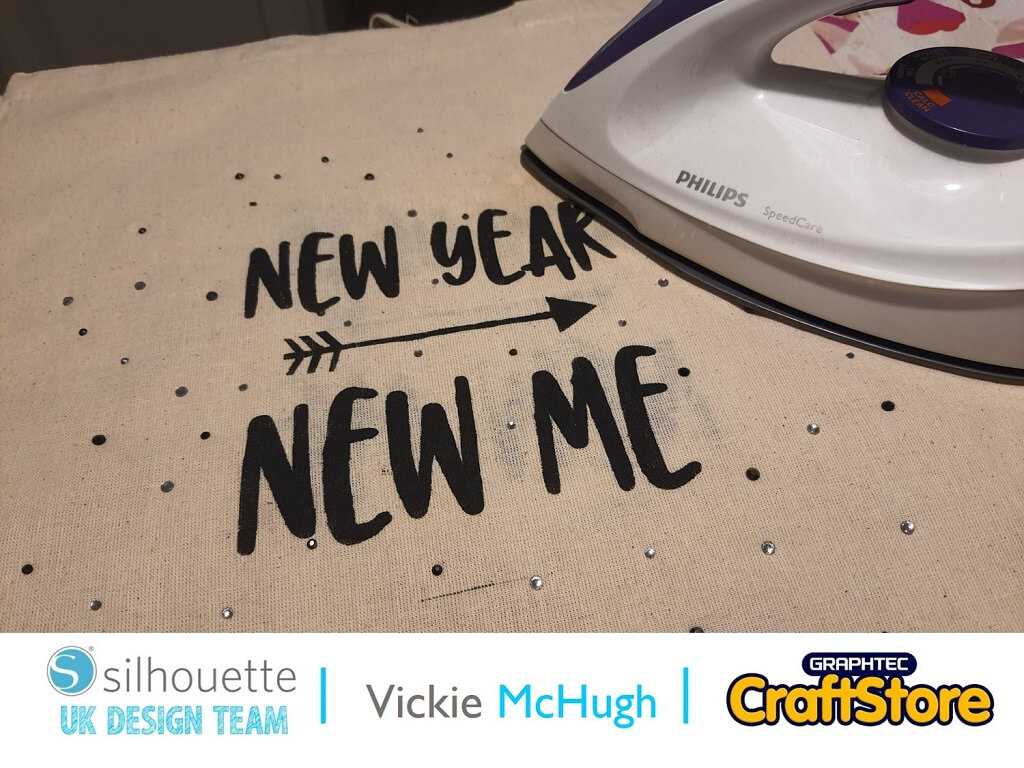
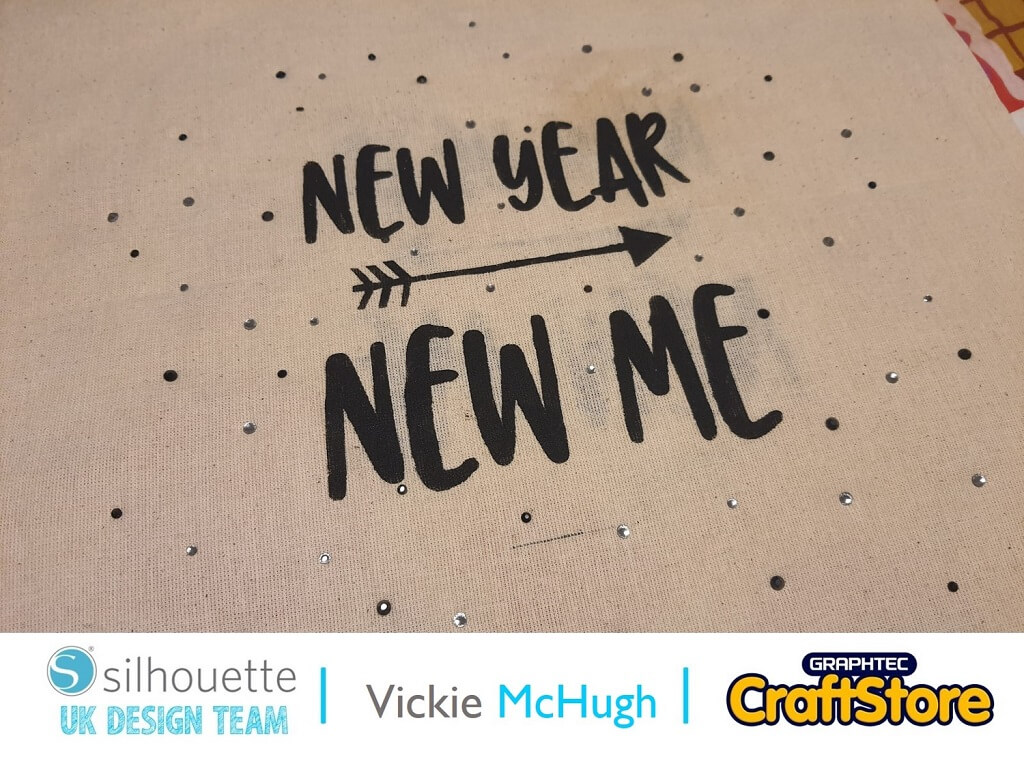
Place the rhinestones onto the fabric where you would like them and again iron on top.
The heat will activate the adhesive backing on the Rhinestones which will then bond permanently onto the bag.
I hope you have enjoyed this simple blog about personalizing your own new year’s bag?
Why not try personalizing a t shirt or hat?
Don’t forget if you purchase the Silhouette Fabric Ink Starter Set it also comes with a card with free downloads.… it’s bye for now Silhouette followers but lets get measuring for my Silhouette UK blogs throughout 2021.
– Vickie McHugh –
Silhouette UK Blog Created By Vickie McHugh
Silhouette Products Used
Silhouette Designs Used
• Design Used: New Year New Me Arrow Quote
Design Store Artist: Sarah Hurley
Design Store ID: 239440 > Download
