First Day Frame | Karen Moss | Silhouette UK Blog
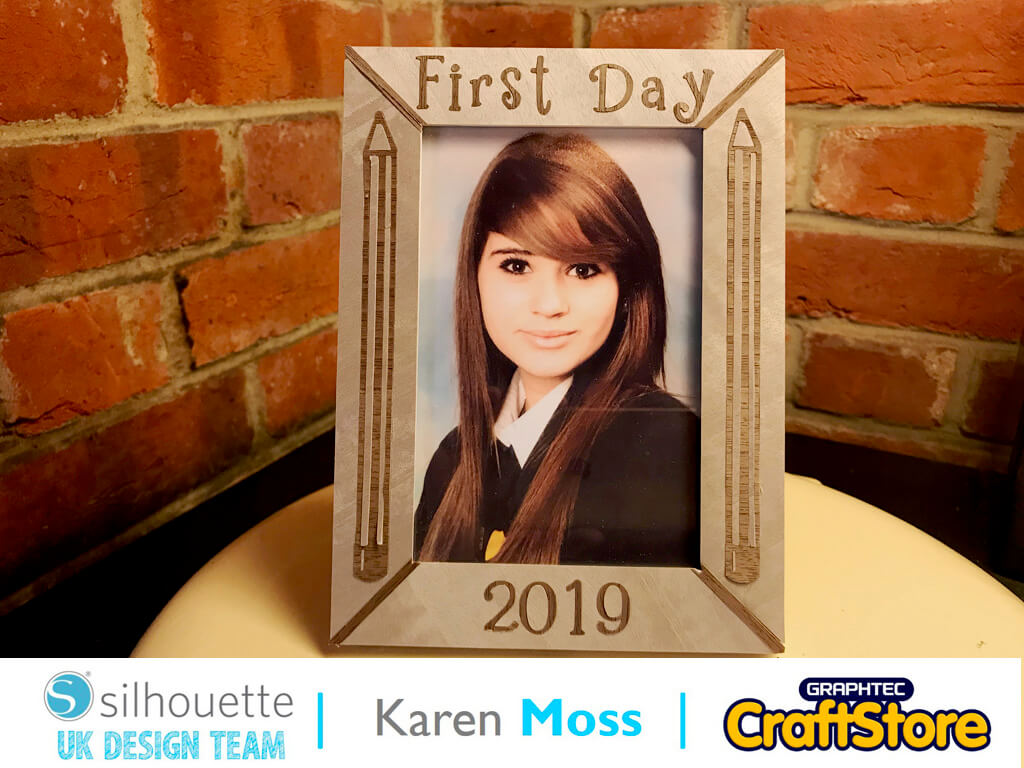
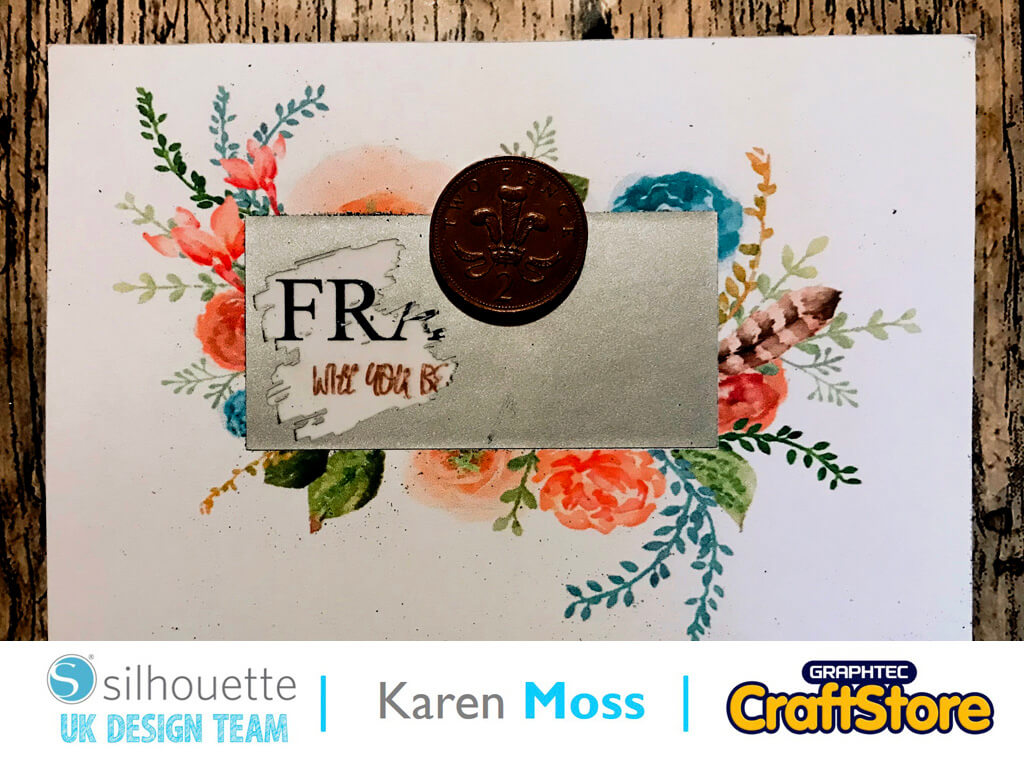
First Day 2019 Marquetry Frame | Silhouette Wood Paper Sheets
Well, ‘Be Prepared’ as the scouts say and you could be prepared for the obligatory first day back at school photo by making this frame in advance.
Preparing Your Cut File
I have used an inexpensive frame from The Range.
I chose this particular one as it’s frame was wide and flat.
I started by measuring the frame and drawing rectangles the correct size.
Cutting The Corners
I used the knife tool (set to solid) to remove the corners of my rectangles so that they would ‘butt’ together when applied to my frame.
Adding A Design
I wanted quite a simple design that I could cut from two different colours of wood paper and inlay one onto the other.
I chose a pencil for the long sides and decided to add text to the short sides.
Arranging Your Design
Once I was happy with the design, I then needed to arrange it onto the wood paper.
The sheets are only 5in x 7in so I needed to add my pieces at an angle to maximise on the length.
I drew 5 x 7 rectangles to make sure that my pieces fitted and then deleted the rectangles prior to cutting.
Adhering The Wood
It was an easy process to remove the wood from its backing paper and stick to the frame.
I hadn’t quite measured my side pieces correctly so had to add a small dark wood filler strip but I feel that this enhances the look of the frame.
Well Worth The Effort!
This project did take a little longer than I had anticipated as I needed to take care inserting the wood pieces into the cut spaces and then adding the thin lines on the pencils but overall I think it was well worth the effort.
– Karen Moss –
