Burn’s Night Banner | Cherylann McCool | Silhouette UK Blog
Burn’s Night Banner | Silhouette Corrugated Card
Hi Cheryl here again.
Well, we know we are in January don’t we, the weather is horrid but that means you can get some crafting done.
I know you will have great fun making a project like this and I hope you like the end result as much as I do.
Craft Materials Used
• Silhouette Adhesive Corrugated Cardstock
• Cardstock
• Printed Tartan Paper
• Picture
• Glue or DST
• Ribbon
• Ink
Open Your File
In your Silhouette Studio software open your files in the design space and in the page setup box to the left of your grid you will want to check your machine in option 1 is correct, then in option 2 select the mat size you will be using and finally in option 3, select the size of your media.
Down at the bottom make sure you tick Show Cut Border.
Ensure Your Design Fits
Now you want to remove the text and remove one of the banner shapes.
Once this is done, move the remaining three to the top of the mat and then make sure you have the black box around them all.
If you then go to Object in top left corner, you will be able replicate your design, if you click to get the black line around the 6 you can then move the corners to get the banner shapes to fill the page.
Select The Correct Media
Once you are happy with your design you are just about ready to send to cut but first you need to check all the options are correct.
Check your material settings are set to plain cardstock and if happy then hit send at the bottom and your machine will start cutting.
Removing The Cut Design From The Mat
Once your cut is complete you can remove the card from the mat.
Once removed make sure you remove all of the waste pieces from the banner shapes.
With your 1st A4 printed tartan paper put glue on 3 of your banner pieces on the paper making sure no white is showing, then repeat this for other 3.
Once dry you can cut the banner shapes including the spaces that have been cut out and with a punch cut the holes at top of banner for ribbon to be put through.
Adding The Wording
Now you want to type the word into your design space making sure that you change your media size to Letter size.
You will see your cut space on the mat will change to fit the size and laying your text vertically and about half width and then above the text cut a square shaped box and once happy if you click to send.
Don't Forget About The Settings
Before you click to cut this next part make sure you have changed your material to corrugated paper and once cut remove the excess that we no longer need.
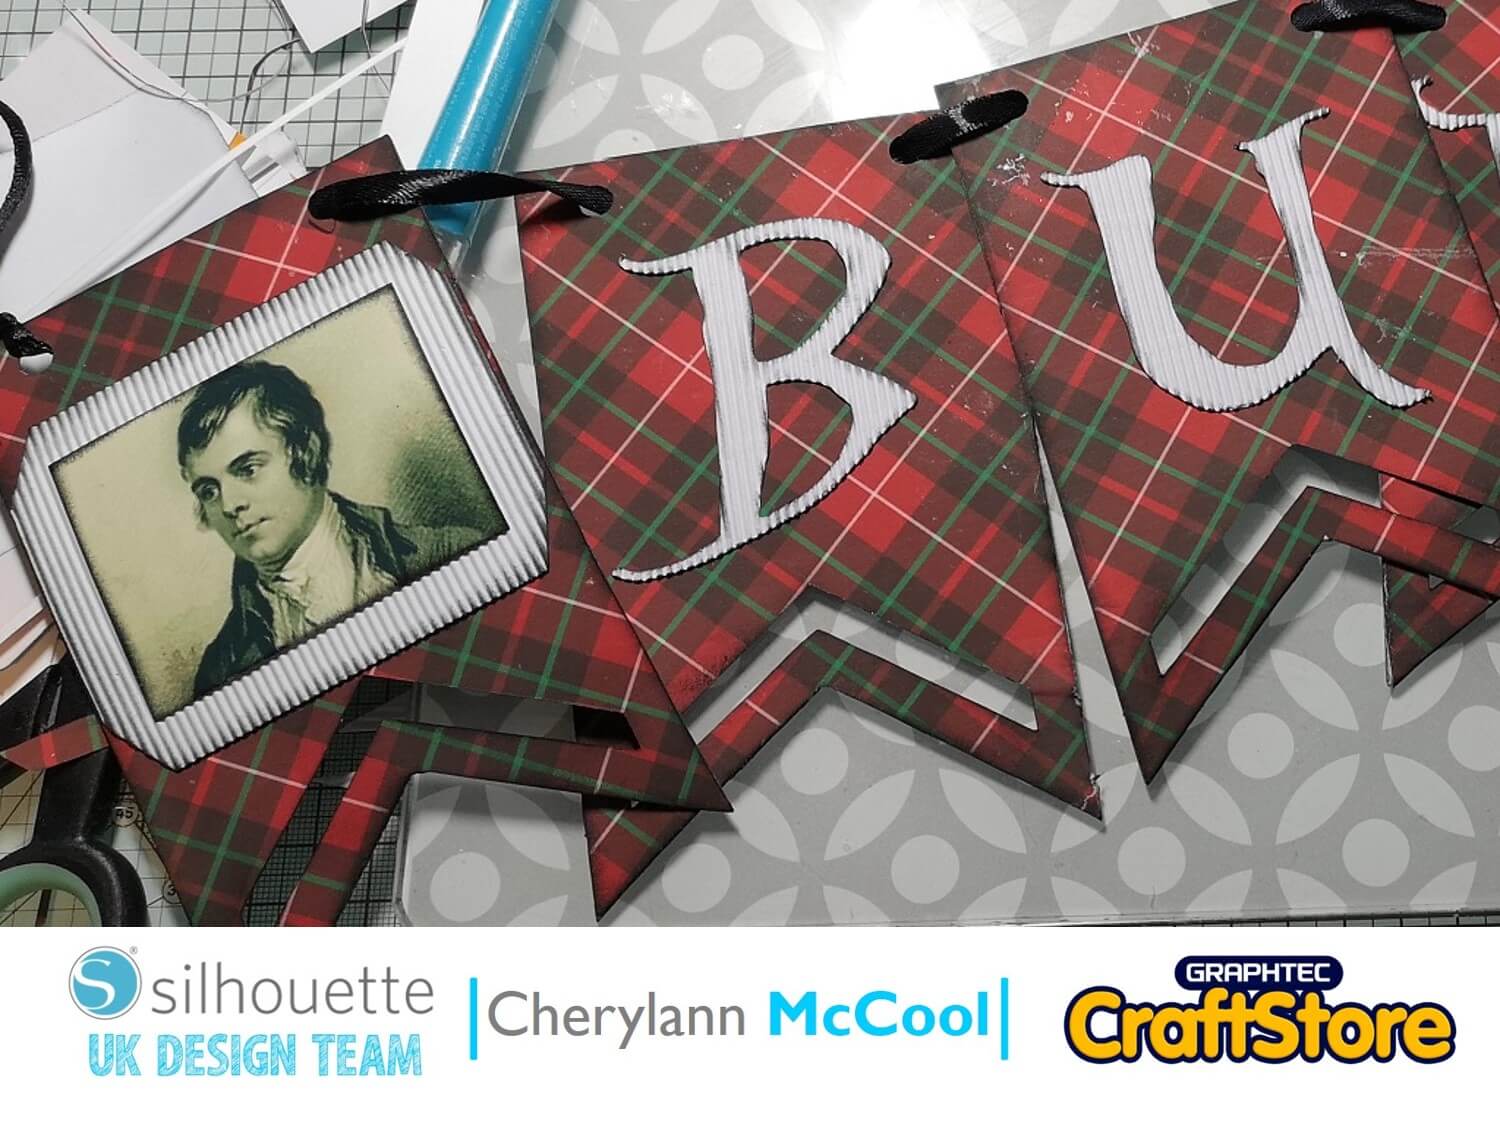
Carefully remove the text from the mat and before placing the text on the banner pieces you should go round the edge with ink and then stick onto your banner pieces.
Adding Burns
Now with your picture of Burns you should edge the picture and the edge of the box shape you cut and then you should stick the picture onto the card and then put the picture onto the remaining banner shape.
Once this has been done all you need to do is thread ribbon or string through your banner and then its ready to be hanged and admired.
A Banner Fit For Burns
I have had so much fun with this project!
Initially I was struggling with what to make but now my project is complete I am over the moon with it and I cant wait to hang it up on Burn’s Night when we will have our haggis.
This was a great project that can be adapted for any occasion.
I hope you all have fun making one and if this one has made you hungry wait until you see my next project.
Bye for now!
– Cherylann McCool xx –
Silhouette UK Blog Created By Cherylann McCool
Silhouette Products Used
Silhouette Designs Used
• Design Used: “Chevron” Love Banner
Design Store Artist: Alaa’K
Design ID: 38229 > Download
• Design Used: Bumper Nested Squares Set
Design Store Artist: Sarah Hurley
Design ID: 133625 > Download
• Design Used: Red & Green Christmas Plaid Seamless Pattern
Design Store Artist: Kristen Magee
Design ID: 307408 > Download
