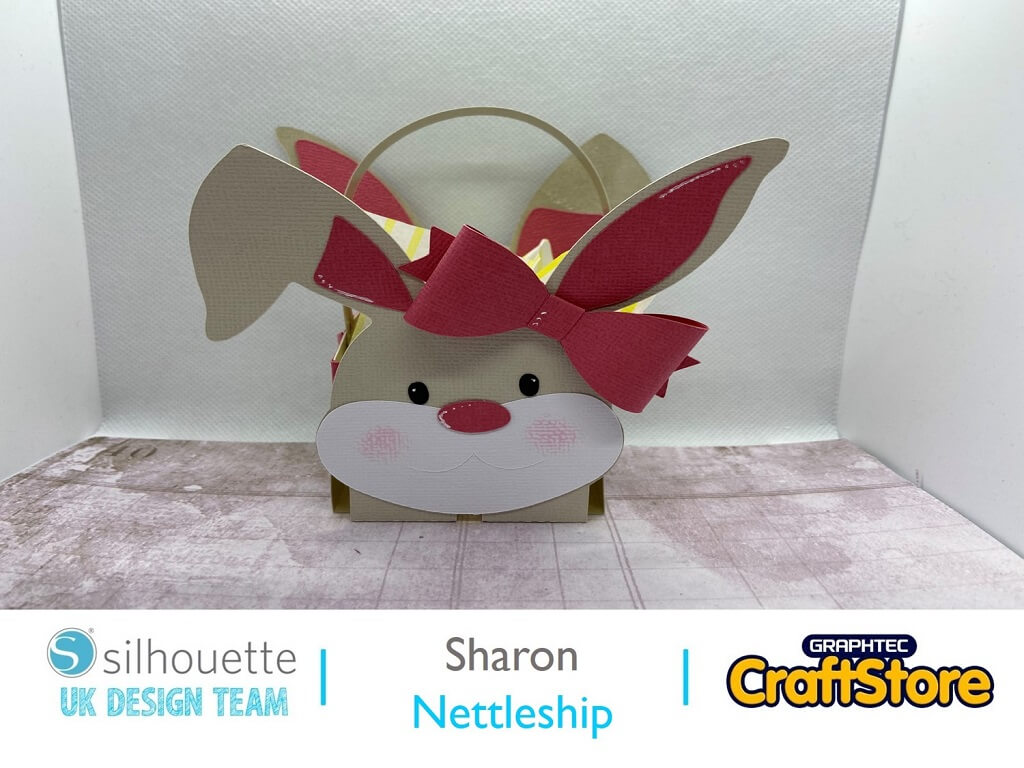
Easter Bunny Box
Hi DT Sharon here.
Here’s a great way to give an inexpensive but fun little treat for someone for Easter.
Just fill with some small eggs and tissue paper.
Or you could even put in some little toiletries if the recipient doesn’t like or can’t eat chocolate.
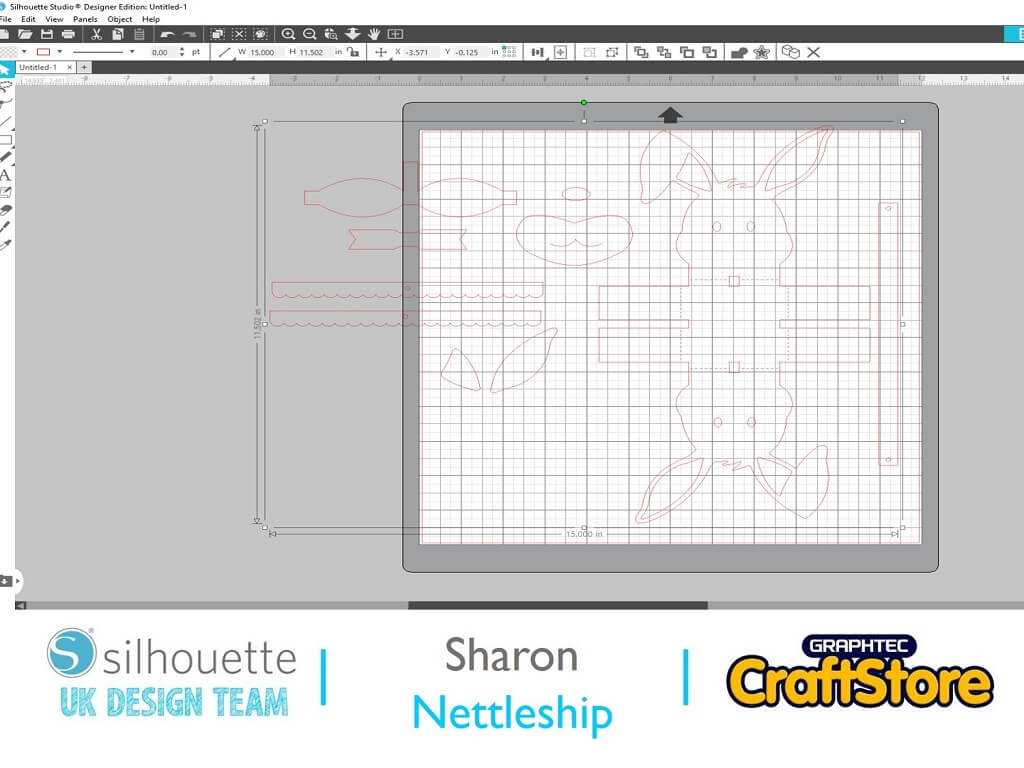
When you bring the file into the Silhouette design studio it comes up quite small.
So to make it bigger (I sized it to W15.0 H11.502) select all the images and pull out the corner arrows until you get the right measurements at the top of the screen.
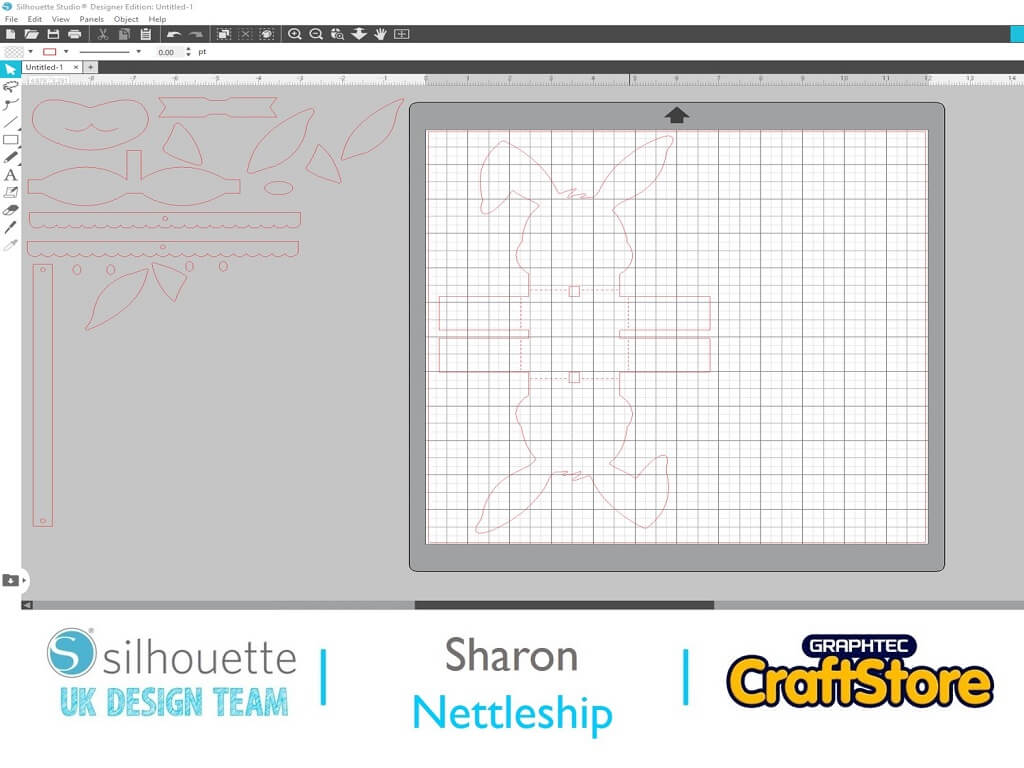
Ungroup all your pieces and arrange them into colours.
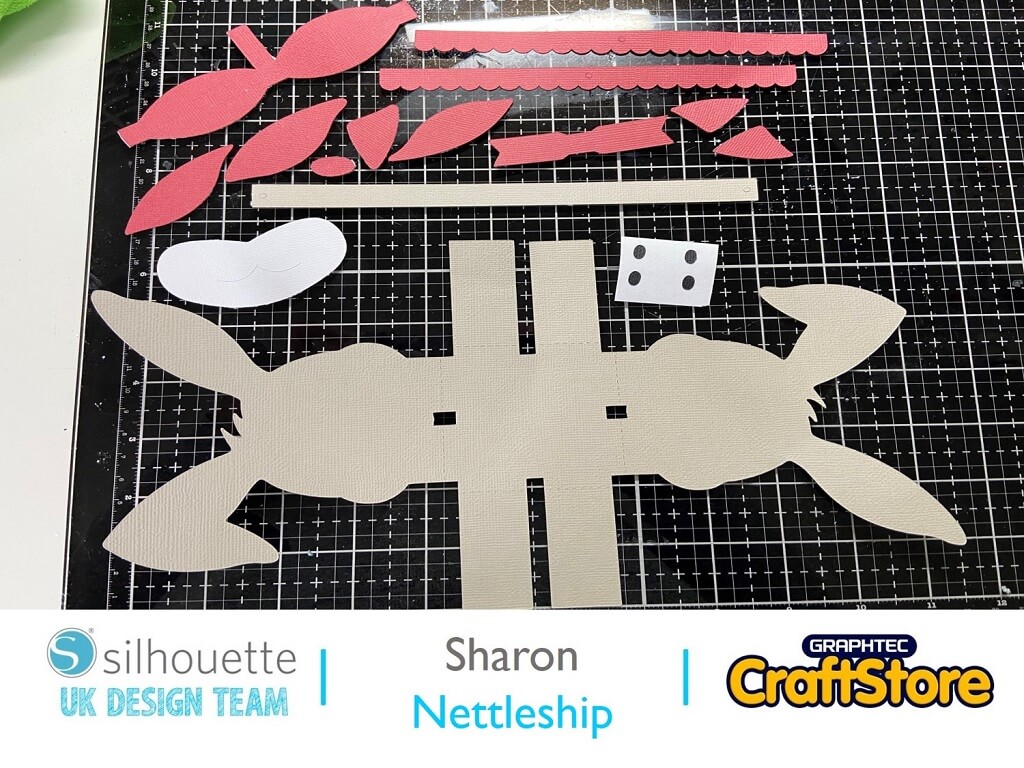
Cut them out in their colour groups.
Arrange the pieces on your desk to make it easier to assemble.
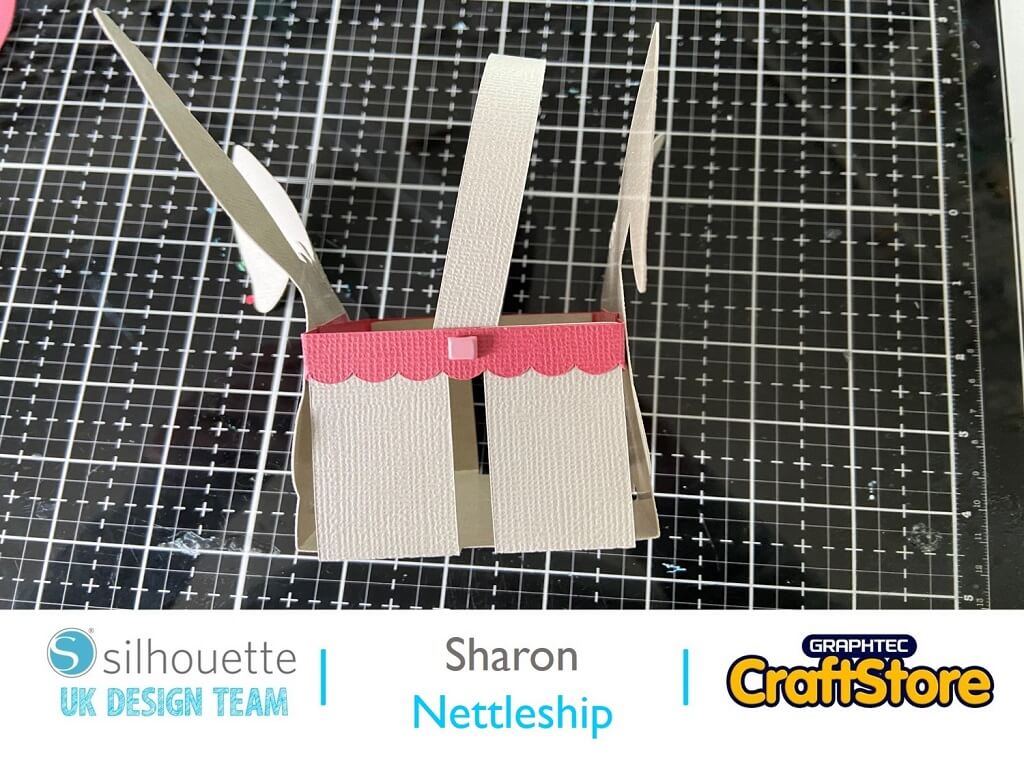
Start with the main box shape.
Fold your lines to make the basket shape.
Using the scalloped strips place around the outer sides and inner front and back to make the basket shape.
Add the handle using two small brads.
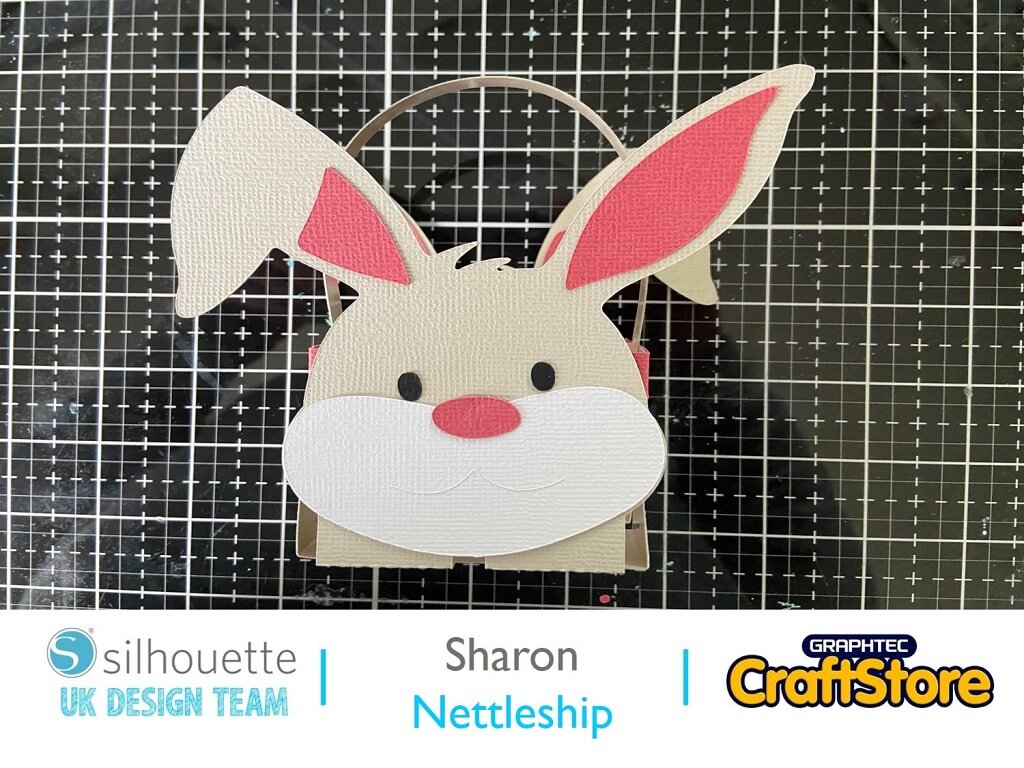
Adhere all the pieces onto the bunnies face and ears, back and front.
There are also bunny ear pieces for the front of the back ears to make it look nice from the front.
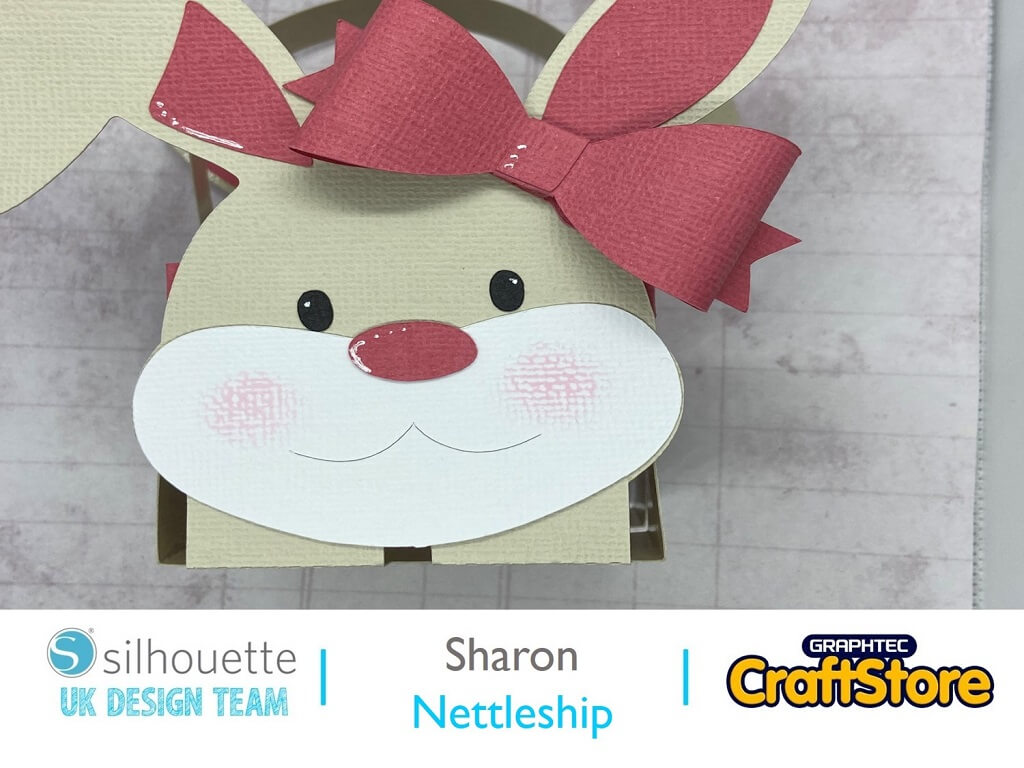
To make the bow, fold over each piece to meet in the middle then wrap the middle piece around.
Attach the bow strip to the face and then place the bow on top.
Add some highlights with a white pen and some rosy cheeks with an ink pad.
This is such a great little design.
I could also imagine using it for maybe a new baby to pop a little gift in.
Of course you can change up the colours to make it for a boy or a girl.
– Sharon Nettleship –
• Design Used: Easter Bunny Basket
Design Store Artist: Sweet Afton
Design Store ID: 122378 > Download