Good Luck Card | Silhouette Stencil Material
Hi everyone, Verity here today from PrettyLittleButton.
The stencil material from Silhouette is perfect for creating fun and unique stencils for your card making and paper crafting whether a simple or layered stencil as seen with today’s project.
Download the ‘SHAMROCKS’ design into your design space from the Silhouette Design Store.
Next, draw a rectangle or square to represent the size of your project so you can resize and adjust the design accordingly.
Next, duplicate the shamrock design and right click on one of the designs.
Right click on un-group to separate all the mini shamrocks within the design.
Next, delete a selection of the mini shamrocks and leave 6-8 still visible. With the line colour window, change the cut line colour from red to another colour of your choosing.
Now select the remaining mini shamrocks, right click and select group to ensure these few shamrocks move together.
Duplicate the rectangle we created at the beginning and place over the reduced amount of shamrocks and group these together.
Repeat the previous step with a new copy of the complete shamrock, but this time make sure the colour your select is a difference colour to the previous, and the remaining shamrocks are also different to the previous one.
You should end up with three different layers, but when put together they recreate the original shamrock.
With each sperate layer, cut the design out of the Non-adhesive stencil material from Silhouette.
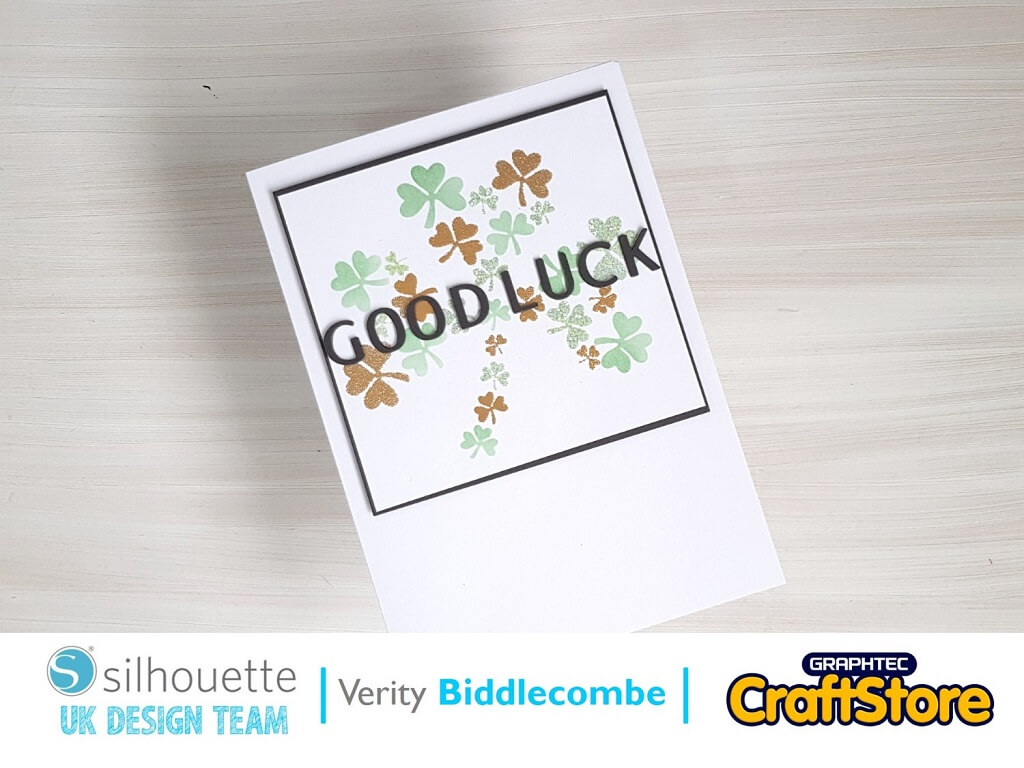
Layer each stencil over a card panel and either blend ink through the stencil, add heat embossing or use a texture paste to create the full shamrock design.
Trim the panel down and Mat onto a piece of grey card stock. Foam mount this panel on an A5 UK size card.
Next, cut out the word ‘Good Luck’ using the ‘NOURISHE FONT’ font and cut this 3 times to layer up onto the front of the card.

