Upcycle A Spring Jug | CraftStore Direct
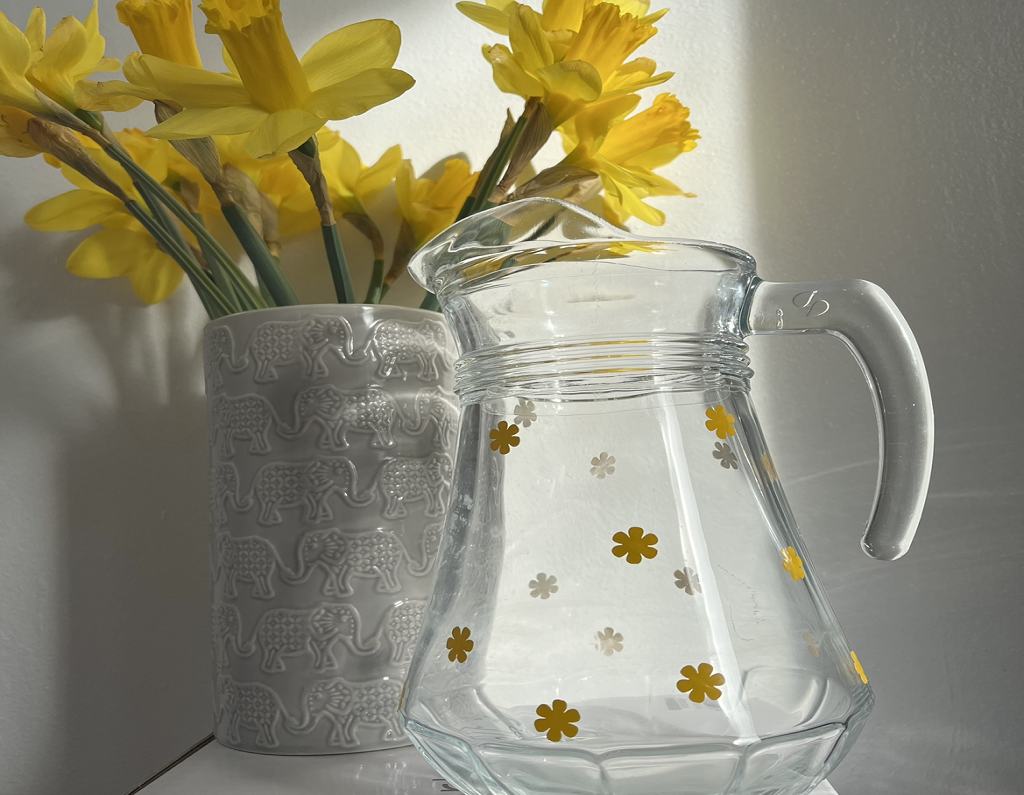
Spring Jug So for this blog, we will be upcycling an old jug! The blog post will show you how to use Colour&Shape vinyl to put any design onto your…
PLEASE NOTE THAT THE OFFICE WILL BE CLOSED FROM 12PM FRIDAY 20TH DECEMBER 2024 AND WILL RE-OPEN ON THURSDAY 2ND JANUARY 2025
ORDERS FOR DELIVERY PRIOR TO CHRISTMAS WILL NEED TO BE SUBMITTED BY 2.30PM ON THURSDAY 19THDECEMBER 2024.
ORDERS RECEIVED AFTER THIS TIME AND DATE WILL BE DESPATCHED ON THURSDAY 2ND JANUARY 2025.
Merry Christmas & A Happy New Year to all our customers. Thank you for your continued support.

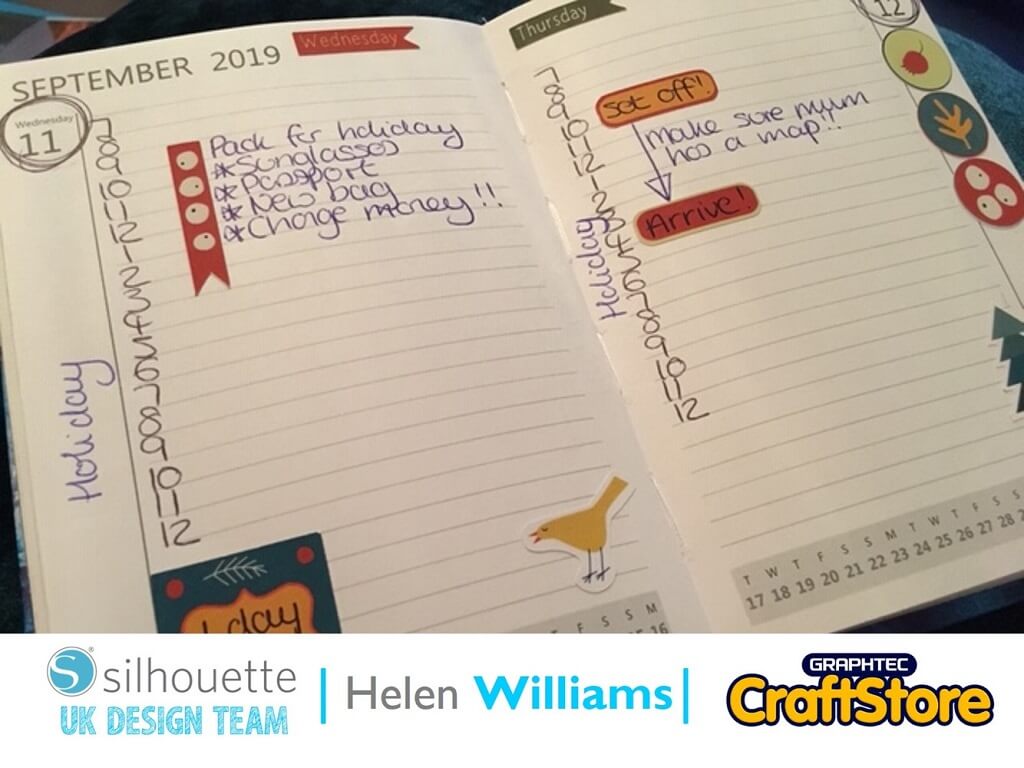
I love this time of year. Everyone is going back to school or University and the shops are full with stationary and planners.
So, I decided to make some autumn themed planner stickers to brighten up my diary and help me plan an upcoming holiday.
To create stickers you will need to use the print and cut function in the silhouette software.
First open the file that you would like to use. There are lots of different types of stickers available to download from the Silhouette Store. I chose a set of woodland planner stickers.
Open the file in Silhouette studio. You will then need to resize the page to the size of your sticker paper and add registration marks to the file. To do this open the page setup menu. On the first tab resize the canvas to the size of your sticker sheets.
Then move onto the registration marks tab and add the registration marks according to your type of machine. Once you have done this you may want to resize the file to make sure it fits within the registration marks.
Once you are happy with the placement of the sticker sheets print the page by going to file then print.
Once you have printed your stickers load your sticker paper onto your silhouette mat and load it into your machine.
Once loaded go to the ‘Send’ screen. Here check to make sure that the stickers all have a cut line selected around them.
Once it is selected the outline will be coloured red.
Change the material settings to ‘Sticker paper white’ and then cut on the default settings.
The machine will automatically detect the registration marks before cutting.
Once you have cut the stickers they are ready to peel off and use.
(Make Sure You Scroll To The Right For Both Images)
I really liked the sticker paper it had a very vibrant colour when printed and cut well on the default settings.
I will definitely be making more stickers for my planner using my silhouette in future and also to add to my travel journal!
– Helen Williams –
• Design Used: Woodland Planner Labels Or Stickers
Design Store Artist: Nic Squirrell
Design Store ID: 99410 > Download