3D Printed Snowflake Decoration | Corinne Regan | Silhouette UK Blog
3D Printed Snowflake Decoration
Hi all!
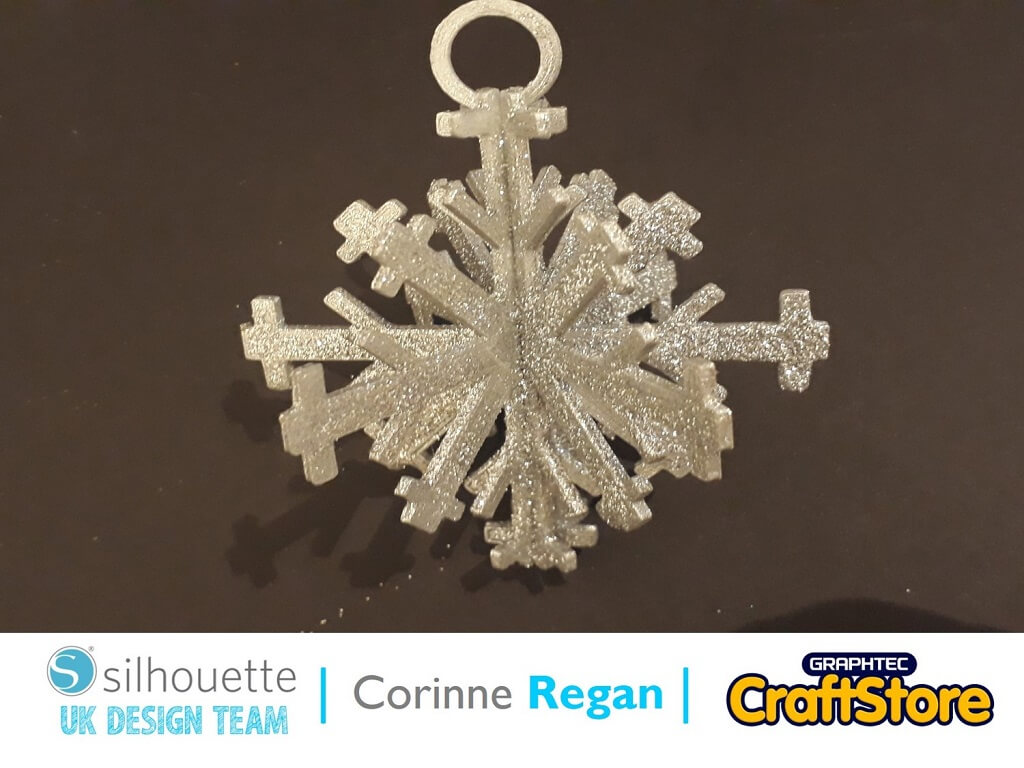
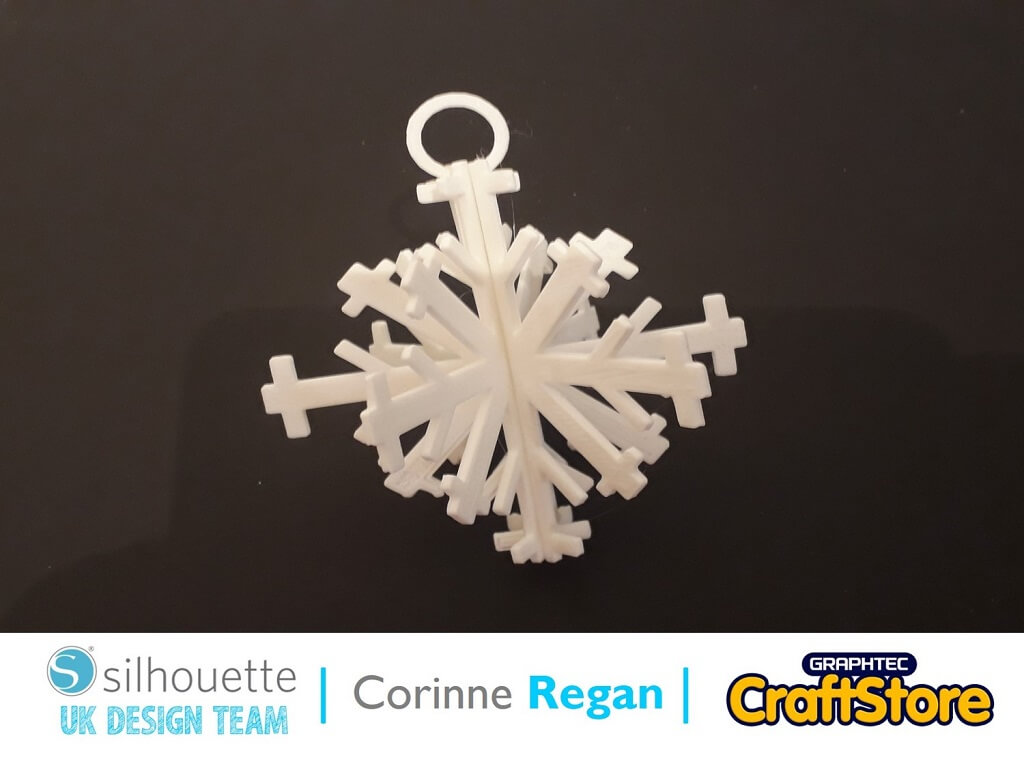
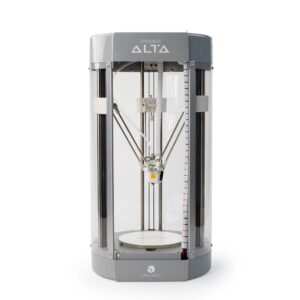
With the festive season fast approaching I decided to make a snowflake Christmas tree decoration using my Silhouette Alta 3D Printer!
Making The Shape!
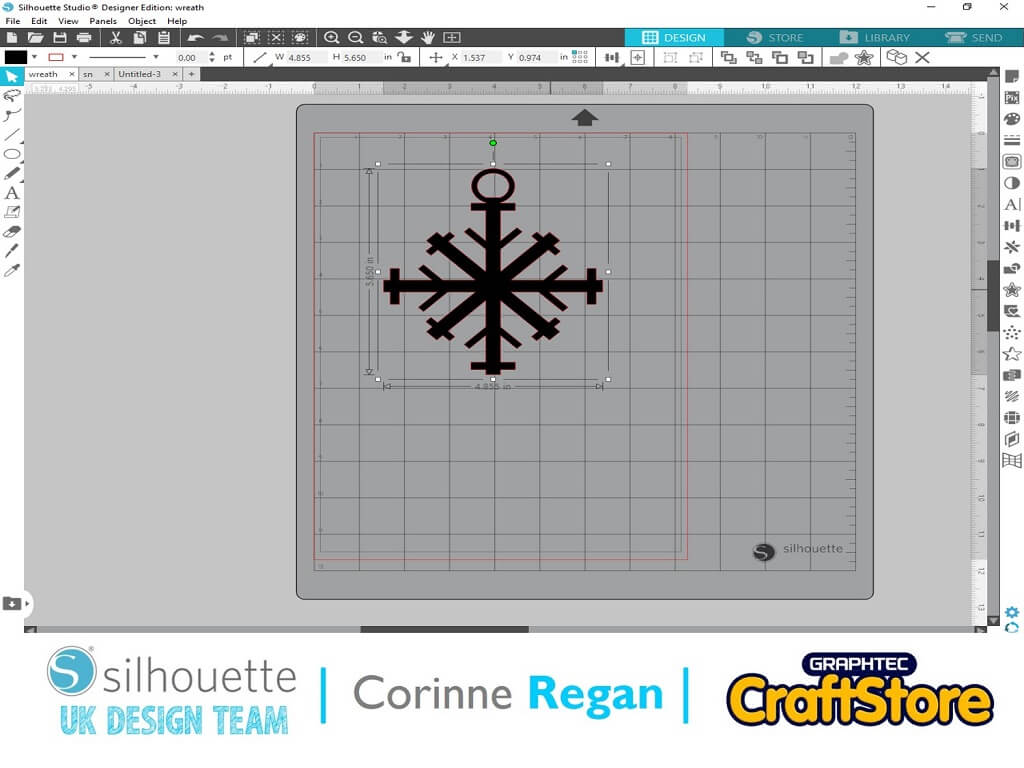
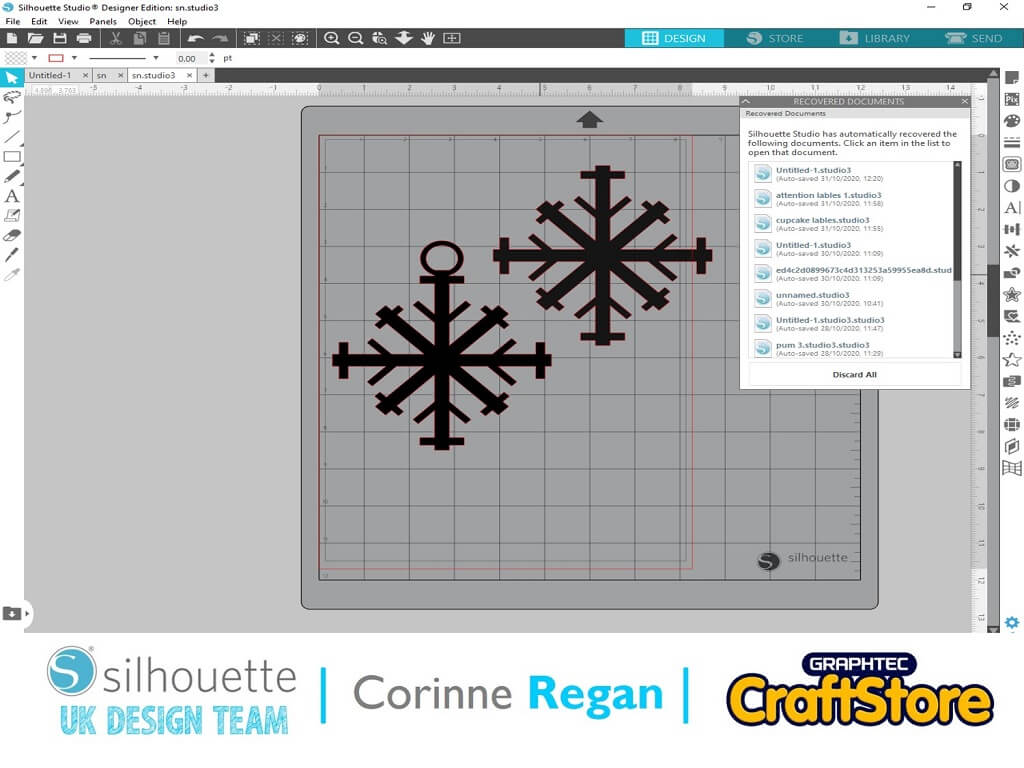
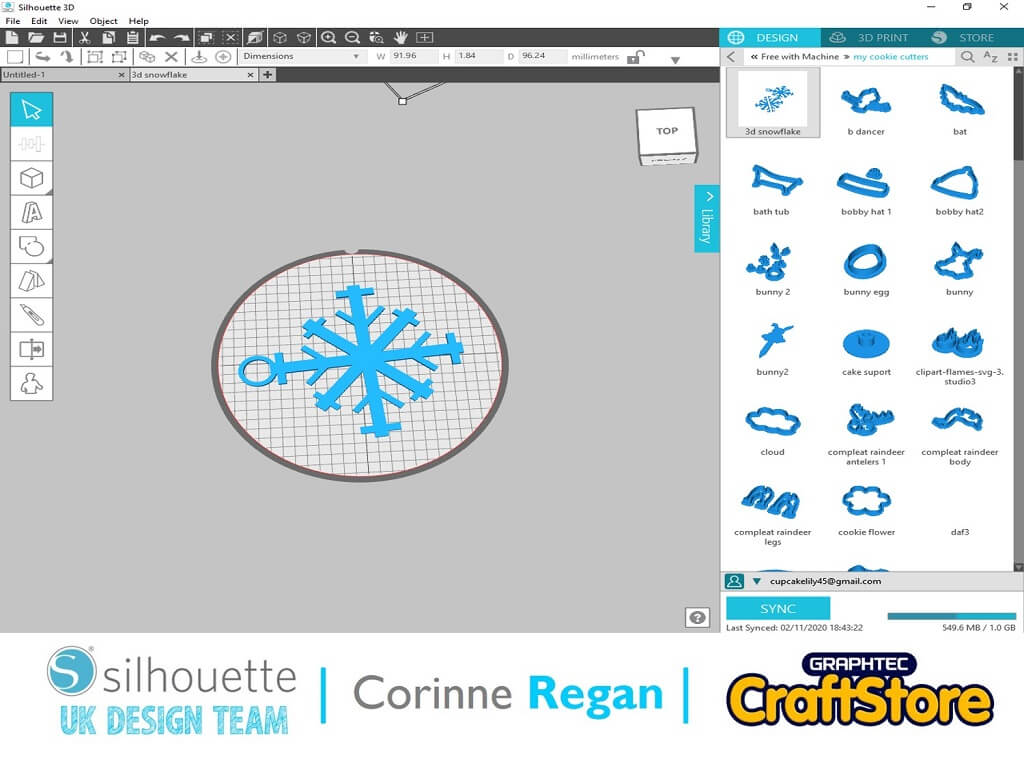
First, I brought my design onto the mat and duplicated it.
I added a circle to one of the shapes and then welded the circle to that shape.
Next, I saved the design to my software so I could take them both into my Alta software.
Getting The Design Ready To Print
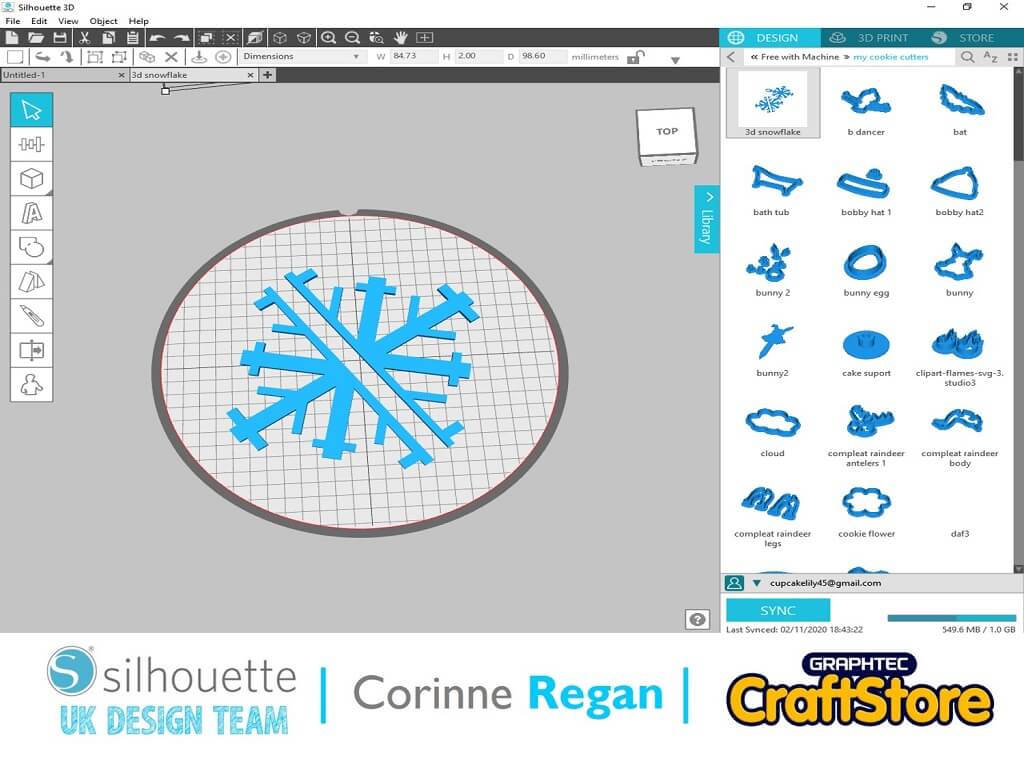
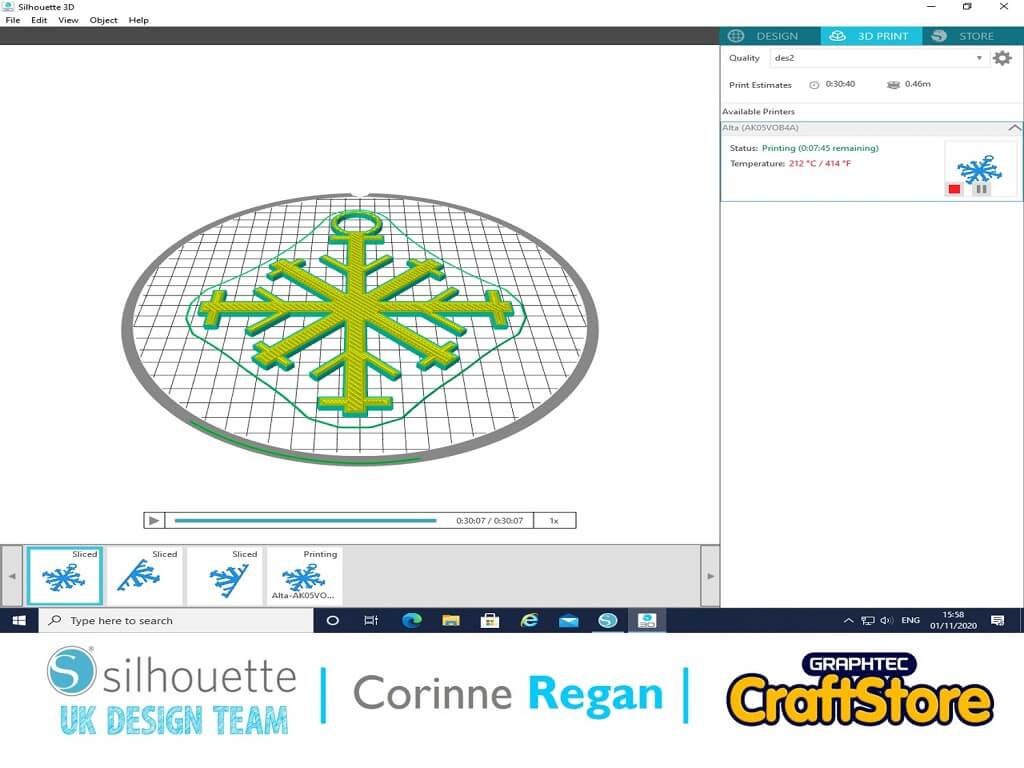
I imported the shape into the Alta software one at a time.
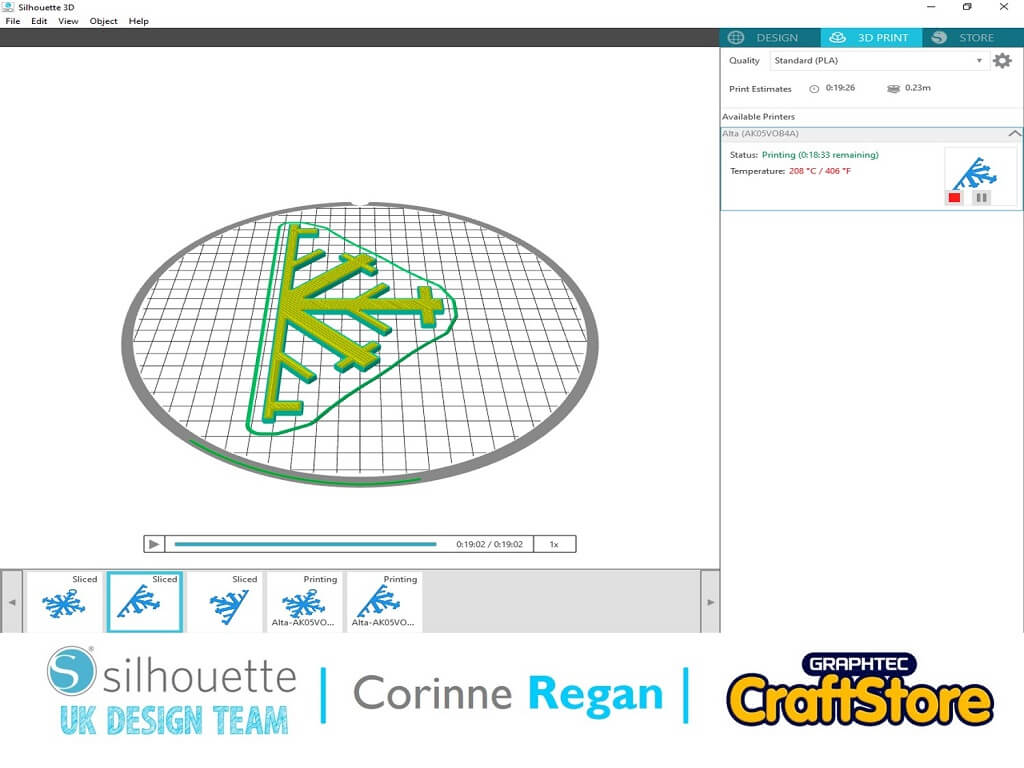
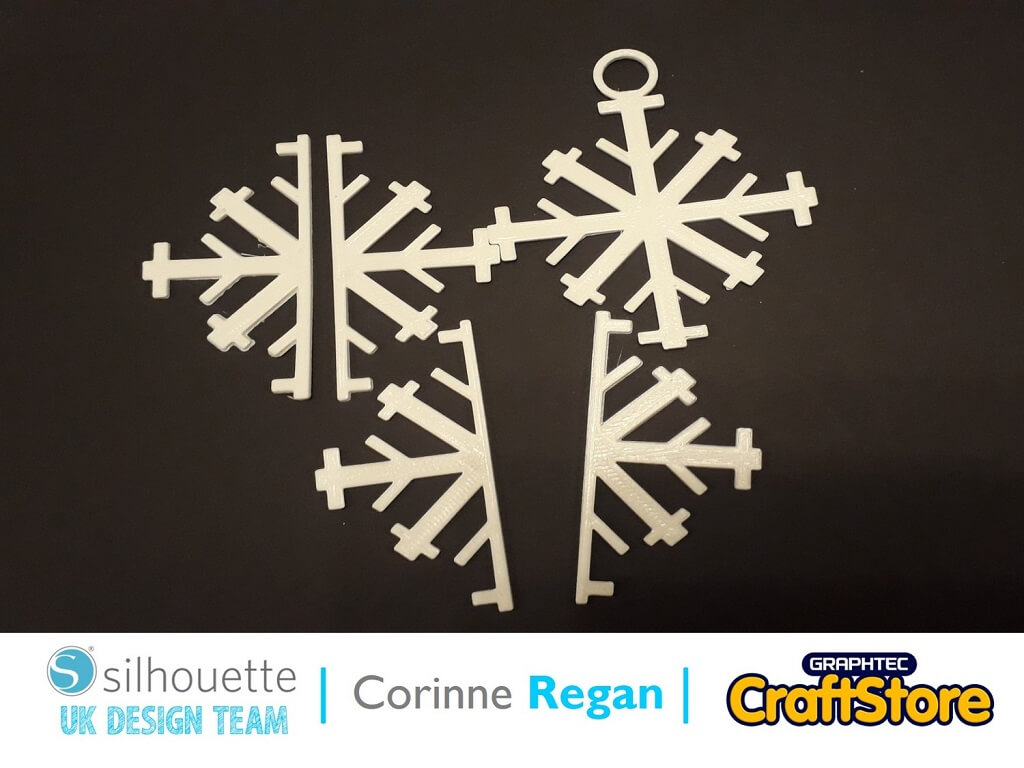
For the one without the circle welded to it I used the knife tool to cut it in half and I printed it twice so I had 4 halves and one whole piece.
Making The Cutter
These are the shapes when they are printing out.
I printed them out as an extrusion.
My Printed Shapes
Here are all my separate shape pieces ready to fit together.
Making The Brooch
I used a hot glue gun to fix the snowflake pieces into place.
Then I sprayed it silver with aerosol paint.
Next while the paint was still wet, I covered it in silver glitter and left it to dry.
I am really pleased at the finished product it is very easy to make, it looks pretty and is super sparkly!
– Corinne Regan –
Silhouette UK Blog Created By Corinne Regan
Silhouette Products Used
Silhouette Designs Used
• Design Used: Snowflake
Design Store Artist: Silhouette
Design ID: 71446 > Download
